7 Steps to the Ultimate DIY Pedicure


Runa Bhattacharya


A year spent in lockdown means you’ve had to incorporate more DIY beauty hacks into your routine than ever (cue: press-on nails that made a glorious come back). But if you’re anything like most of us, cozy in our quarantine comfies with nowhere to go, you may have taken an “out of sight, out of mind” approach to your toes—just like those yoga pants you were just wearing on that Zoom meeting. With life getting somewhat back to normal and bars, restaurants, and theaters making weekend plans a thing again (woohoo!), it’s time to give those piggies a well-deserved refresh. The best part? You don’t have to stress about stopping by a crazy booked-up nail salon to get your toes in sandal-ready condition. And if you’re intimidated by the mere thought of wielding a nail file, don’t sweat it. We talked to the best in the nail biz for a step-by-step guide to skilling your pedi like a pro.
But first, gather your tools. Here’s your checklist:
Polish remover, cotton rounds (or cotton balls), cuticle oil, nail clipper, nail file, foot scrub, lotion, basecoat, topcoat, and polish. Glass of bubbly: optional.
It's about glam time you treated yourself.
Join IPSY

MEET THE EXPERT
Jin Soon Choi is an Expert Nail Artist and JINsoon founder.
Kate Proulx is a nail artist based in Los Angeles.
Get Ready to Rock Your Pedi
1. Calm your cuticles
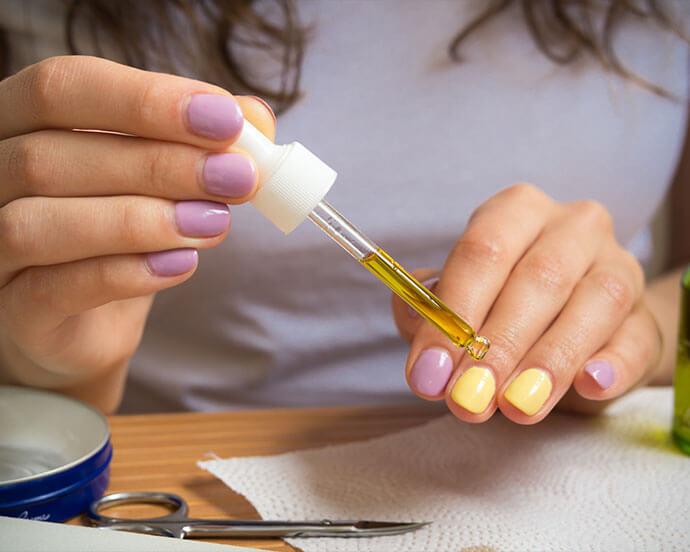
The secret to your cleanest-looking pedicure? Nix dry cuticles for a smooth, flake-free nail bed. Dry cuticles tend to catch on to polish, which can make your pedi lift up and look messy. “I recommend applying cuticle oil two to three times daily for hydration and moisturization. You can push back your cuticles as well, but cuticle removal should be left for professional use only,” says Choi.
“Applying cuticle oil daily will hydrate your skin and nails and prevent hangnails, splitting, and breakage,” says Proulx. Plus, massaging in cuticle oil can help stimulate blood flow and promote nail growth. Just gently rub a drop of oil into the sides of your nail beds (we’re a fan of ESSIE Apricot Cuticle Oil) and the base of your toenail. Proulx also suggests rubbing toes with cuticle oil daily post-shower so they’ll stay soft 24/7 and you won’t have to play catch up on pedi days.
2. Smooth your soles
“It’s important to use a foot file or pumice stone to smooth roughness and calluses. To exfoliate and soften dry skin without causing irritation, try using a gentle scrub or exfoliating glove in the shower and immediately following with lotion,” recommends Choi. For a scrub that leaves skin velvety-soft and smells amazing, we love LATHER Eucalyptus Foaming Foot Scrub With Pumice. And for an easy DIY (spoiler alert: You’ve already got all the ingredients!), Choi recommends combining a little bit of olive oil and sugar together to create a gritty paste. The sugar will exfoliate and remove dead skin cells while the olive oil will help to keep your feet hydrated.
Got more than a few minutes? Grab a basin and fill it with warm water and a half-cup of Epsom salt. Proulx recommends soaking your feet for a minimum of 10 minutes to soften skin and cuticles—and hey, you deserve those 10 minutes (or more) of bliss. Rinse and pat your skin dry, then give your nails a few minutes to harden back up before clipping. This is the perfect opportunity to refill that optional glass of bubbly we mentioned.
3. Remove old polish
Set that cuticle oil aside—your toesies will need a few more drops of it later. Next, grab a cotton round and remover. Avoid using too much remover or scrubbing nails too hard as this can seriously dry them out. (PEOPLE OF COLOR Acetone Free Nail Polish Remover is a gentle option.) Instead, Proulx suggests soaking a cotton round in polish remover until it’s fully saturated. “Place it on your nail and count to three. Then, swipe with gentle pressure, repeating if needed to remove stubborn polish,” Proulx recommends.
4. Pick a shape
When it comes to filing nails into a new shape (like square, round, or forever on-trend squoval), we were today years old when we learned that we were doing it backward. Instead of blindly clipping nails short and then filing those babies down to their desired shape, you’ve got to flip the script. “It’s best to clip your nails into the shape you want. If you want a square shape, clip the nail straight. If you want a round shape, clip the nail in a round pattern first to reduce the amount of filing,” says Choi. Genius!
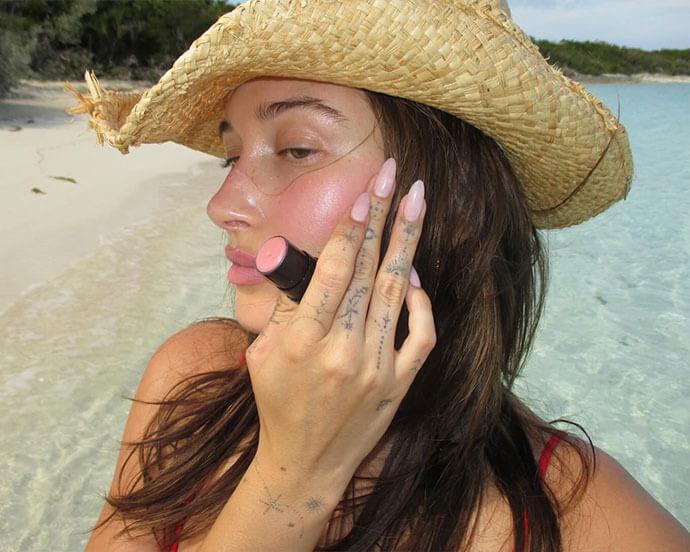
5. Moisturize and chill
Before reaching for polish, be sure to massage and use a moisturizer on your feet (Choi recommends shea butter). “I love to apply a thick lotion right before bed and then slip on cotton socks to let the cream soak in overnight—you can do the same thing with gloves for your hands,” says Choi. If you aren’t in a rush, now’s the time to sneak in a quick feel-good foot massage. Proulx’s go-to foot rub involves gently stretching your toes back and using your index finger to massage the area where your toes meet the bottom of your foot. Need something a little deeper? “Rolling a tennis or lacrosse ball under the arch of your foot also helps to relax the fascia in the bottom of your foot, and this is especially great if you wear heels often,” says Proulx.
6. Ace your base
“Before polish, be sure to remove any lotion residue from your nails—this is the first essential step for a long-lasting pedi,” says Choi. Run a cotton ball soaked in alcohol or acetone over the surface of your toenails (just one swipe is enough). This will make sure all your at-home pedicure work can be enjoyed for as long as possible. Then, apply a thin layer of your clear base coat (like ADESSE Brightening Base Coat) working from side to side. But don’t grab your polish too fast. Choi emphasizes allowing your basecoat some drying time before you paint.
7. Polish up
Now for the main event: Use the tip of your polish brush to create a rounded line along the cuticle edge. Then starting at the base of your nail, pull the brush down along either side and fill in the middle. Add another coat as needed. Got polish on your cuticles? Don’t fret if you colored outside the lines. “Buy an inexpensive lip brush to be your dedicated nail clean-up brush,” says Proulx. Dip it in remover, blot it on a paper towel, then clean up any stray polish. Top off your glorious work with a glossy topcoat and give your pedicure a solid 30 minutes to dry to avoid dings and smudges. “If you’re in a mega rush, try quick-dry drops on top instead of cuticle oil. These will have your toes dry and shiny in no time,” recommends Choi.
Now, remember that good-for-skin cuticle oil? Drop some onto your toenail beds to perk up the skin around your polish—and give it extra shine! Then, moisturize from your feet to your calves. Kick your feet up, marvel at your epic at-home, pro-grade pedi, and say, “Yup, I totally did that.”
Want more DIY tips from the best beauty pros? Take our Beauty Quiz now to get started. Already an Ipster? Refer your friends to earn points, which you can use toward products. Either way, don’t forget to check us out on Instagram and Twitter @IPSY.
Like this article? Share it with your friends by clicking the icons below!
Liked this post? Share!
Related Stories


Nails
Why Natural-Length Nails Are the Biggest Manicure Trend Right Now
5 min read


Nails
FIFA World Cup 2026 Nail Art Designs You’ll Get a Kick Out Of
2 min read


Nails
Spurs or Knicks? Show Support for Your NBA Team With These Nail Art Ideas
2 min read
Nails
Why Everyone’s Suddenly Asking for Soap Nails
3 min read

Nails
The Easiest Way to Moisturize Your Nails All Year Long
3 min read

Nails
Strawberry Milk Isn’t Just a Tasty Treat—Here’s How to Ace the Nail Trend!
6 min read


Nails
10 Cute and Colorful Korean Jelly Nail Designs to Try This Summer
5 min read

Nails
The Ultimate Aura Nail Guide: DIY Tips & 10 Dreamy Designs to Try
5 min read

Beauty Picked Just for You
Get 5 products worth up to $70
Exclusive access to epic deals up to 80% off
Starting at just $15/month. Cancel anytime.