Pro Beach Waves with a Curling Iron in 4 Easy Steps


Hannah Cassidy


Raise a hand if you’ve ever felt personally victimized by attempting to create “effortless” beachy waves at home. *The internet collectively raises their hands.* Beach waves are the hairstyle staple of Instagram model feeds and salon repertoires, but recreating them at home ends with a cramped arm and flat ripples more times than we’d care to admit. We’re here to change that. While some pro-level takes on beachy waves do require some major skills, tools, and fancy products, you’re not limited to shelling out the big bucks for waves. Achieving the ultimate beachy hair doesn’t require a trip to your stylist or an all-out island vacay, but wouldn’t that be nice? Short hair, long hair, curly hair, straight hair—with your trusty curling iron and a few easy-to-find products, you can cop the tousled texture of your dreams from home.
You might be sitting there thinking—okay, suuure—but we promise: Beach waves with a curling iron are accessible, affordable, and best of all, easy. With this simple, four-step tutorial from triple-threat (hair stylist, makeup artist, and absolute beauty) Melissa Hurkman, and a little bronzer, you’ll be on your way to the best IG fakecation ever.
It's about glam time you treated yourself.
Join IPSY

How to Get Beachy Waves with a Curling Iron
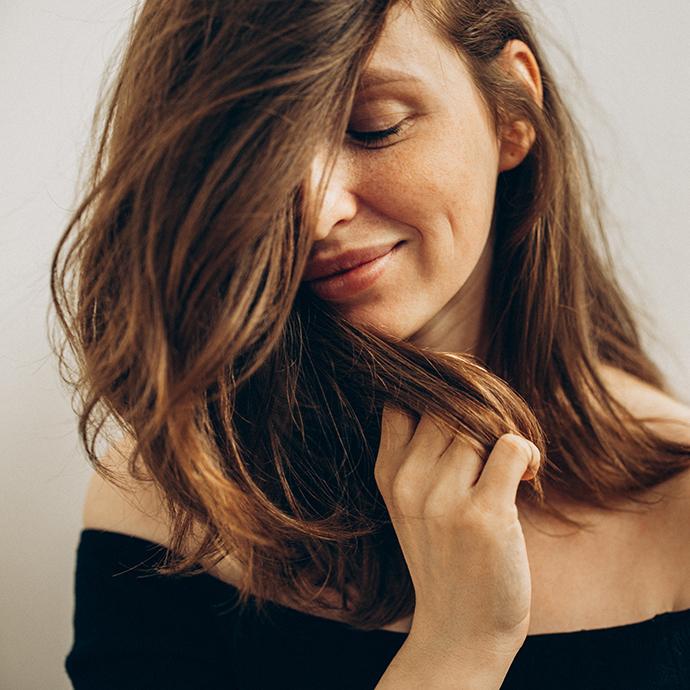
The goal of a beach wave is a no-fuss aesthetic that gives the illusion of having just returned from a day of indulging in sea salt, sun, and margaritas. “Beach waves are more lived-in and as close to a natural wave or curl as possible. The less ‘done’ your wave or curl turns out the better,” says Hurkman. With this styling method, you get to throw caution (and your hair) to the wind—load up on product, get messy, and turn your curling iron on its side. Sounds weird? Don’t worry, we’ll explain.
STEP 1: Prep With Product
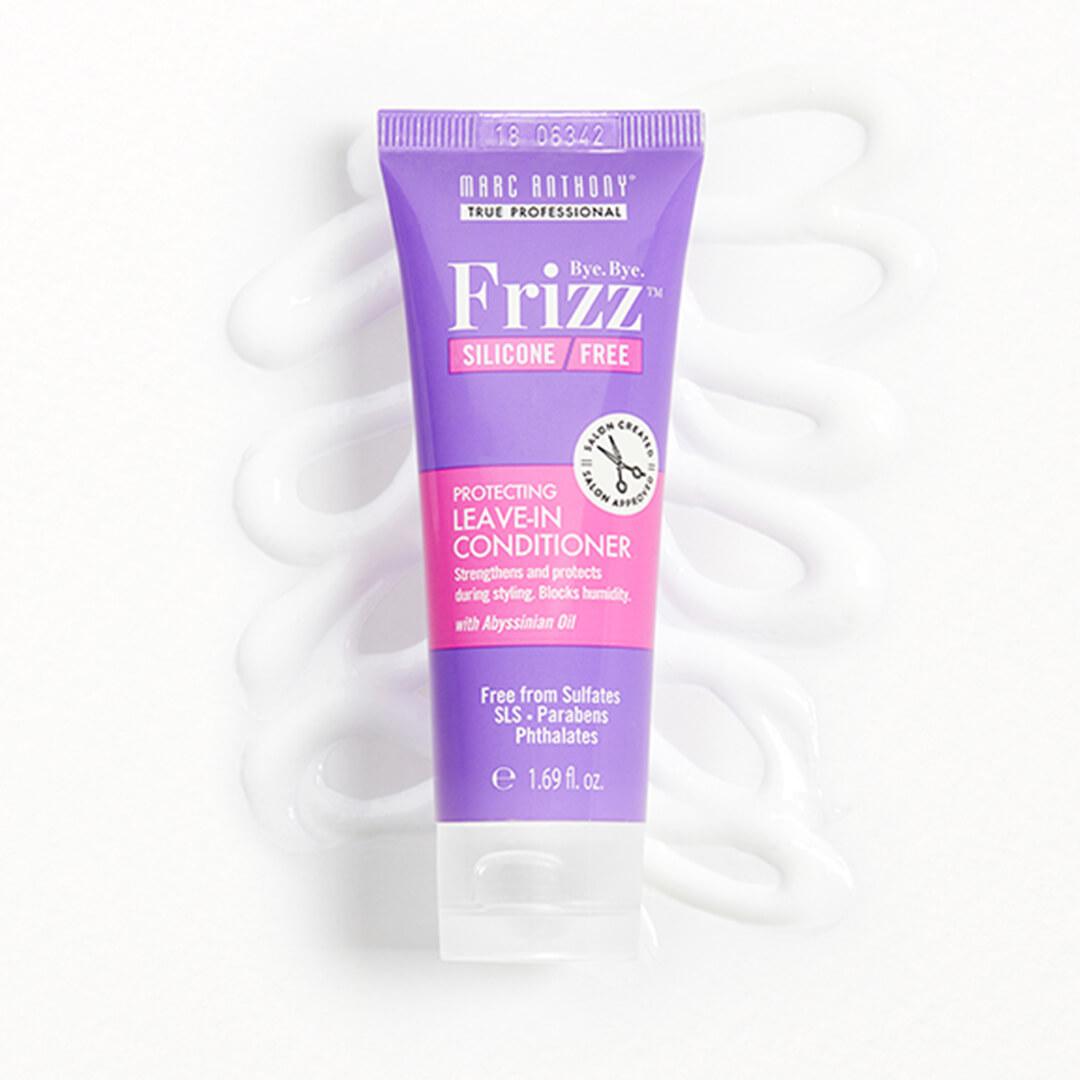

Fact: There will be hot tools involved. Also fact: You should use a heat protectant. The secret to maintaining moisture levels and minimizing damage when using heat is protection. Think of it as an insurance policy for your follicles. For this, we’re particularly fond of the IPSY-fave MARC ANTHONY TRUE PROFESSIONAL Bye Bye Frizz Heat Protectant Leave-in Conditioner.
Start by adding heat protectant from root to tip, then follow up with a dry shampoo targeted at the roots—it’ll help give your style extra mileage. “What I love about this style is you can wear it for a few days, so load up on that dry shampoo to keep your roots fresh,” says Hurkman.

STEP 2: Section Off Your Hair
It might seem tedious, but trust us—separating your hair into bite-sized sections will make your life a million times easier. Plus, it’ll help you tackle those hard-to-see spots in the back.
We’re keeping things easy, remember? So don’t worry about keeping sections neat and clean. To break it down into simple steps, part your hair in the center from forehead to nape of neck (aka hot dog style)—then ponytail one side off. With your loose side, separate a section just above your ear from front to back (aka hamburger style) and clip it up. Finally, divide the bottom section into vertical sections, clipping each section up as well. Once you get started with your curling iron, you’ll unclip one-inch pieces from each section. Speaking of, it’s time to grab your curler!


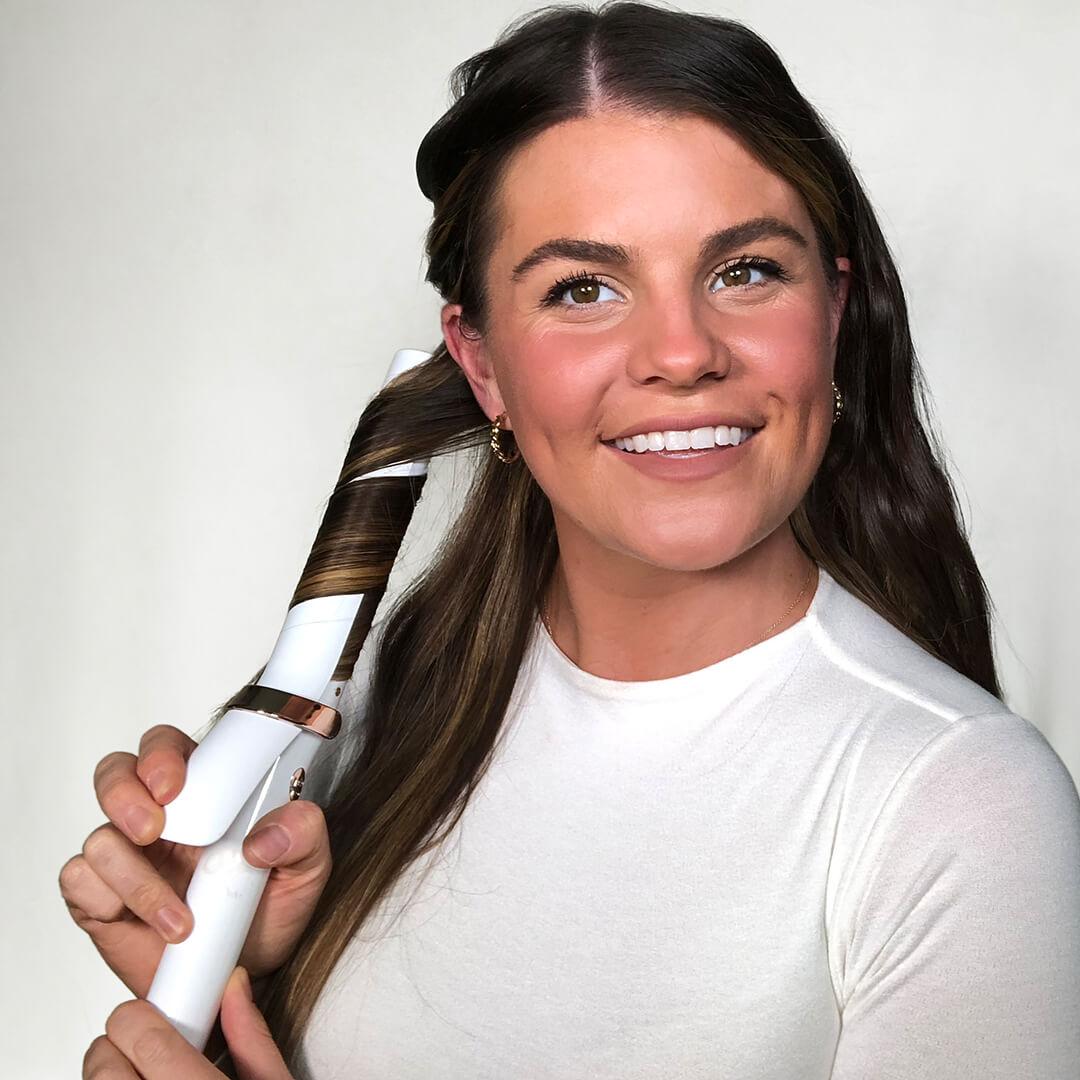
STEP 3: Bend And Clamp
We like to compare Hurkman’s technique to Elle Woods’ bend-and-snap, but make it beauty. “Using a curling iron is great for longer lasting beach waves and more of a curl formation,” says Hurkman. This alternating movement of bending the hair as you clamp down with your curling iron is key to getting the wave shape, rather than a spiral. Think: More mermaid-like, less rock ‘n roll.
It might seem weird at first, but the name describes exactly what you’ll do. Unravel a one-inch section of your hair and begin bending and clamping the curling iron through the length of the section. You’ll want to repeat this process all over your hair with one big (and this is important) caveat—alternate every few pieces with a normal curl, away from your face. This will help keep your beach waves less uniform; therefore, more natural. On that note, if your hair already has a bit of curl to it, follow the natural bend of each section.
Shorter hair? Skip the normal curled sections and stick to the clamping method to keep from losing length.
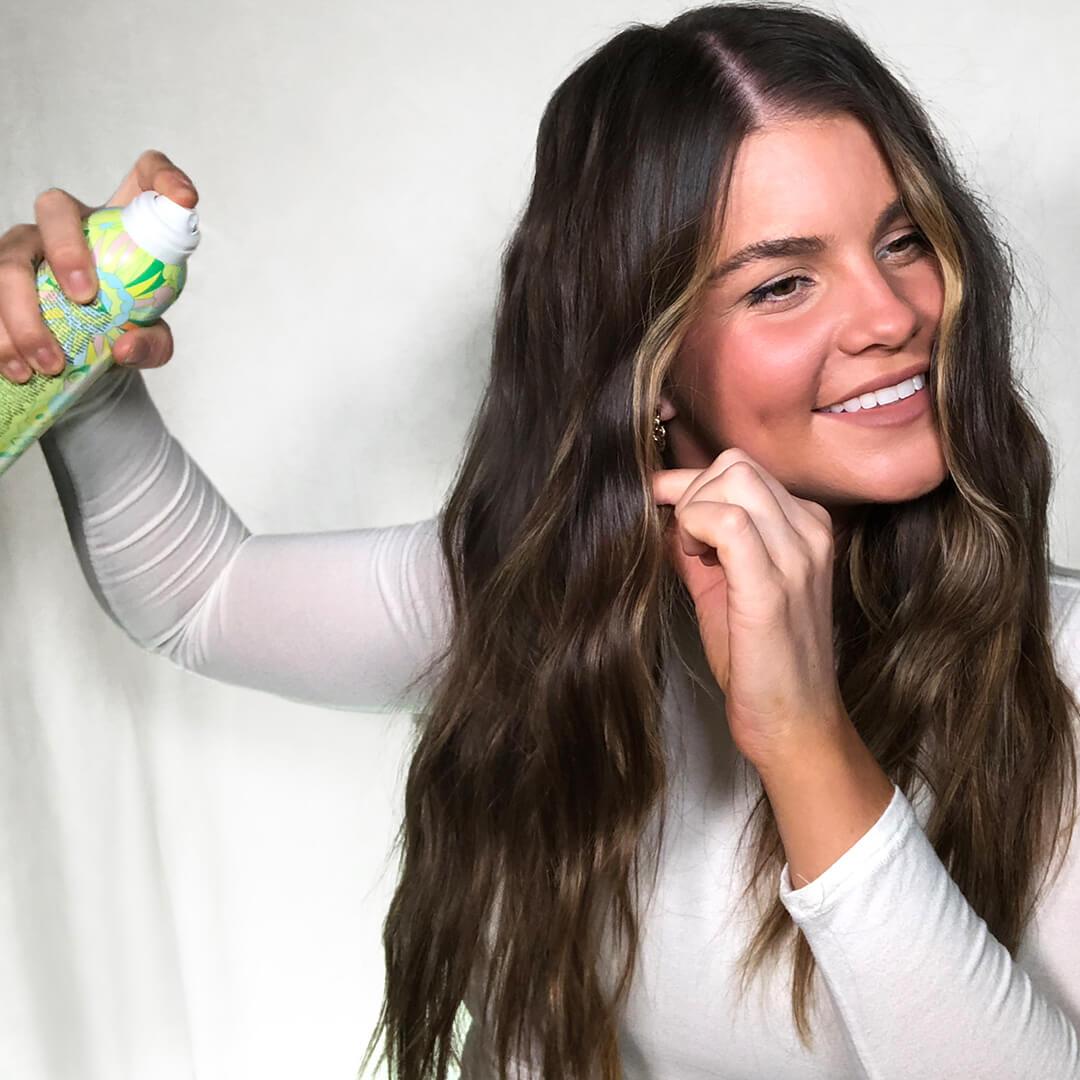

STEP 4: Spray And Scrunch
You’ve done all the hard work, now it’s time to play. Add in your favorite dry texture spray (we’re big fans of this one from BUMBLE AND BUMBLE) and scrunch at the roots to add major volume. That dry shampoo that you used to prep can help keep this alive for several days, but if you’re on day three or four, Hurkman recommends adding in some moisture. “Run a little pomade or lightweight oil through your ends—your hair will not only thank you for the hydration, but your ends will be back to being soft and smooth.” We’d like to direct you to our favorite hair reviver, PLAYA New Day Mist. Spritz through the lengths of your hair and scrunch to wake those waves back up. Did heat and humidity tame your waves? Hurkman says sealing your style with a light hold hairspray will help shield it from summer’s worst.


Want in on all the Glam Bag fun? Take our Beauty Quiz now to get started. Already an Ipster? Refer your friends to earn points, which you can use toward products. Either way, don’t forget to check us out on Instagram and Twitter @IPSY.
Liked this post? Share!
Related Stories


Hair
Thinking About Cutting a Bob This Summer? Start Here!
5 min read


Hair
Are You Leaving Your Conditioner on Long Enough?
4 min read


Hair
E.L.F. Just Entered the Hair Chat—Here's Everything in the Collection
3 min read


Hair
Heat Wave? These 12 Summer Hairstyles Are the Move
5 min read


Hair
The Best Bob Cut Haircuts for Every Face Shape, Hair Texture, and Styling Routine
7 min read


Hair
Ultra-Long Hair Is Everywhere Right Now—Here’s Why
3 min read


Hair
13 Blonde Balayage Looks That Prove the Hair Color Trend Is Here to Stay
3 min read
Hair
Brown Hair Color Guide: How to Choose the Right Shade, Undertone, and Style for You
10 min read

Beauty Picked Just for You
Get 5 products worth up to $70
Exclusive access to epic deals up to 80% off
Starting at just $15/month. Cancel anytime.