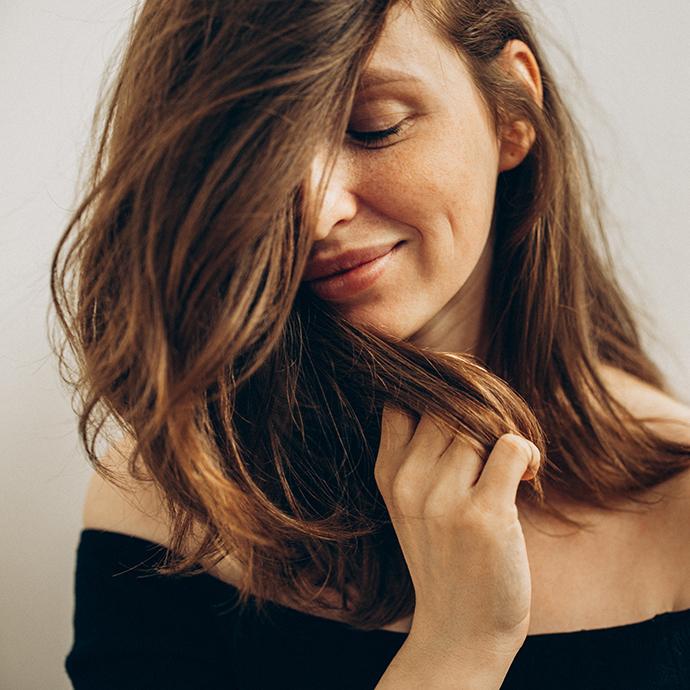
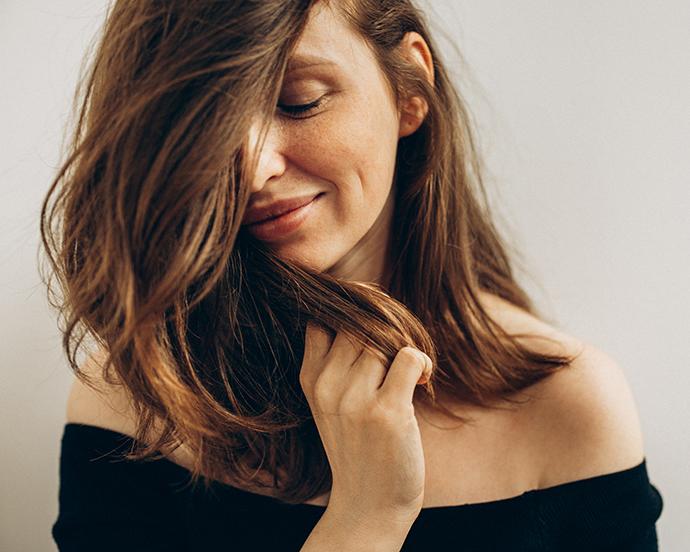
3 Best DIY Wedding Hairstyles
IPSY Editors


Your wedding day: it’s one of the biggest moments of your life. Everything has to be perfect - from the dress to your hair to your guest list.
While it’s important to remember that you can’t control everything (you don’t have a say in whether crazy Aunt Gin flirts with your groomsmen, for example), your wedding hairstyle is one thing you can control.
When it comes to finding the perfect wedding hairstyle, we’re here to help. Whether you’re going for a timeless, romantic look or something a bit more modern, this article will have some tips and pointers for creating a look for your big day–with or without a hair stylist.
Should I Wear My Hair Up or Down?
One of the first questions many brides ask themselves is whether they should wear their up or down for the big day. As you can probably imagine, there are benefits and drawbacks to both, but regardless of what you choose, you’ll be the most beautiful bride your groom ever laid eyes on.


Going for an Updo
Updos are a classic wedding hairstyle for a reason. They show off the lines of your facial structure and neck, and they keep every silky strand of your hair in place throughout the entire ceremony and reception. They’re also considered more practical for certain venues, especially if your wedding is outside or in a humid environment, as opting for an updo can keep your hair frizz-free and out of your face so you can enjoy the day. An updo is also a great way to highlight a dramatic back detail on your wedding dress or to display those antique earrings you want to show off.
The Benefits of the Locks-Down Look
If you’re going for a more natural or relaxed vibe with your bridal hair, you might choose tousled waves or a half-up look. This is an excellent option for brides who want to wear a flower crown or hairpiece, or if you just want to let your hair flow free. Keep in mind that this ‘do also works best depending on the duration and venue of your wedding–it’s ideal for shorter or indoor-venue weddings, for example. Of course, if you’re set on rocking a half-up hairstyle or a straight and sleek look and your venue isn’t indoors or your ceremony will be long, you might consider investing in some anti-humidity hairspray (R + Co’s Moon Landing Anti-Humidity Spray is ideal for taming frizz and keeping your style intact) or planning frequent touch-ups throughout the reception.
After all, at the end of the day, your wedding is all about you, and you can–and should!–choose any hairstyle that makes you feel the most beautiful and comfortable. And whether you’ve already decided on rocking an updo or letting your hair down, or if you still can’t quite pick one, these looks below are sure to provide some inspiration.
Look 1: Glamorous Curls with a Unique Twist
Curls are the perfect go-to for lots of brides. Glamorous yet modern, this “long and loose” look is romantic, elegant, and perfect for indoor, outdoor, formal, and informal wedding celebrations. It also works great on a variety of hair lengths, but you can always invest in some clip-in extensions if you want a longer look (we recommend Sleek’e Hair’s Clip + Go Remy Hair Extensions for quick, no-fuss application).


What You’ll Need
1-in. curling iron (Eva NYC’s Healthy Heat Clip-Free Curling Iron is great for keeping hair frizz-free and healthy)
Hair clips for sectioning (use Cake Beauty’s bright pink styling clips for a fun pop of color while you style)
Heat protectant (spritz FOXYBAE’s Cool AF Heat Protectant on dry hair to protect your strands from unwanted sizzle)
Texture cream (Verb’s Sea Texture Cream hydrates hair while you style)
Optional: Hair accessories (for an extra delicate touch, we recommend jeweled pins like Pink Pewter’s Zara Pearl-Woven Tree bobby pins)
How to Get the Look
Step One: First, separate your hair into small, manageable sections, pinning up the sections you’re not focusing on initially with hair clips.
Step Two: Next, wrap a single 1” strand from each section around your curling iron, making sure it’s curling away from your face in a loose wave.
Step Three: Once you’ve shaped the curl, release it into your hands and hold it for a few seconds to make sure it keeps its shape
Step Four: Repeat this process around your entire head, taking care to only wrap 1” thick strands around the curling barrel at a time to ensure even curls
Step Five: Seal your curls and enhance the texture by applying the Verb Sea Texture Cream to the middle-end of your hair. To lock in your style, finish by gently spraying a flexible hold hairspray, like AVEDA’s Air Control Light Hold Hair Spray, all over.
Step Six: Add any hair accessory you’d like to customize your curls. Adding a headband like the regal Pink Pewter Marie Antoinette of France Ribbon Hair Vine is a great, quick-and-easy way to add some subtle sparkle to your locks.
Look 2: Boho Half-Up, Half-Down Waves
This look is relaxed enough for a backyard wedding, while still refined, elegant and fairy-tale dreamy. While this style works on most hair textures, you can curl your hair into glamorous curls like above for added bounce and body. As a general guideline, this style works best on mid-to-long hair lengths, but hair extensions are always an option if you have short hair.


What You’ll Need
Fresh flowers (pick a single variety for a uniform look, or use a mix of fresh wildflowers for added romanticism)
Comb for detangling (Pink Pewter’s “Never Let Me Go” Carbon Fibre Color and Styling Comb is a stylish and lightweight option that will never slip out of your fingers)
Bobby pins (aim for a shade that matches your natural hair color, like the color options of Briogeo’s Pin Tin)
Lightweight hairspray (a flexible hold is best if you want your locks to be able to move naturally as you go–we recommend FATBOY’s Flexible Hairspray)
How to Get the Look
Step One: Tease your hair at the crown with a comb to add volume.
Step Two: Take two sections of hair (from the volumized part) and pin them together behind your head. To ensure they’re even, imagine you’re extending the line from the outer corners of your eye. Secure them in the middle with bobby pins.
Step Three: Take another two sections of hair from the front of your head and twist backward, securing each twist in the hair with bobby pins as you go.
Step Four: Continue the process until you’ve gathered half of your hair up in a half-up hair style. Loosen twists as you go to retain fullness.
Step Five: Finish the twisted half-up by pinning the two sections of hair into each other with bobby pins at the back of the head. Tuck any visible bobby pins under the hair, so they’re not seen in the finished look.
Step Six: Spray your finished twist with a lightweight hairspray to hold.
Step Seven: Finish by gently inserting fresh flowers stem-first into the twist. Secure the stems with bobby pins, again making sure to tuck them under hair so they’re not visible.
Look 3: Romantic Chignon
This classic updo can be worn under your wedding veil, adorned with flowers or pearled hair clips (like these Pink Pewter Pearl Hair Pins), or on its own. However you wear it, this simple low bun is classic and timeless.


What You’ll Need
Hair brush for detangling (this R + Co brush is designed especially for gently smoothing and detangling)
Hair clips for sectioning (these Cake Beauty hair clips are not only adorable, but grip your hair like no other)
Bobby pins and elastic hair ties (choose a shade that matches your natural hair color for both of these so they’ll blend in–FOXYBAE’s Big Primpin Bobby Pin Tin features a variety of different bobby pins for each hair type and style)
Strong hold hairspray (R + Co’s Vicious Strong Hold Flexible Hairspray provides a no-slip grip for every style without making your hair crusty and sticky)
How to Get the Look
Step One: Part your hair into a top half and a bottom half, as if you were doing a half-up, half-down look. Secure the top half of your hair with a hair clip.
Step Two: Section the bottom half of your hair into three sections, like you would if you were creating a braid.
Step Three: Tie a hair elastic into the middle section of the three sections you created, like you would if you were creating a ponytail. However, leave some of your hair in the elastic, so that you create a loose bun with a long ponytail (around half of the hair from the middle section of your head should be in the bun, the other half dangling out)
Step Four: With the hair that is left loose from the bun, separate into two more sections and twist over each other. When you reach the end of the twist, pinch the bottom with your finger and thumb while you go through with your other hand and loosen the strands.
Step Five: Then, wrap the loosened twist around the bun, and secure with bobby pins.
Step Six: Grab a few strands from the two front sections of hair and twist them back to meet the back bun, securing each twist with bobby pins.
Step Seven: Twist and pin all remaining hair into the bun, repeating the process in Step 6. If you have long pieces of hair that can’t be fully twisted into the original bun, repeat the process in Step 4, pinning the new bun you create into the original one.
Step Eight: Finish with a strong hairspray and your bridal veil or other hair accessories.
It's about glam time you treated yourself.
Join IPSY

Liked this post? Share!
Related Stories


Hair
The Best Bob Cut Haircuts for Every Face Shape, Hair Texture, and Styling Routine
7 min read


Hair
Ultra-Long Hair Is Everywhere Right Now—Here’s Why
3 min read


Hair
13 Blonde Balayage Looks That Prove the Hair Color Trend Is Here to Stay
3 min read
Hair
Brown Hair Color Guide: How to Choose the Right Shade, Undertone, and Style for You
10 min read


Hair
How to Get Slayyyter’s Viral “WOR$T GIRL IN AMERICA” Waves
3 min read


Hair
The Dramatic Wedding Hairstyles We Can’t Stop Thinking About
6 min read


Hair
Addison Rae’s Desert Rose Red Hair Is About to Be Everywhere
6 min read


Hair
The Complete Guide to Blonde Hair Shades and How to Find Your Perfect Match
11 min read

Beauty Picked Just for You
Get 5 products worth up to $70
Exclusive access to epic deals up to 80% off
Starting at just $15/month. Cancel anytime.