Make Your Next Bath Instagrammable With This Easy DIY Bath Bomb Tutorial
IPSY Editors

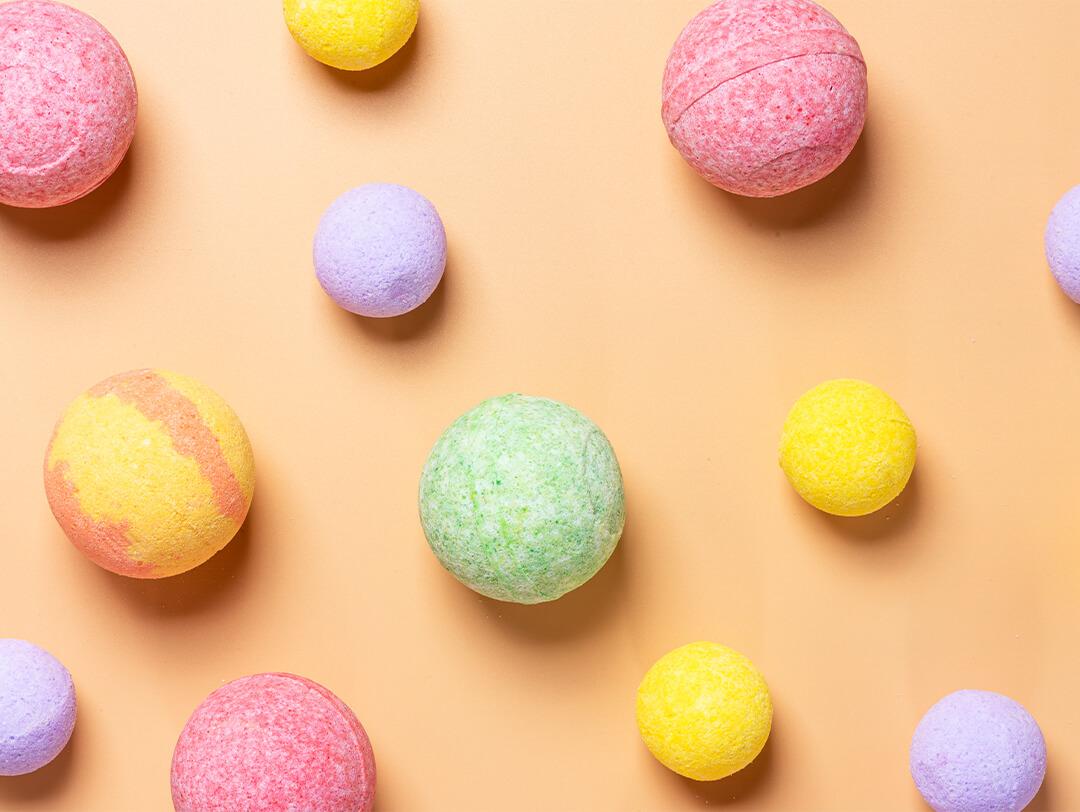
If you've been on Instagram lately, there's a good chance you've seen the totally mesmerizing videos of multicolored bath bombs dissolving in water. The swirls! The bubbles! The colors! Whether it's one of the famous LUSH bath bombs or one you make at home, bath bombs can make the relaxing ritual of your bath routine even more calming—and fun.
But fizzy bath bombs aren't just for visuals. With ingredients like almond oil, Epsom salt, and essential oils, these bathtime additions nourish your skin and even add aromatherapy benefits to your wind-down routine.
Whether you're looking to cut down on costs or fill up some of your downtime at home, this beauty product makes for a fun and super simple DIY. And if you’re feeling ambitious, we recommend you make a few extra for your friends—these make great gifts (look at you, planning ahead for birthdays and holidays!). Continue reading below for everything you need to know about how to make your own bath bombs.
It's about glam time you treated yourself.
Join IPSY

Everything you need to make a homemade bath bomb:
We’ve got your customizable DIY bath bomb recipe right here. Feel free to experiment and make tweaks based on the benefits and visual effect you're going for.
For the bath bomb base:
These are the essential ingredients you need for achieving that classic bath bomb fizz.
1 cup baking soda
1/2 cup citric acid
1/2 cup Epsom salt
1/2 cup cornstarch
Water
Optional add-ins:
Add these ingredients to your bath bomb to boost its aromatherapy and skincare benefits.
2 tsp of an essential oil (or a blend): Lavender, geranium, neroli, peppermint, and sandalwood are all popular essential oils for a super relaxing bath routine. Wanna know which essential oils are best for your skin? We got you—just read our blog post.
2 tsp of your favorite body oil: Nourishing carrier oils like sweet almond oil, coconut oil, and jojoba oil all work great with your homemade bath bomb.
A colorant: To add color to your bath bomb, add in a few drops of food coloring or dry pigment. There are even plenty of options if you’re looking to keep your bath bomb as natural as possible— just use natural, vegetable-based pigments instead.
Visual accessories: Adding in dried flowers, compostable glitter, and edible sprinkles are all fun ways to add that “wow” factor to your bath bomb. Totally Instagram-worthy, if you ask us.
Tools:
2 mixing bowls
A whisk
A spoon
A bath bomb mold: There are molds made specifically for bath bombs that you can purchase. You can also use a muffin tin, a candy tray, easter eggs, or any type of silicone mold. Feel free to get creative here!
How to make your own bath bombs, step by step:
1. In a large bowl, begin whisking the foundational dry ingredients: baking soda, citric acid, Epsom salt, and cornstarch. If you're using a powdered pigment, you'll want to add that in now. If you're using a liquid colorant, wait until the next step.
2. In the second large mixing bowl, combine most of the liquid ingredients: your preferred body oil, the essential oils, and liquid colorant (if that's what you're using). Don't add any water just yet.
3. Now, very slowly add the wet mixture to the dry mixture. The baking soda and citric acid are what cause bath bombs' fizzy effect and that effect is activated by water—so making sure the mixture is not too wet is key to not "setting it off" prematurely. If you see a little bit of fizzing, though, that's OK.
After all of the liquid is well combined with the dry mixture, the texture should resemble damp sand. If you pick some up and squish it together, the mixture should clump up. If it doesn't, add a 1/2 teaspoon of water at a time until it gets to the right texture. Make sure to combine each 1/2 teaspoon thoroughly into the mixture before adding more.
If you have fun additions to your recipe like dried flowers, sprinkles, or compostable glitter, add those in now.
4. Very tightly pack the crumbly mixture into whatever bath bomb mold you're using, making sure there are no air pockets, as this will cause them to fall apart more easily. If you're using a mold made specifically for bath bombs, overpack the two sides slightly and then squish them both together. Allow the mixture to stay in the mold for about one minute. Then, very gently remove the bath bomb from the mold and set it aside on a clean surface (wax paper, a paper towel, or parchment paper all work).
5. Once all of your mixture has been molded, allow your homemade bath bombs to dry out for at least 24 hours. Then store in an airtight container before adding them to your next bath!
Want in on all the IPSY Glam Bag fun? Take our Beauty Quiz now to get started. Already an Ipster? Refer your friends to earn points, which you can use toward products. Either way, don’t forget to check us out on Instagram and Twitter @IPSY.
Liked this post? Share!
Related Stories
How-To
How to Apply Cream Blush Without Overthinking It
5 min read
How-To
The Secret to Better-Looking Makeup Isn’t What You Think
6 min read
How-To
Got a Cut on Your Face? Here’s How to Help It Heal Without Scarring
4 min read
How-To
Why Everyone’s Scent Stacking Right Now
4 min read


How-To
How to Treat Yourself: 39 Simple Self-Care Ideas
15 min read

How-To
Here’s How to Build Your Perfect Skincare Routine for Both Morning and Night

How-To
10 DIY Face Masks That Are Expert-Approved & Actually Work


How-To
How to Give Yourself a Salon-Worthy Facial At Home
10 min read

Beauty Picked Just for You
Get 5 products worth up to $70
Exclusive access to epic deals up to 80% off
Starting at just $15/month. Cancel anytime.