A Step-By-Step Guide to DIY Gel Nails at Home


Kindra Moné

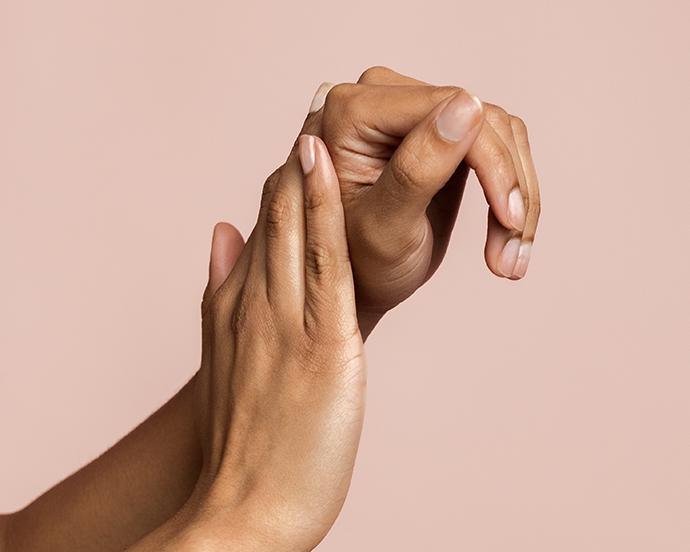
If there’s one thing we’ve learned after a global pandemic, it’s how to DIY—well, a lot of things. While sitting in the chair of your favorite beauty professional is always preferred, there’s a host of benefits to doing your nails yourself like saving money, avoiding long wait times, and the simple satisfaction of knowing you’re responsible for your own gorgeous gel nails.
It's about glam time you treated yourself.
Join IPSY

MEET THE EXPERT
Micah is a certified nail technician based in Ontario, Canada. She specializes in nail extensions, manicures, and always stays up-to-date with the latest nail art. She loves when her clients allow her to get creative and experiment with new designs. When she isn’t doing a manicure you can find her roller skating, playing fetch with her dog, or hanging out with friends and family.
Doing gel nails at home might seem a bit intimidating to those of us that aren’t nail techs, so we tapped into the expert opinion of Ontario-based nail artist Micah for her tips and tricks. Keep reading for a step-by-step guide of doing your own gel nails at home, plus the products you need to make it happen.
Step One: Prep
According to Micah, “The most important part for long- lasting gel nails is prep! Push your cuticle back and use a 180-grit nail file or buffer to remove the [dead] cuticle off the nail plate. Then, very carefully, use a cuticle nipper to remove the dead skin tissue around your nail (if you want),” says Micah. “Next, use your 180-grit nail file to remove the shine off your nails and file your nails to the length and shape you want.” “Then, dust off the dead skin and cuticle from your nail and cleanse it with isopropyl alcohol.”
Step Two: Prime & Base
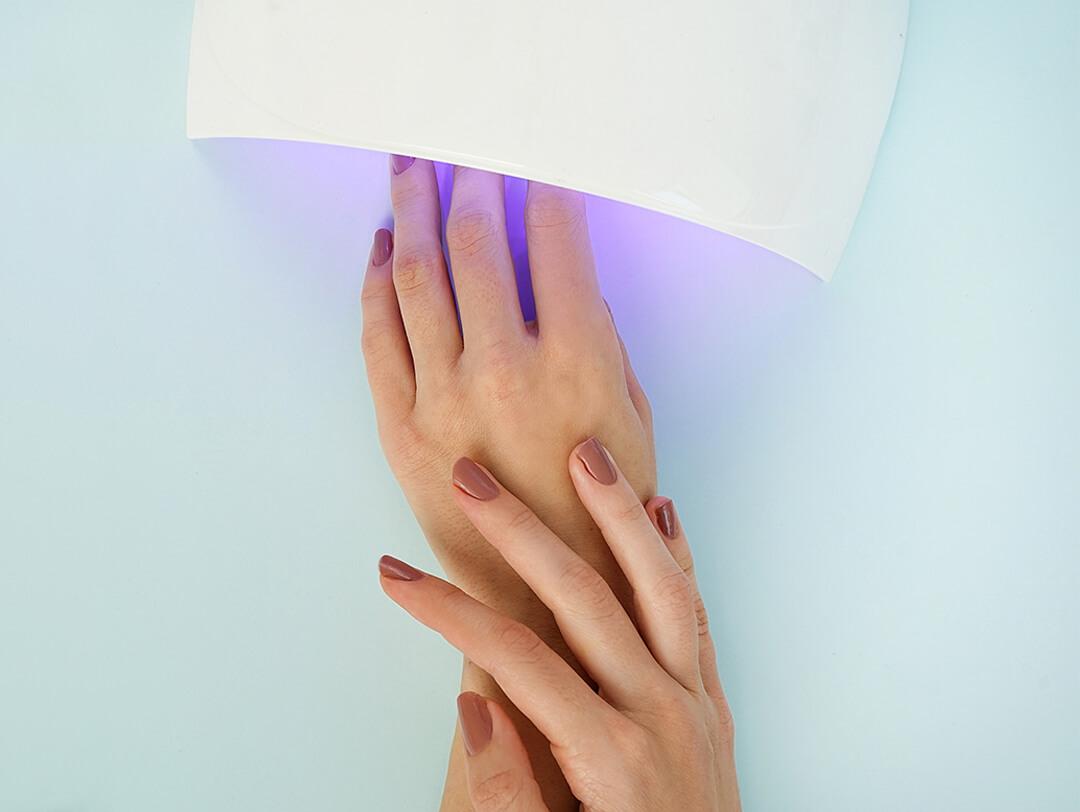
“Apply your dehydrator and primer to all your nails. Now you can apply your gel base coat! I like to do 2-3 layers of gel base to give the natural nails more strength.” Be sure to allow your nails at least 30 seconds to cure under your UV lamp (depending on your specific lamp.)
Step Three: Apply Polish & Top Coat
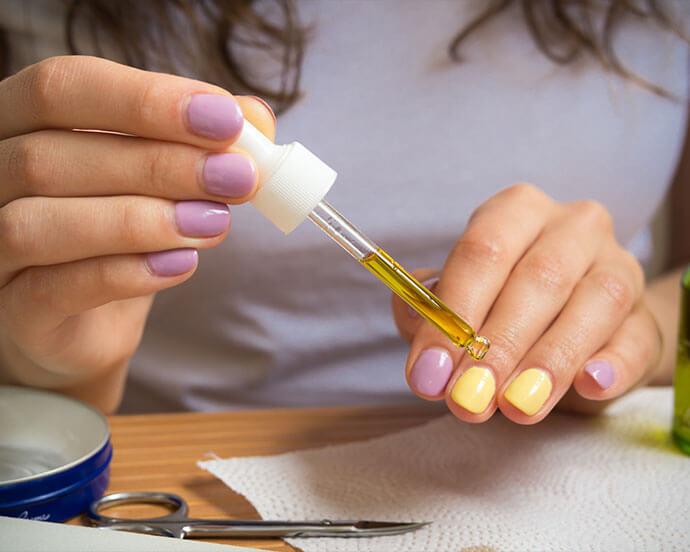
“After you apply your base coat, you can now start applying your gel polish,” Micah explains. Cure your nails with a UV por LED lamp between each coat. Lastly, apply your topcoat and give your nails some cuticle oil, like the DEBORAH LIPPMAN It’s a Miracle Intense Cuticle Therapy Oil. Pro tip: when you top coat your nails make sure to get the free edge of your nail!”
Must-Have Kits & Polishes for DIY Gel Nails
Best Base & Top Coat: PEAR NOVA Gel Base & Top Coat
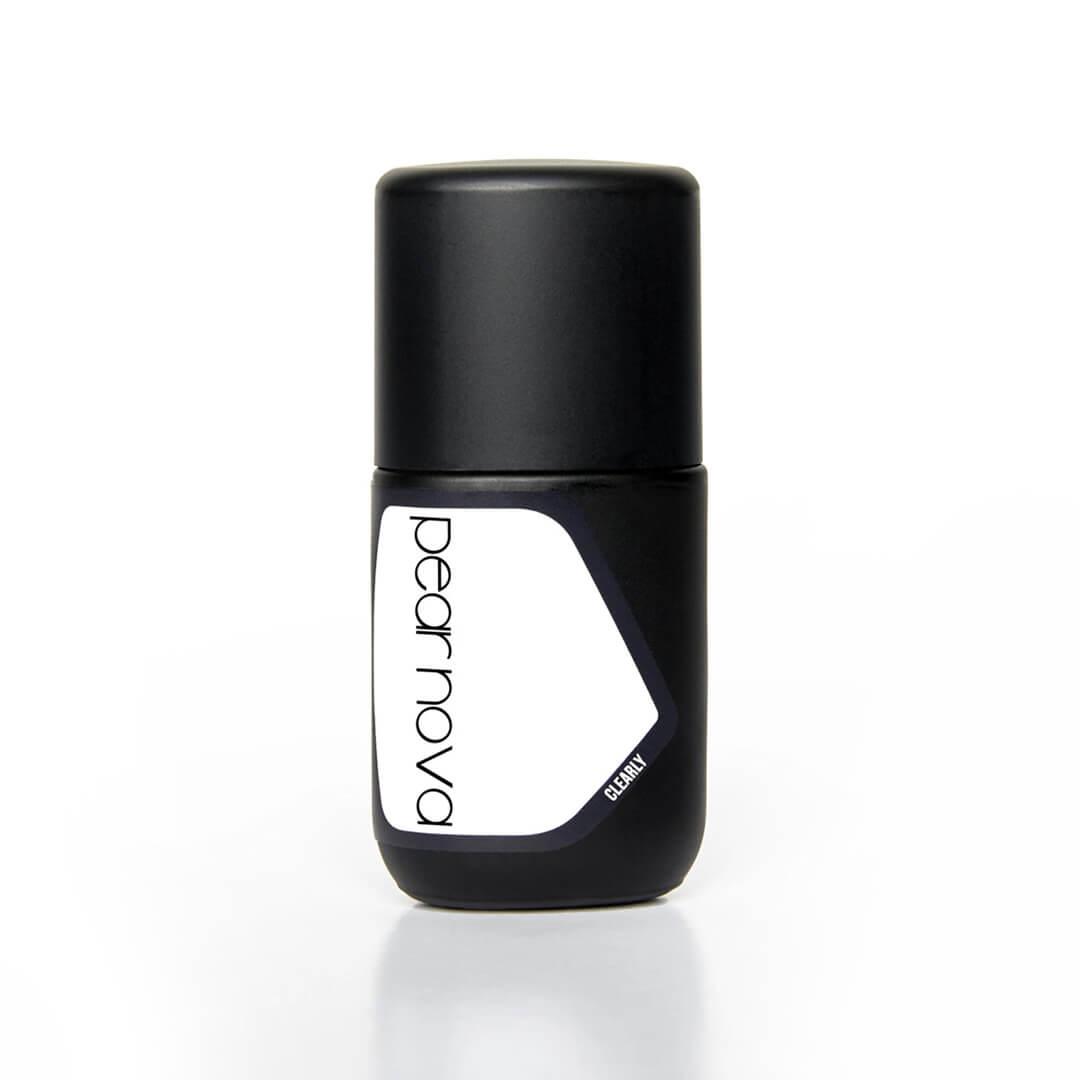

Having a strong base and top coat is essential to a lasting gel manicure, and this convenient bundle has you covered. Use “Beneath Me” from the cuticle to the free edge of your nail before your polish color, and be sure to seal with the “Clearly” top coat.
Best Nail Prep Kit: ZOYA Gelie-Cure Foundation Pro Kit Travel LED Light

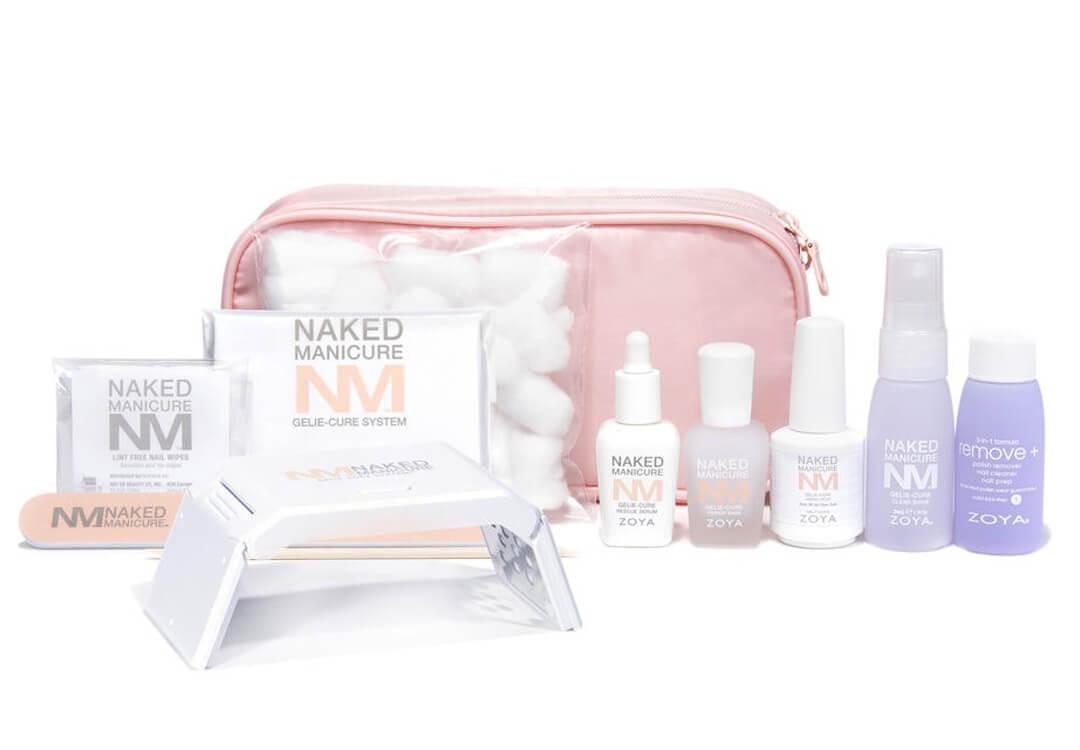
The best gel nails begin with nail beds that are prepped and ready. This handy kit has everything you need to get your nails ready from soak off foils, a 3-way nail file, and the option to choose a travel or pro LED light.
Best Travel UV Lamp: GELISH MINI On The Go LED Light

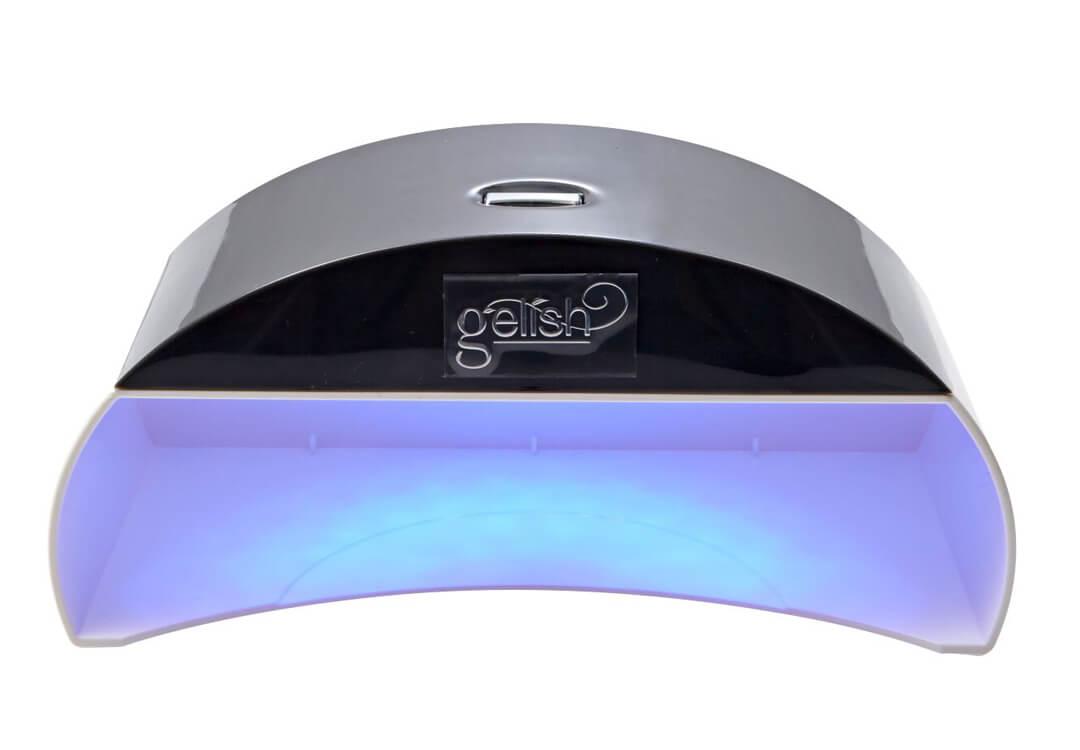
If you’re looking for an LED light to keep in your travel bag, or just a low-investment way to get started, this lamp is for you. The lightweight and compact lamp has a 45-second timer and can plug into your computer, laptop, or wherever is convenient for you.
Best Salon-Quality Lamp: LUMCRISSY Professional Nail Lamp

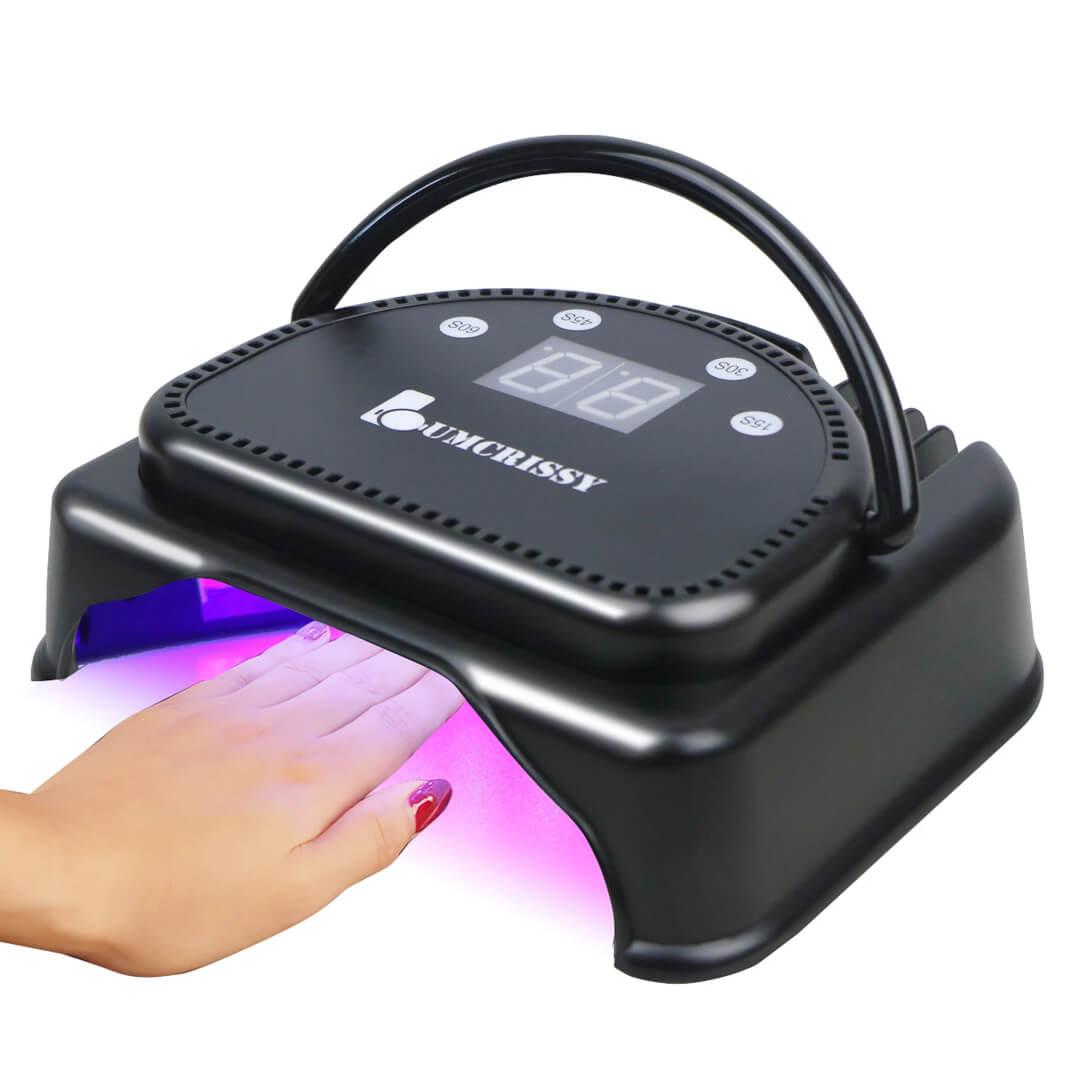
Not a rookie? This salon-quality lamp gets the job done just as well as any professional LED lamp. It features a touch sensor and typically cures nails in 45 seconds, though it also has options for 10, 30, and 60 seconds.
Best for Beginners: LE MINI MACARON Rose Creme Gel Manicure Kit

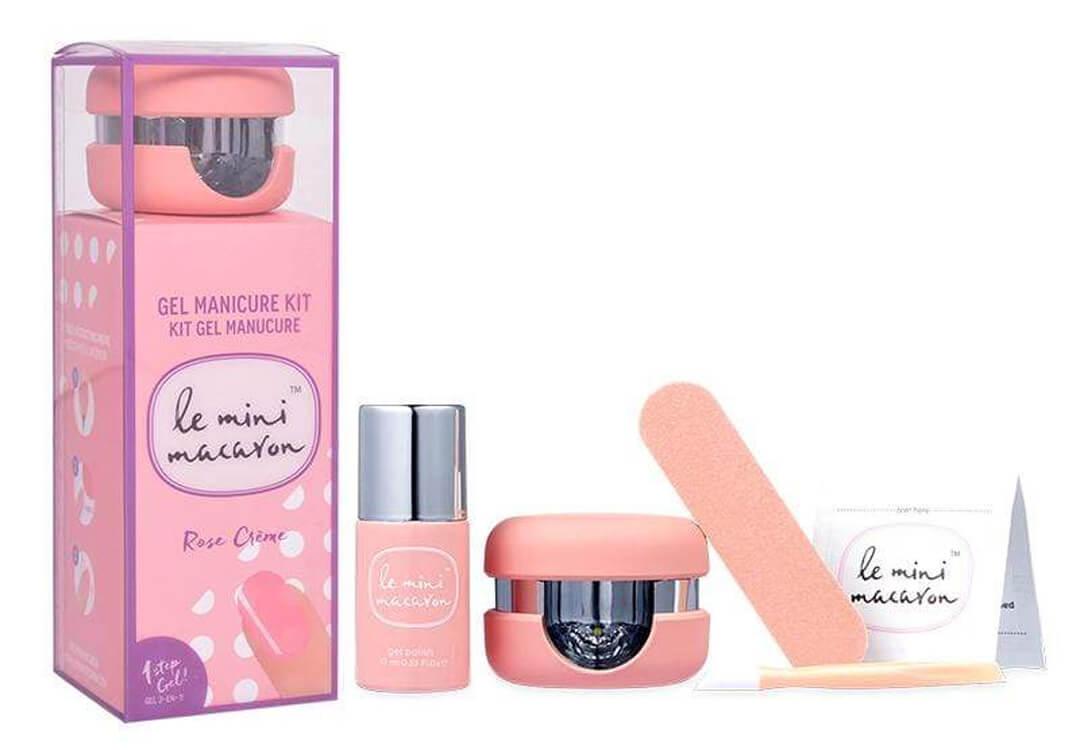
This easy to use kit has everything you need to create a sweet, baby-pink gel manicure at home. This one-step polish doesn’t need a base or top coat, just allow each nail to cure under the mini LED lamp after each coat and your polish will last for 7-10 days.
Best Polish Bundle: MODELONES® All-In-One Kit

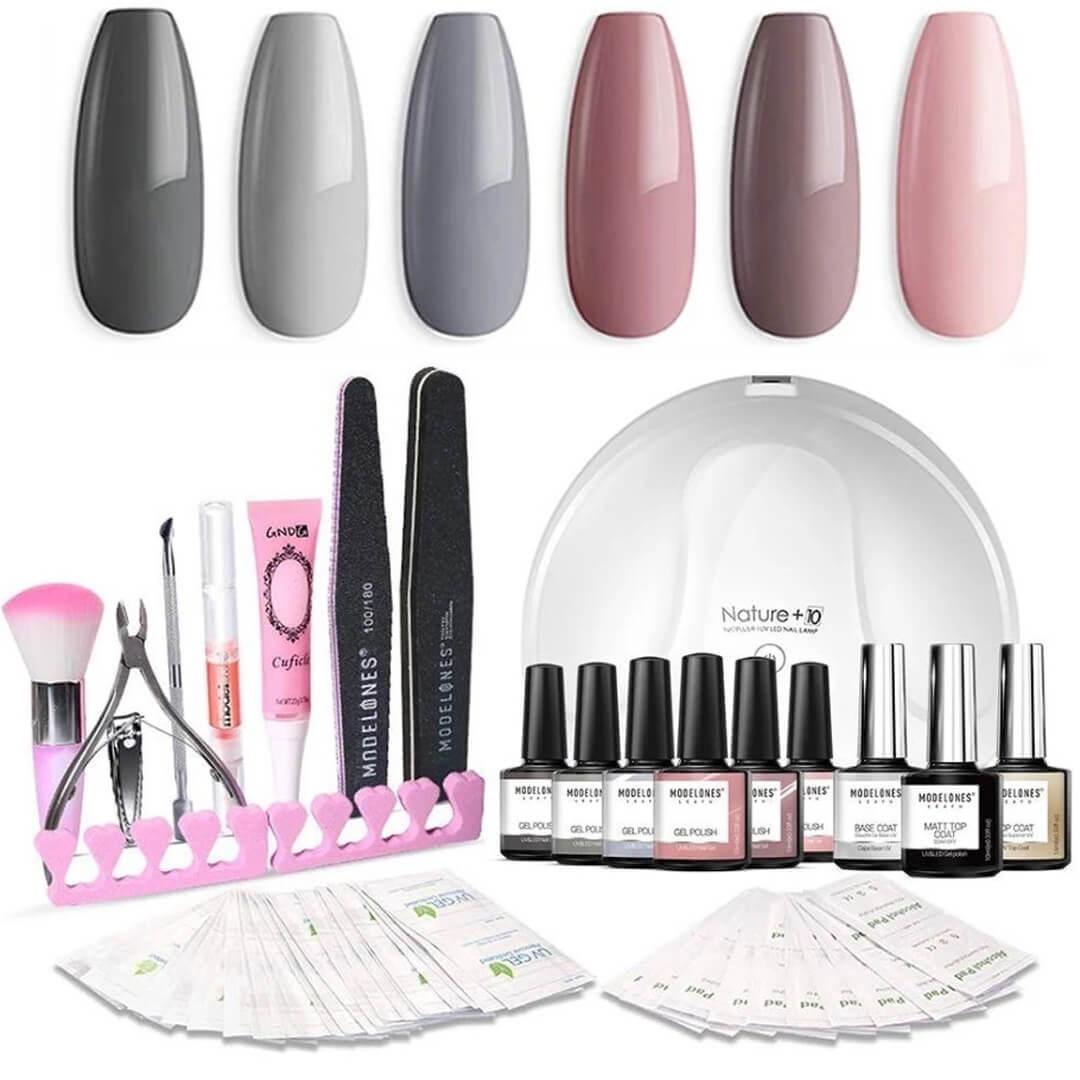
This kit wins when it comes to value and variety. You get 6 beautiful neutral colors, plus matte or shiny top coat. It also includes all of the tools you need to prep your nails and cure your polish.
Best UV-Lamp Free Polish: ESSIE Gel Couture
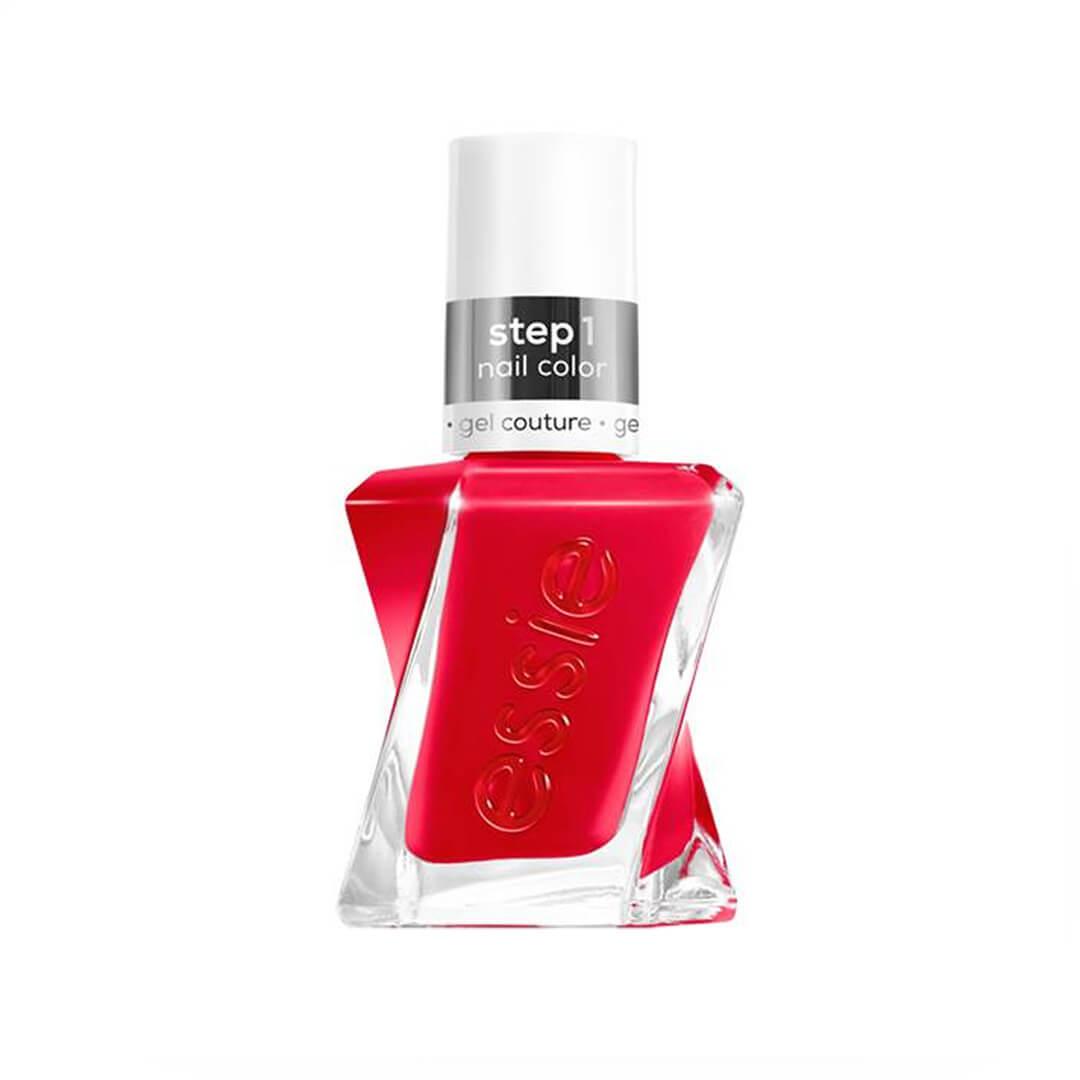

Love the gel look but not quite ready to whip out the LED lamp at home? The ESSIE Gel Couture polishes are a great option. For those that love a classic look try Spool Me Over, or opt for a fierce scarlet red with Rock The Runway.
Best Gel Removal Kit: NAILS INC. Gel-less Gel Nail Polish Removal Kit

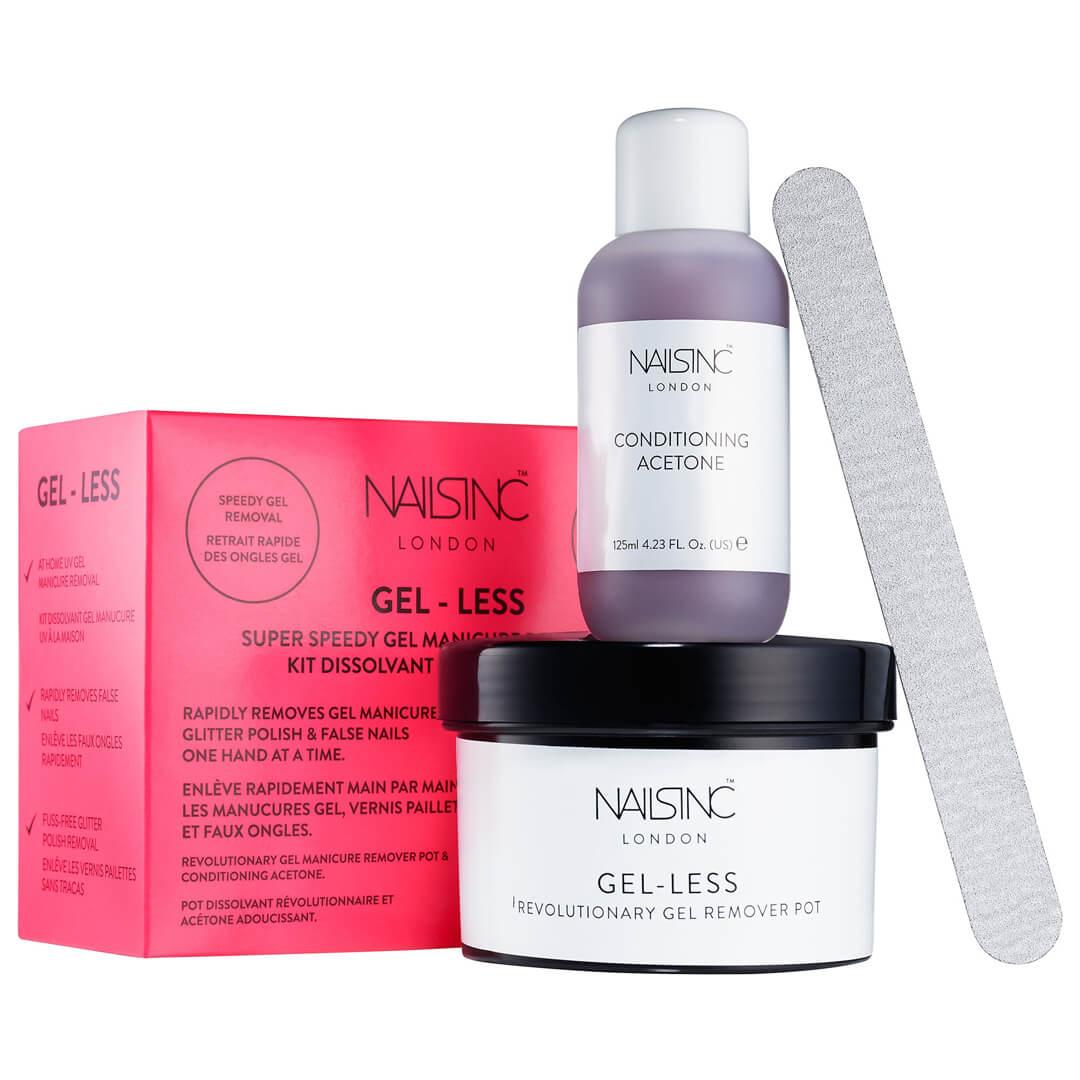
No matter how much you love your manicure, all good things come to an end. This kit makes gel removal easy with a buffer, remover pot, and conditioning acetone.
Runner-Up, Best Gel Removal Kit: RED CARPET MANICURE Remove Kit


Gently remove polish without damage with this easy-to-use kit. It comes with convenient foil nail wrap and helpful tools to scrape off any remaining color.
And finally, if you’re not up for doing your own gel manicure at home or you're just busy (because, life), these nail wraps from MANIME are the next best thing.
Looking for more ways to up your beauty game at home? Take our Beauty Quiz now to get your first IPSY glam bag. Already an Ipster? Refer your friends to earn points, which you can use toward products. Either way, don’t forget to check us out on Instagram and Twitter @IPSY.
Like this article? Share it with your friends by clicking the icons below!
Liked this post? Share!
Related Stories


Nails
Why Natural-Length Nails Are the Biggest Manicure Trend Right Now
5 min read


Nails
FIFA World Cup 2026 Nail Art Designs You’ll Get a Kick Out Of
2 min read
Nails
Spurs or Knicks? Show Support for Your NBA Team With These Nail Art Ideas
2 min read
Nails
Why Everyone’s Suddenly Asking for Soap Nails
3 min read

Nails
The Easiest Way to Moisturize Your Nails All Year Long
3 min read

Nails
Strawberry Milk Isn’t Just a Tasty Treat—Here’s How to Ace the Nail Trend!
6 min read


Nails
10 Cute and Colorful Korean Jelly Nail Designs to Try This Summer
5 min read

Nails
The Ultimate Aura Nail Guide: DIY Tips & 10 Dreamy Designs to Try
5 min read

Beauty Picked Just for You
Get 5 products worth up to $70
Exclusive access to epic deals up to 80% off
Starting at just $15/month. Cancel anytime.