How to Remove Gel Nail Polish at Home, Fast


Katrina Mitzeliotis Lanza

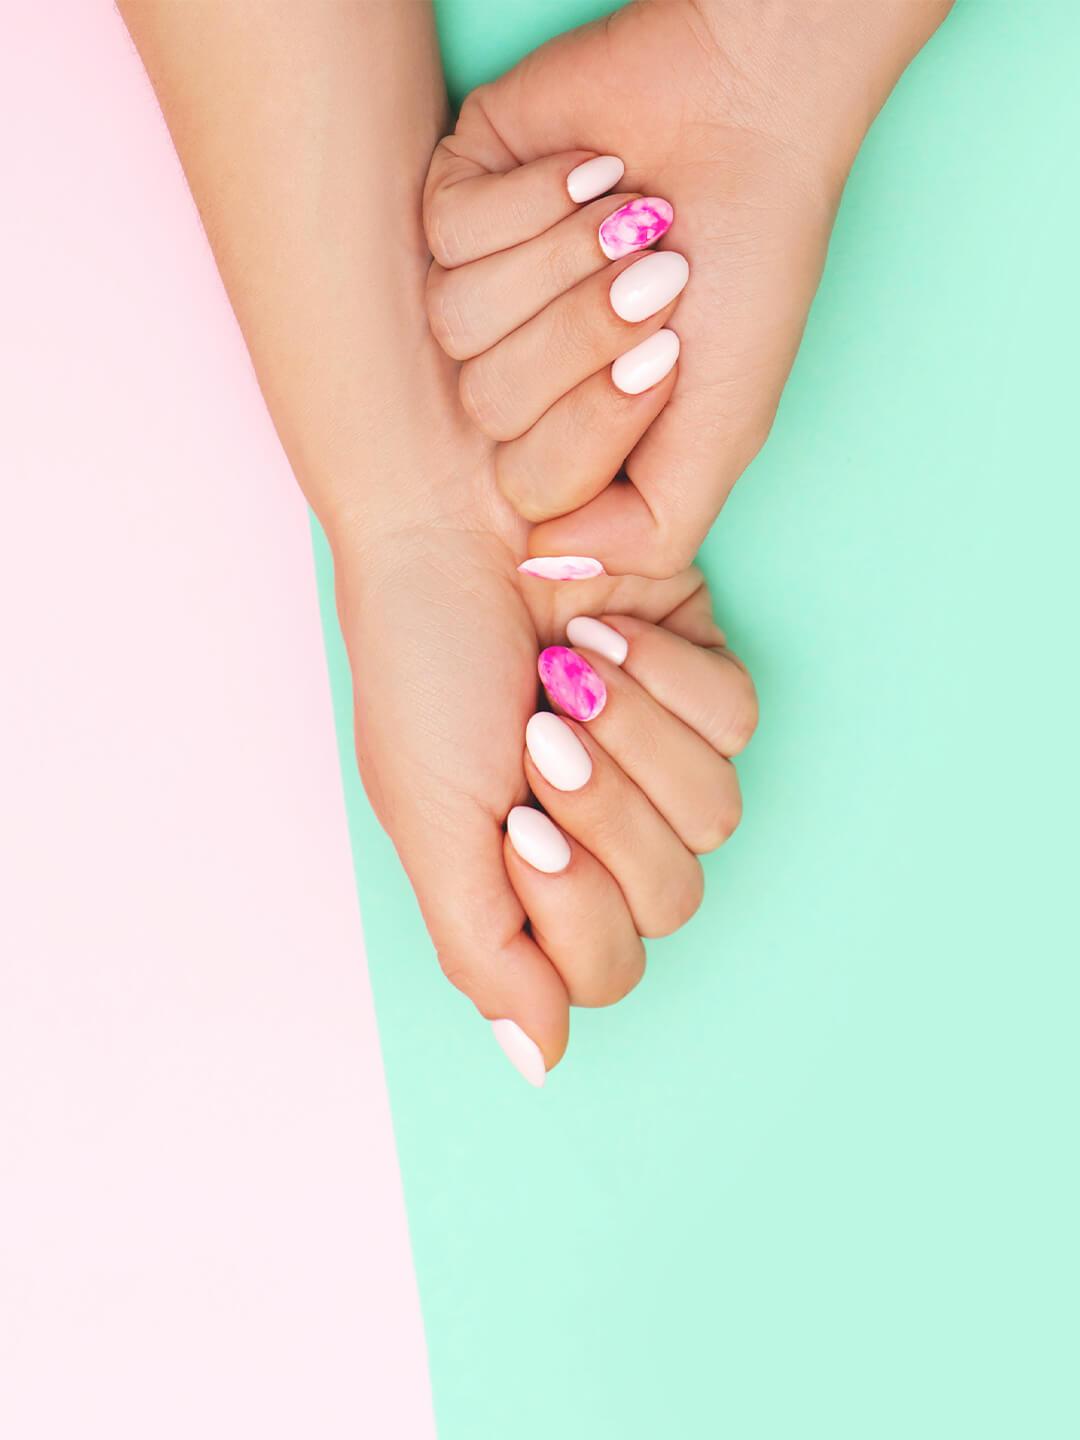
As gorgeous as your gel nail polish may look the day after a manicure, unfortunately it won’t stay that way forever. When you can’t find the time to make a trip to the nail salon, and you should’ve removed your grown out manicure, like, yesterday, you can easily take the gel polish off in the comfort of your own home without damaging your nails, thanks to supplies you already have at home and expert tips from the pros. Read on to find out how to safely remove your gel nail polish without damaging your nail beds and get ready to do a little DIY.
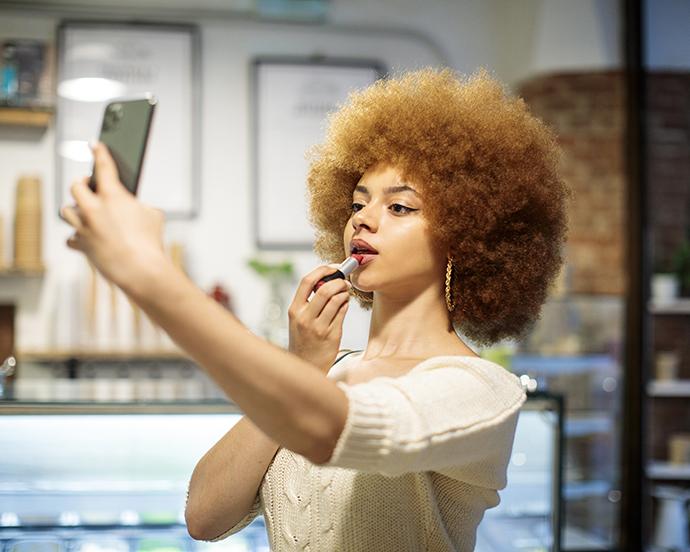
It's about glam time you treated yourself.
Join IPSY

MEET THE EXPERT
Rita Remark is a celebrity manicurist and the Global Lead Educator for essie. Her designs have been seen on top models during fashion week around the world and on the runway at Alexander Wang, DKNY, and Wes Gordon.
Crowned the "Nail Guru" by The New York Times Magazine, Jin Soon Choi is best known for her ability to pinpoint current and emerging trends and translate them into the art of nail design. She’s an editorial manicurist and founder of JINsoon Spas and JINsoon Nail Lacquer.
How to remove gel nail polish at home, step-by-step
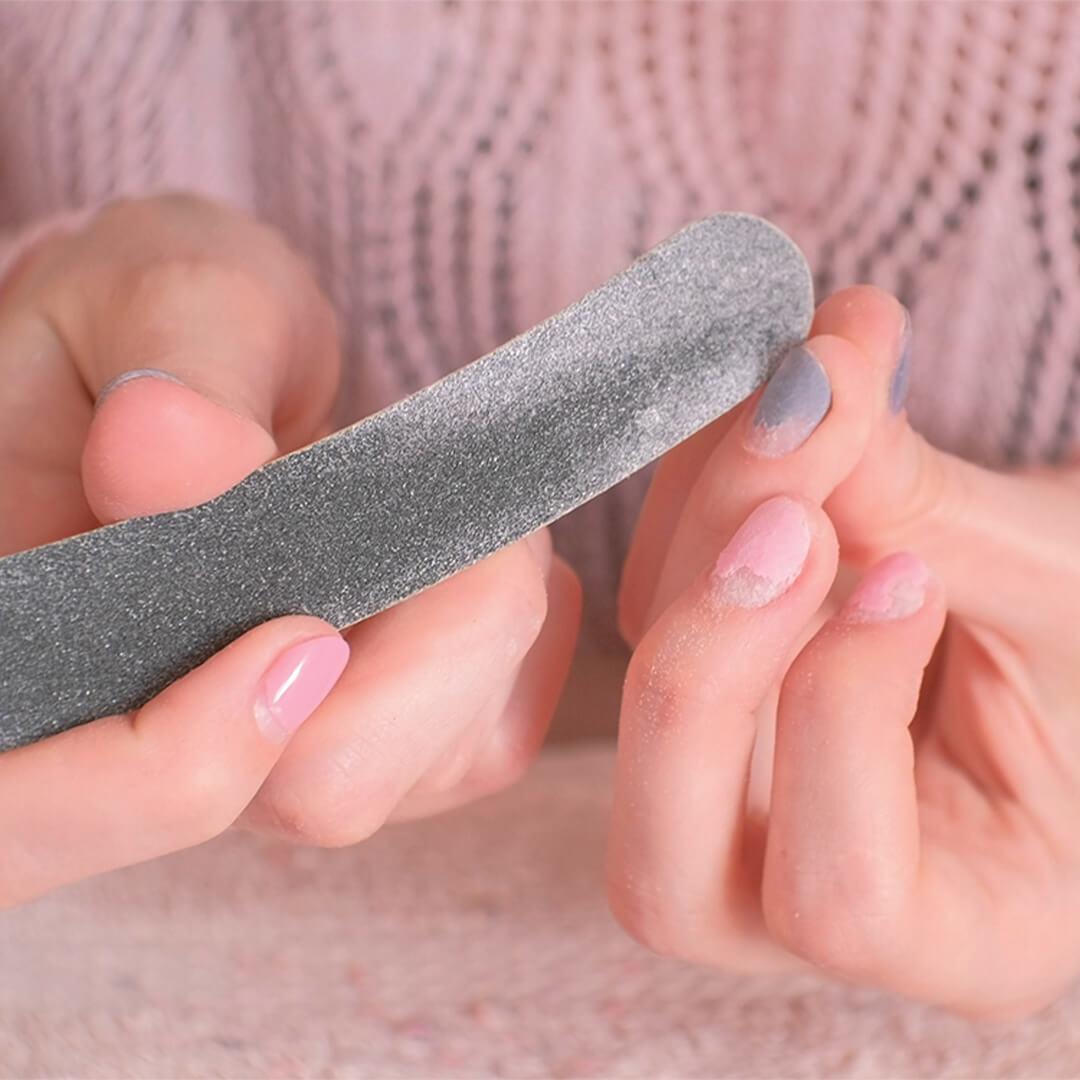

1. File down your nails.
Before you attempt to vigorously rub nail polish remover over your manicure, you’ll want to file off the glossy top coat that keeps your gel polish intact when you leave the salon. “Filing removes the top layer of the gel, the seal coat that protects the manicure from chipping,” says Jin Soon Choi, editorial manicurist and founder of JINsoon Spas and JINsoon Nail Lacquer. “Remove the top smooth seal layer so that the acetone penetrates and can break down the gel while soaking.”
Use a nail file to remove just the top layer of lacquer until there’s no shine left on the polish, but be sure to stop before you remove the polish entirely and expose your natural nail. This protects your nail from any damage during the removal process. “Your natural nails are weakened by the gel; gently filing and soaking off creates the least damage to the natural nail bed,” says Choi.
2. Condition surrounding cuticles.
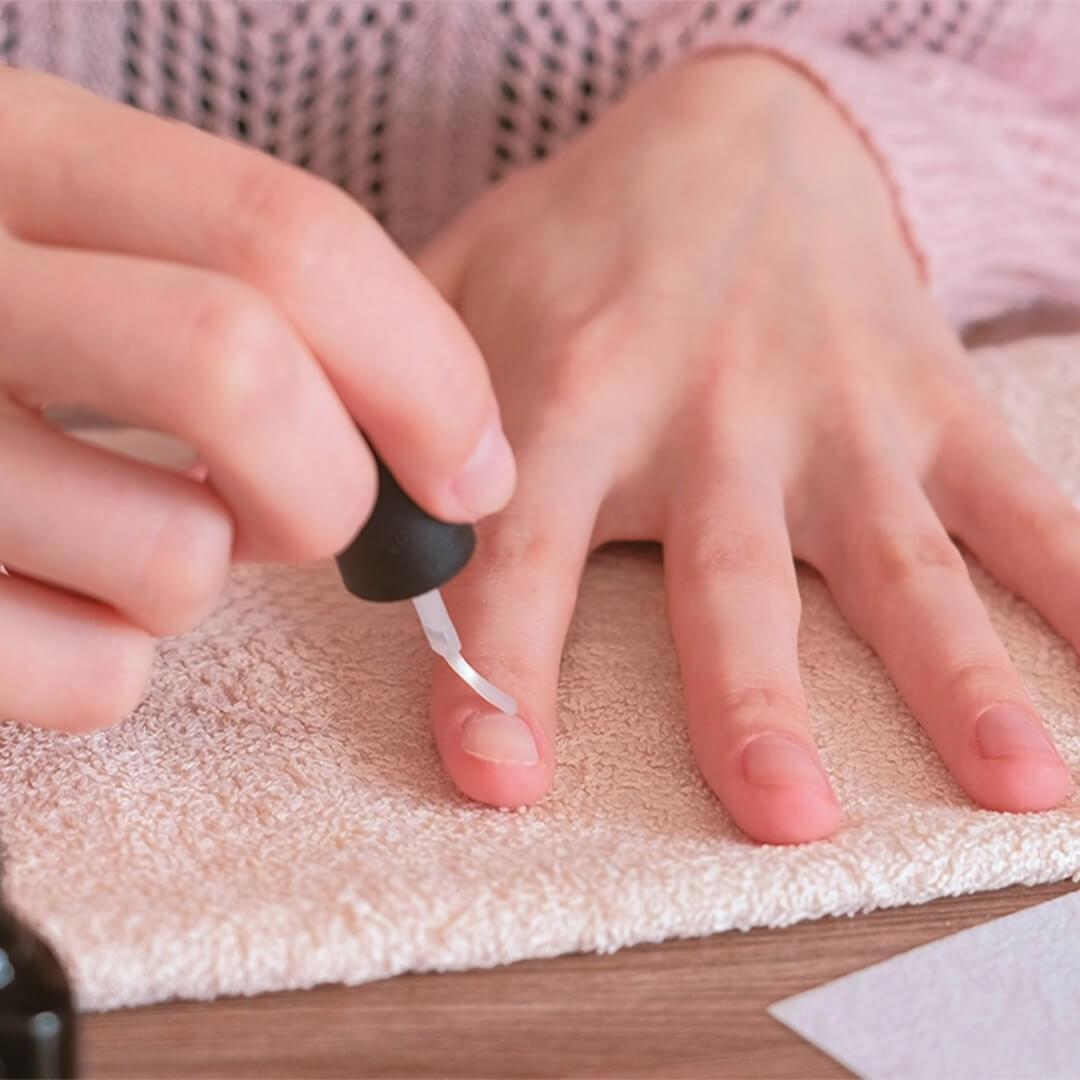
You may be eager to take off your gel polish, but before you start soaking you should treat your cuticles to protect your fingers from the acetone. “Apply cuticle oil to your cuticles and the skin surrounding the nail before soaking; this will help create a barrier to protect from excessive drying of the acetone,” says Choi. If you aren’t sure what to use, we especially love the PACIFICA BEAUTY Rose Revive Nourishing Cuticle Oil, which you can easily brush on each finger.
3. Soak Cotton balls.
While the supplies you need for gel removal are items you probably already have at home, to speed up the removal process, the type of nail polish you use matters. Be sure to reach for “100% acetone,” says Rita Remark, celebrity manicurist and Global Lead Educator for essie. “Non-acetone nail polish remover will not work.” You’ll also have better success with cotton balls instead of pads. “Cotton balls are more malleable when saturated than cotton pads. They can be molded to surround the nail bed and stay in place better than a cotton pad,” says Choi.

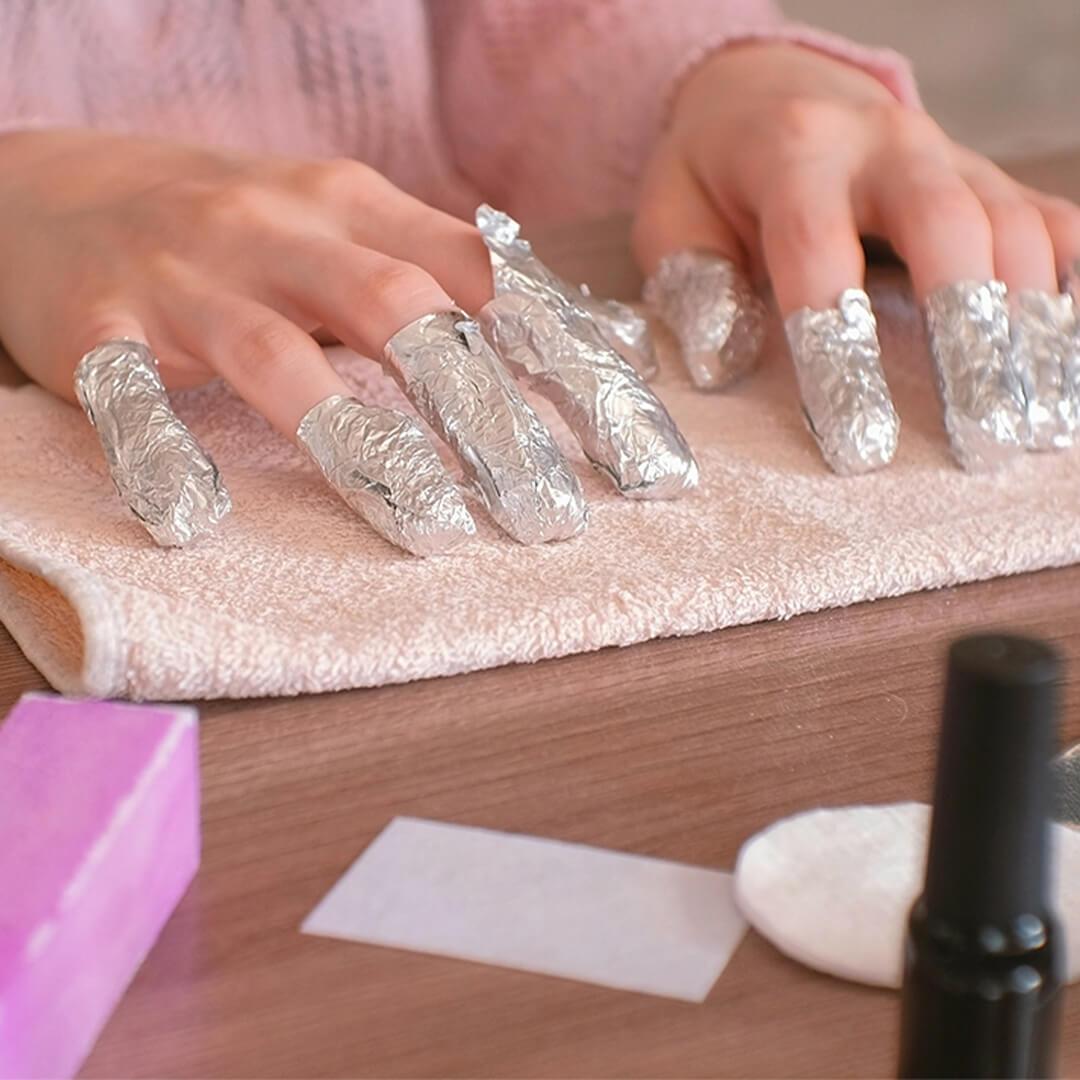
4. Wrap fingers in foil.
Apply the soaked cotton ball on top of your nail and hold it in place by wrapping the tip of your nail with tin foil, employing the same technique your manicurist or nail technician uses at the salon. Before you start the removal process you should prepare 10 small squares so that when it comes time to wrap your fingers you have the aluminum foil ready to go. This will also limit the mess you make trying to cut aluminum while also juggling saturated cotton balls. When it comes time to wrap, start with your non-dominant hand. “Wait 10 to 15 minutes for the acetone to soften and lift the gels gently off of your nails,”says Remark.
If the polish is still intact after 15 minutes, let your nails soak for 10 more minutes before you remove the foils entirely. “I recommend pulling off the cotton and foil packet with slight pressure to help wipe off the broken down product in the same motion,” says Choi. Acetone is very dehydrating which can lead to brittleness, splitting, peeling, and breakage. It is however necessary to remove gel, so as long as you follow up with hydrating products like a cuticle oil or lotion and nourish your nails with a treatment, they should remain largely unharmed.

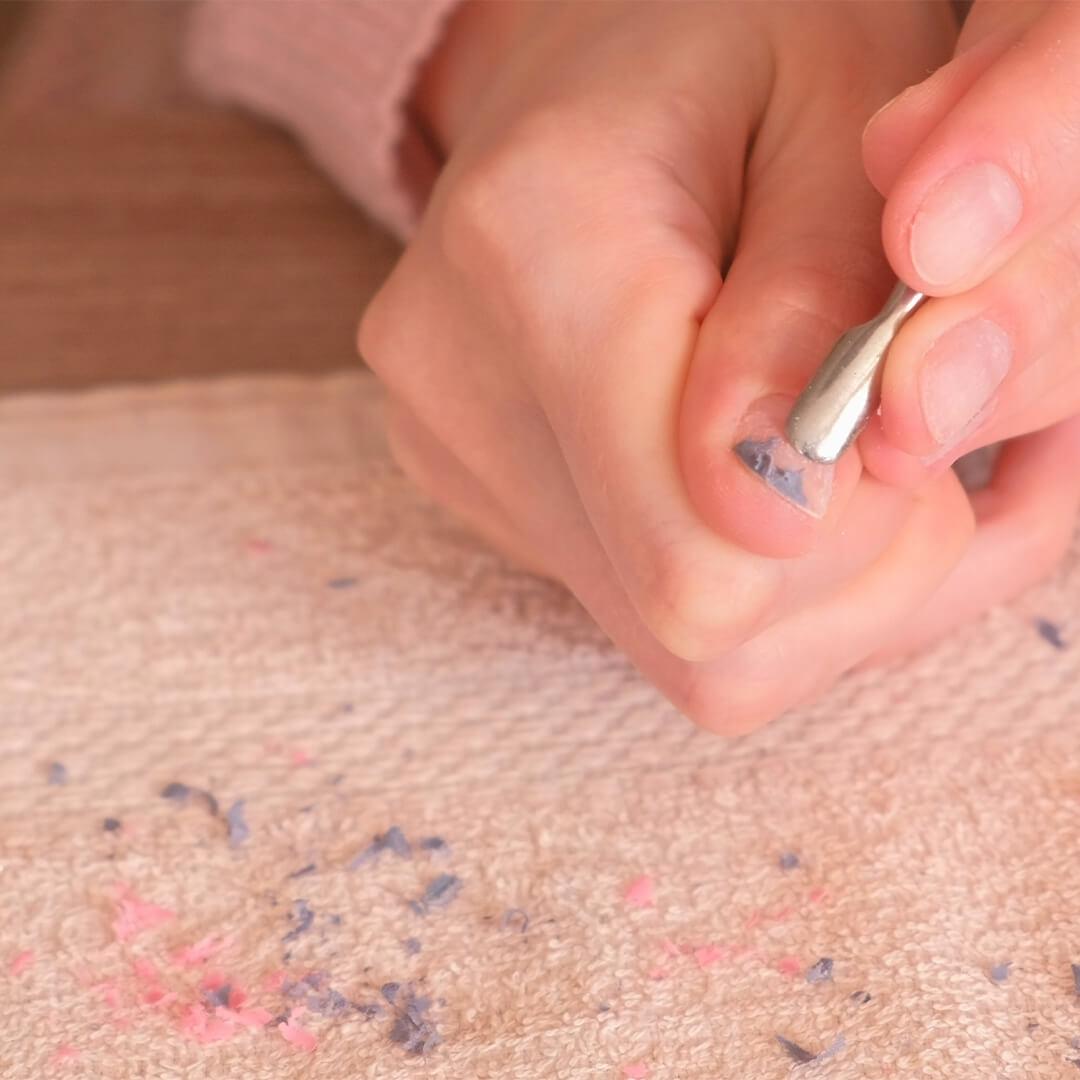
5. Use a nail stick to remove fragments.
After you’ve completely removed the cotton and the foil, use a cuticle pusher or an orange wood stick to gently remove any residue of the gel polish that’s left behind. “Gently scrape any remaining product off, being sure not to scrape your actual nail beds,” says Choi.
6. Get Buffing.
Once all the polish is off, go over your nails once more with a nail buffer. “Once your nails are bare give them a light buff with a buffer block to remove excess residue and to smooth the surface,” says Remark.

7. Condition surrounding cuticles.
“Following the removal process, it is extremely important to hydrate the nail,” Choi says. While using acetone is necessary to remove gel, it’s best to moisturize once you’ve removed all the polish, so treat your hands to a little extra TLC. “Acetone is very dehydrating which can lead to brittleness, splitting, peeling, and breakage,” says Choi. In order to ensure your natural nails are unharmed, be sure to nourish your nails with a cuticle oil or hand lotion, like DERMA E’s Therapeutic Shea Hand Repair Cream.
8. Moisturize.
While washing our hands is more important than ever before, many of us forget to moisturize after we scrub away. “Whatever moisture you drain from your hands and nails with washing you have to replace, so always keep a pump of hand moisturizer beside your sink to restore hydration after you wash,” says Remark. Our nails could also benefit from an evening routine, much like the skincare routine we rely on for our faces every night. “For best results, apply both [cuticle oil and moisturizer] before bedtime so that you can guarantee they’ll absorb,” says Remark.
9. Refrain From Viral Social Media Hacks.
While influencers may make it look easy to take off your polish using random household supplies, like your metro card or dental floss, you shouldn’t be so eager to try every at-home hack you see on TikTok or Instagram. “The risk of using floss too vigorously is that it could pull off not only the gel polish, but part of your actual nail as well,” says Choi. If you want to preserve your natural nails, stick to the steps above before you embrace any new trends.
All of the qualities we love about a chip-resistant, long-lasting gel manicure make it much harder to remove at home compared to regular polish, but that doesn’t mean it can’t be done. If you set aside the time you can remove your grown-out gel manicure without doing any damage to your nails-- all you need is pure acetone, tin foil, and a little patience.
Want in on all the Glam Bag fun? Take our Beauty Quiz now to get started. Already an Ipster? Refer your friends to earn points, which you can use toward products. Either way, don’t forget to check us out on Instagram and Twitter @IPSY.
Liked this post? Share!
Related Stories


How-To
Skin Barrier 101: How to Repair Summer-Stressed Skin
4 min read
How-To
How to Apply Cream Blush Without Overthinking It
5 min read
How-To
The Secret to Better-Looking Makeup Isn’t What You Think
6 min read
How-To
Got a Cut on Your Face? Here’s How to Help It Heal Without Scarring
4 min read
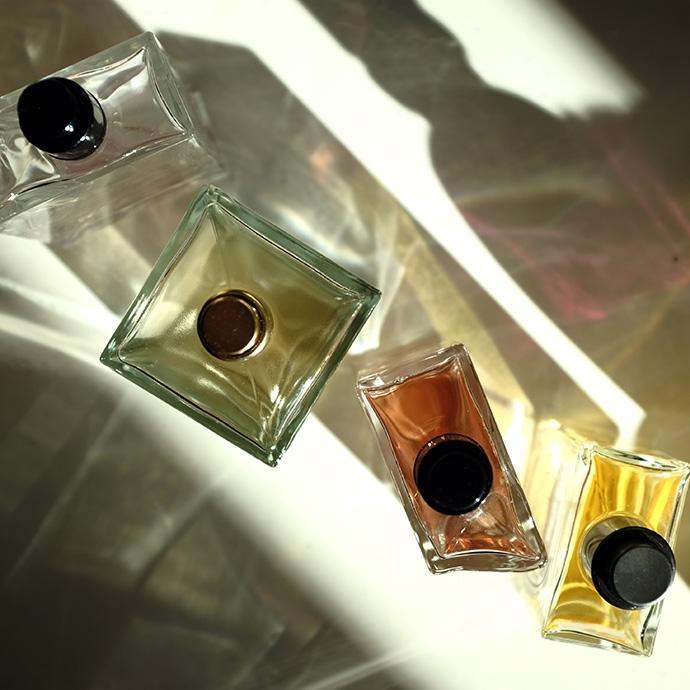
How-To
Why Everyone’s Scent Stacking Right Now
4 min read


How-To
How to Treat Yourself: 39 Simple Self-Care Ideas
15 min read

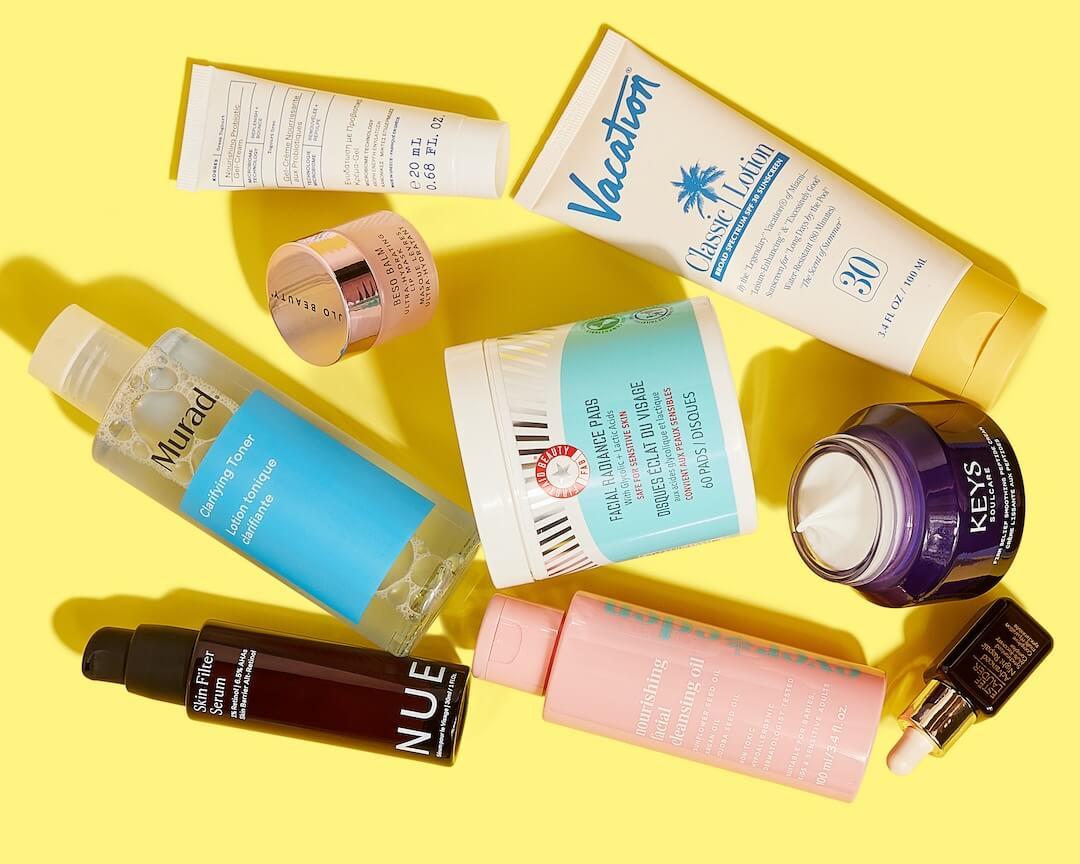
How-To
Here’s How to Build Your Perfect Skincare Routine for Both Morning and Night

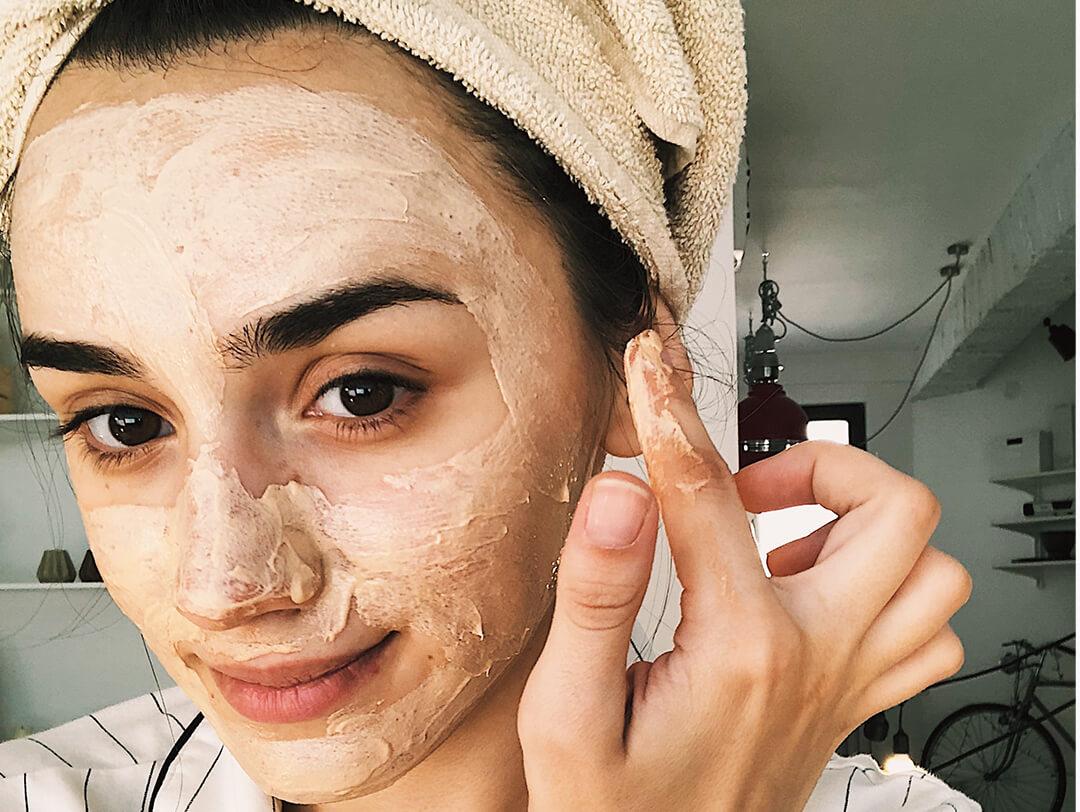
How-To
10 DIY Face Masks That Are Expert-Approved & Actually Work

Beauty Picked Just for You
Get 5 products worth up to $70
Exclusive access to epic deals up to 80% off
Starting at just $15/month. Cancel anytime.