How to Apply Fake Nails at Home: A Beginners Guide


IPSY Editors


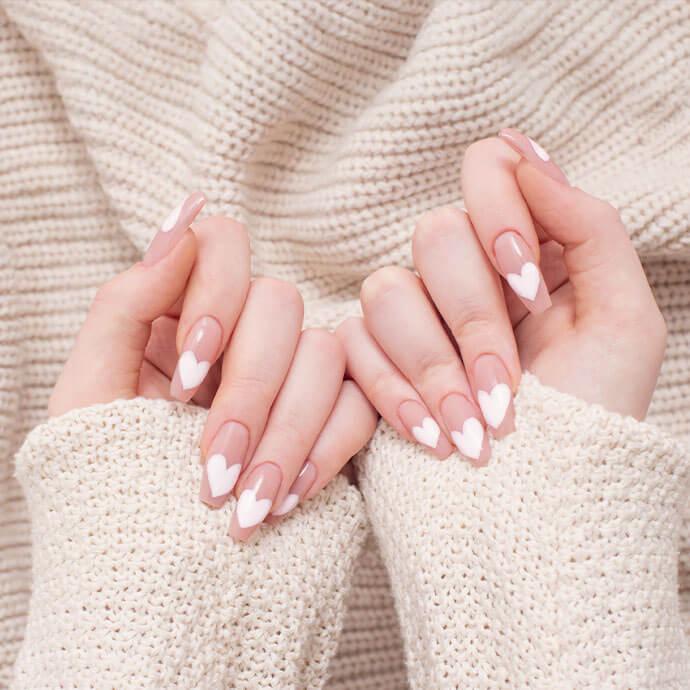
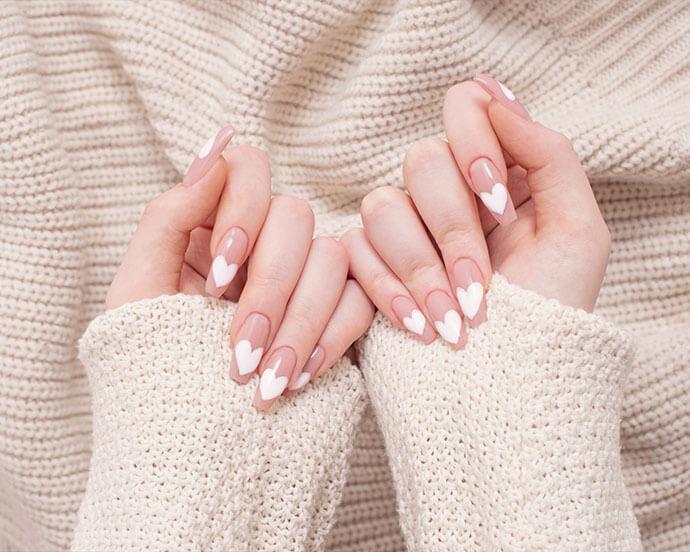
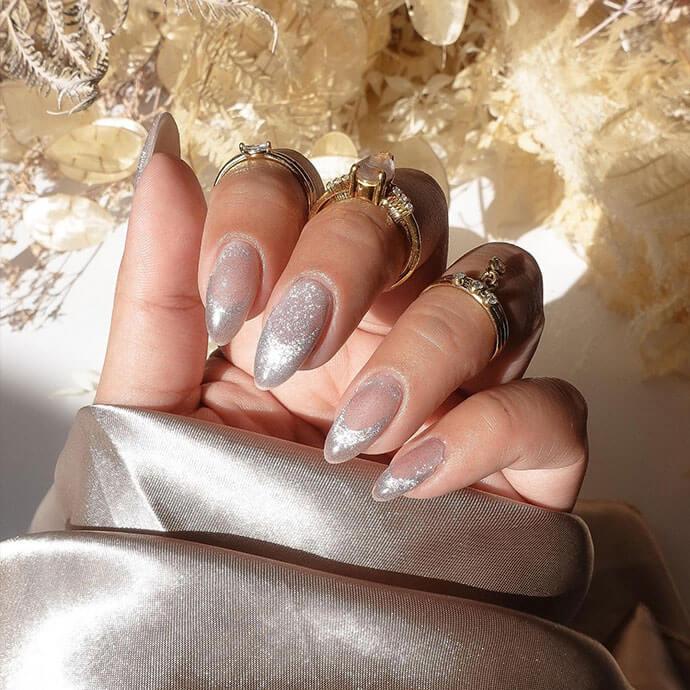
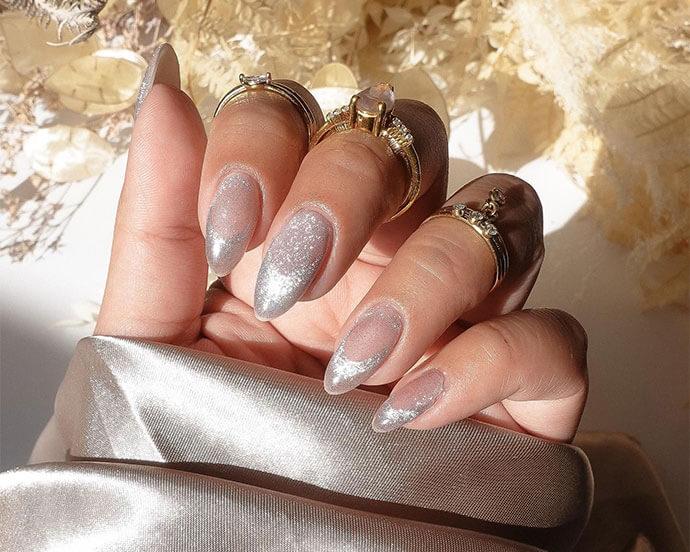
If you’re up on nail trends (and if you’re not you’re in the right place!), you know that French manicures have made quite the comeback but with a modern twist, thanks to trends like micro French tips and invisible French manicures. Trends always come back around, and another thing we’re stocking our online shopping carts with are press-on nails with fabulous nail art.
It used to be that wearing fake nails was some kind of faux pas—something beauty lovers did at home to fake a salon manicure in a snap. But in 2023, if you compliment someone’s nail art, they’re quick to say, “Thanks, they’re press-ons!” Now, it’s a total flex to wear artificial nails. Press-ons have never been cooler, though it’s not just society’s idea of DIY manicures that has changed. There are more stellar fake nail brands than ever with on-trend nail designs that would cost hundreds of dollars at the salon. Some are even gel nails cured and ready to fit each of your fingers—imagine that!
Celebrity nail artist Brittney Boyce started Nails of LA for this exact reason: to bring modern nail art to the masses. Not everyone can make an appointment with the Los Angeles-based artist. But they can wear her press-ons and get the look for way less right at home. But to really nail (pun intended) the look, you have to know the right way to apply fake nails so they look the most natural and they stay on as long as possible.
Keep reading for everything you need to know, including a step-by-step tutorial, info about press-ons, and what to keep in your nail kit at home for perfect press-ons every time.
It's about glam time you treated yourself.
Join IPSY

MEET THE EXPERT
Brittney Boyce is a celebrity nail artist and founder of Nails of LA.
What You’ll Need:
• Acetone-Based Nail Polish Remover or Rubbing Alcohol
• Cotton Pad or Cotton Ball
• Cuticle Pusher
• Nail Glue or Adhesive Tabs
• Press-On Nails
• Extras: Nail File and Clippers
How to Apply Fake Nails at Home
1. Prep Your Nails
Like all beauty treatments, prep is essential. Start by giving yourself the basics of a manicure to ensure a clean slate. Doing so will make your DIY false nails last as long as possible. Just follow these steps:
• Remove any nail polish to thoroughly clean your nails
• Trim all nails to your liking
• Push back your cuticles to ensure you’ll access the entire nail bed
• Buff your natural nails to help the press-on nails adhere better
• Lastly, swipe each nail once more with the nail polish remover on a cotton pad
The last step is essential because your nail beds have natural oils, which can keep nail glue from adhering to your natural nails, it’s important to “remove all excess oil first with either an acetone-based nail polish remover or rubbing alcohol,” says Boyce.
2. Choose Your Nail Sizes
Whatever press-on nail kit you choose, you’re going to have to size the pieces to your nails. It’s important to size them correctly so they look the most natural and stay on longer.
“Before you start applying nail glue, take time to size out the press-ons,” Boyce continues. “Most of the newer press-ons are thinner than the old school kind, meaning they press down and mold to the curvature of your nails.” You want to size down, she says, giving it room to flatten a little bit. If the press-ons are too big, they are more likely to pop off.
3. Carefully Apply Nail Glue
“Once you've matched the press-ons to your nails, apply glue or adhesive tabs to the press-ons,” says Boyce. “Glue typically lasts about two weeks, while adhesive tabs last about one to two days.” The more nail glue applied, the longer it'll last. But you don't want to apply too much as you don't want it to spread outside of the press-ons and get stuck to your skin. We suggest floating a small dot of glue at the bottom of the press-on nail. Then, apply at an angle on your nail bed so the glue is evenly dispersed up the nail.
4. Apply The Press-On Nails
“Place the press-on on top of your nail, make sure it's centered, and press down,” says Boyce. “Hold it down for about 15-20 seconds for the glue to totally adhere before moving on.” It can help to apply false nails to your dominant hand first.
5. File and Shape If Needed
Sometimes even the coolest press-ons are too long nails or aren’t a shape you love. You can actually fix that right at home. Yes, you can totally use a nail file and file down the plastic to the nail shape you prefer. If they’re super-long, you might need to cut them down with clippers first. But always start slow — you can keep filing more but you can’t add on what you removed.
Ta-da! You look like you hit up the coolest nail salon for acrylic nails or a gel manicure with nail art. When you’re ready to remove them, simply soak them in nail polish remover and rinse with warm water.
Liked this post? Share!
Related Stories


Nails
50 Cute Valentine’s Day Nail Ideas We Can’t Help But Love
Published on Jan 14, 2026 • 15 min read


Nails
Metallic Nail Designs You’ll Want to Screenshot Immediately
Published on Jan 14, 2026 • 9 min read


Nails
What You Need to Know About SNS Nail for Your Next Mani Appointment
Published on Oct 6, 2022


Nails
25 Holiday Nail Art Ideas That’ll Make Your Mani the Star of the Season
Published on Oct 16, 2025 • 9 min read


Nails
26 Cute Thanksgiving Nail Ideas to Complete Your Holiday Look
Published on Oct 2, 2025 • 11 min read


Nails
20 Reasons Why We’re Obsessed With Glitter Nails Year-Round
Published on Sep 27, 2025 • 9 min read


Nails
51 Halloween Nail Ideas That Are All Treats, No Tricks
Published on Sep 16, 2025 • 9 min read


Nails
12 Winter Nail Ideas for Your Next Moody Manicure
Published on Sep 5, 2025 • 5 min read


Beauty Picked Just for You
Get 5 products worth up to $70
Plus exclusive access to epic deals up to 80% off
Starting at just $14/month. Cancel anytime.