7 New Takes on a French Mani That Are Crazy Easy to DIY


Kate Foster Kaplove

If you told us five years ago we’d be obsessed with French manicures all over again, we wouldn’t believe you. After all, the ‘90s and early-aughts nail design staple was cast aside years ago for more effortless-looking nails, minimalist graphic designs, and even bare tips. And yet, 20 years later, somehow it feels like the French mani embodies the best of all three. That’s why we’re officially deeming it worthy of an entire IPSY roundup. Read on for all the coolest new twists on the classic French manicure.
It's about glam time you treated yourself.
Join IPSY

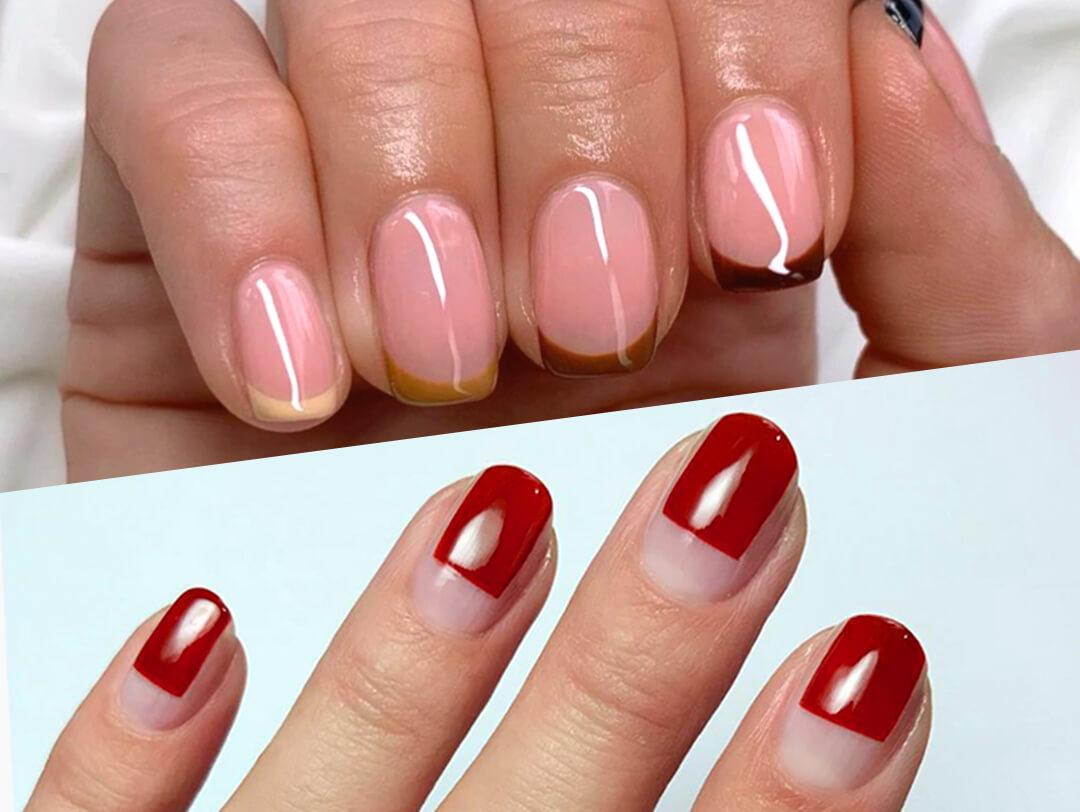
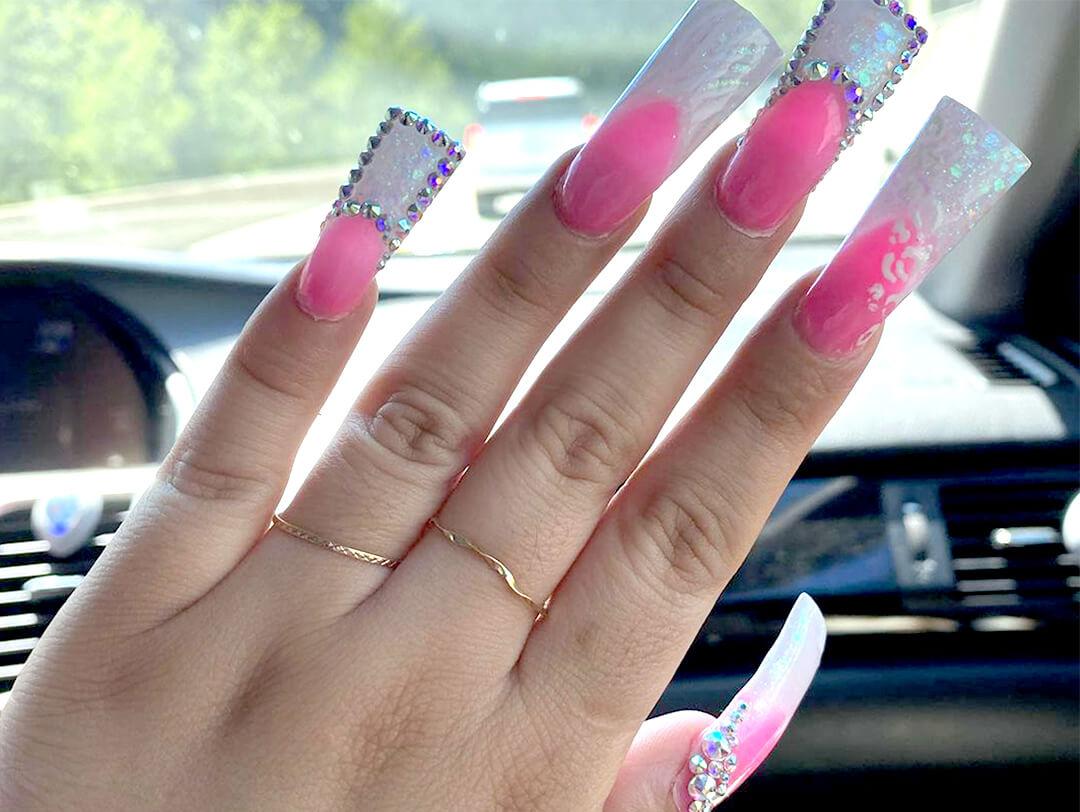
List of french nail designs with images
1. The Curvy French
It doesn’t get any chicer than this play on the French mani’s organic shape. To DIY, dip a thin nail brush, like KIESQUE Liquid Palisade French, into white polish. Paint different swirly shapes on the tips, sides, and bases of each nail, switching up the length and width as you go.
2. The Ombre French
A French that looks like your bare nails, but better. Start by painting on a few coats of sheer, light pink polish and let dry completely. Paint the corner of a basic rectangular makeup sponge (such as ROYAL & LANGNICKEL Chique 3pc Square Foundation Sponges) with white polish, then dab it on the top three-fourths of each nail. Let dry, then repeat on just the top half of your nail—so the part below it looks slightly sheerer. Let dry a final time and repeat on the top third of your nail.
3. The Multicolored French
Who says your French mani has to have the same colors on every finger? Mix up just the tips instead. Paint on two coats of light pink polish and let dry. While you wait, set aside five polishes in the same color family, and arrange them from lightest to darkest. Use a thin nail striper to apply the lightest shade on the tip of your pinky nail, the second lightest shade on your ring finger tip, and so on until you paint the darkest color on the free edge of your thumbnail.
4. The Flame French
Getting a mani this fire only looks hard. Create a traditional French manicure, using white on the fingertips of one hand and black on the other hand. (Try KINX White Collar and Black Tux.) Use a thin nail brush to outline flame shapes downward toward your nail beds, then fill in. Experiment with a range of shapes and lengths for each flame.
5. The Rainbow French
If you can’t pick a nail color, just use them all! Start with a nude shade as a base and let dry. Use a thin nail striper to paint a thin, light red line on the tip of each finger. Let dry and repeat with orange, yellow, blue, and purple. Don’t forget to let each shade dry completely, and clean your brush with nail polish remover thoroughly between colors to prevent them from bleeding into each other. (We love NAILS INC Nail Polish Rapid Remover Pot.)
6. The Geometric French
There’s no rulebook when it comes to French manis—so why even stick to the traditional curved tip? Try an elongated rectangle tip instead. After you apply your base coat, use a nail brush to outline a rectangle on each finger, the tip being one of the shorter sides. Then it’s as simple as filling in the shape.
7. The Foil French
We’re smitten with this metallic French. After you apply a sheer base and let it dry, paint your tips with a glittery polish in your favorite color. You may have to dab the brush on the tips rather than swipe to deposit maximum pigment. Seal with a top coat, like SMITH & CULT Above It All, to keep the glitter particles in place.
Want in on all the IPSY Glam Bag fun? Take our Beauty Quiz now to get started. Already an Ipster? Refer your friends to earn points, which you can use toward products. Either way, don’t forget to check us out on Instagram and Twitter @IPSY.
Liked this post? Share!
Related Stories


Nails
FIFA World Cup 2026 Nail Art Designs You’ll Get a Kick Out Of
2 min read
Nails
Spurs or Knicks? Show Support for Your NBA Team With These Nail Art Ideas
2 min read
Nails
Why Everyone’s Suddenly Asking for Soap Nails
3 min read

Nails
The Easiest Way to Moisturize Your Nails All Year Long
3 min read

Nails
Strawberry Milk Isn’t Just a Tasty Treat—Here’s How to Ace the Nail Trend!
6 min read


Nails
10 Cute and Colorful Korean Jelly Nail Designs to Try This Summer
5 min read

Nails
The Ultimate Aura Nail Guide: DIY Tips & 10 Dreamy Designs to Try
5 min read

Nails
TikTok’s Duck Nails Is the Most Interesting New Mani Trend

Beauty Picked Just for You
Get 5 products worth up to $70
Exclusive access to epic deals up to 80% off
Starting at just $15/month. Cancel anytime.