3 Easy DIY Geometric Nail Art Looks
IPSY Editors


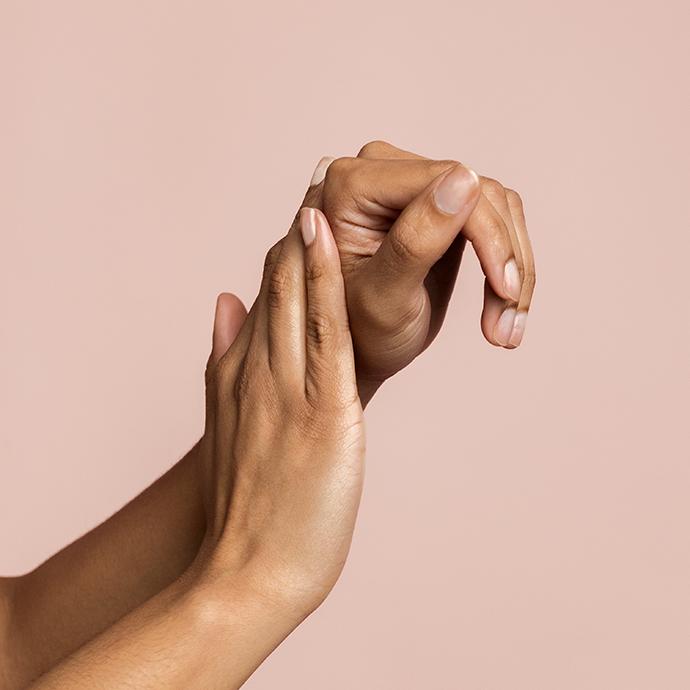
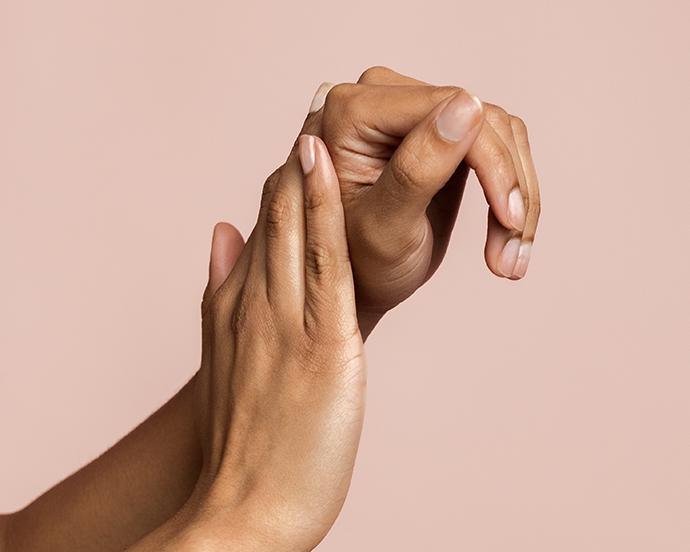
Easy-yet-sophisticated nail art that even novice home manicurists can achieve? Sign. Us. Up. Creating your own geometric nail art designs might seem complicated, but trust—it’s a lot easier than you think.
From everyday casual to nighttime glam, geometric designs lend an artful edge to any nail look, so we’re breaking it down step-by-step with three gorgeous geometric nail art looks to DIY at home.


Look 1: Flaunt-Worthy Crisscross Nails
The crisscross look is where edgy glam meets casual chic. Using three complementary shades of metallic gold, white, and wine nail polish, this look works best on oval or squoval nail shapes. To mix it up, use glitter nail polish, textured polish, or semi-translucent colors to add dimension.
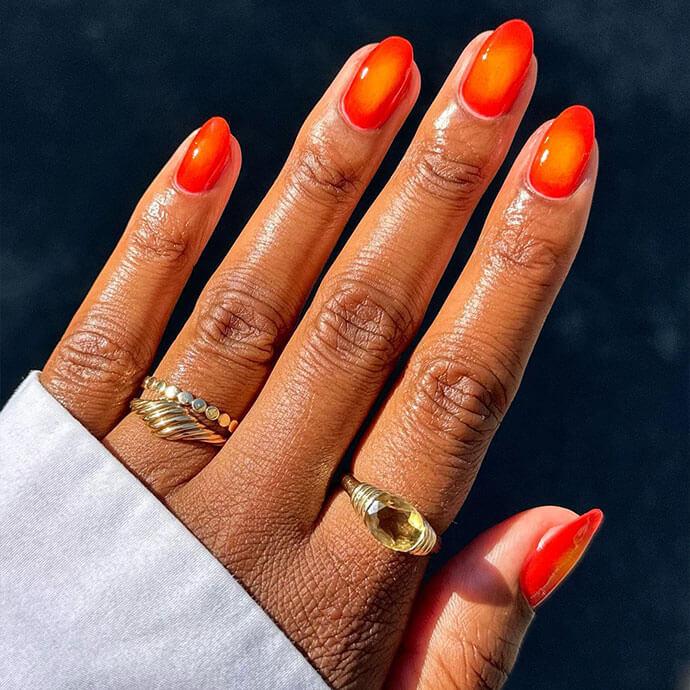
You could also try swapping the metallic gold polish for silver, and go monochromatic by using different shades of one color: for example, light blue, dark blue, and silver. Or warm it up with summery sunset shades, like yellow, orange, and pink nail polishes.
What You'll Need
Clear base coat polish
White nail polish–we love TINCT COSMETICS Nail Polish in Bilbao for this look
Wine nail polish–try PRETTY WOMAN Nail Polish in Don't Be Jelly
Metallic gold nail polish–for a warm-toned twist on this mani, try SMITH & CULT Nail Lacquer in 1972
Clear, high-shine top coat
Crisscross How-To
Start with a clear base coat.
Paint your nails white in three stripes, starting on the left, then right, then the center of your nail beds.
Apply a second coat for an opaque finish.
Paint a diagonal stripe of wine-colored polish from the center edge on the left side of your nail to the tip. Fill in above the stripe with color.
Clean up with a small brush and polish remover.
On the right-center side of your nail, paint another diagonal stripe of gold nail polish over the wine color to the opposing tip and fill in the edges (so the wine shade becomes a triangle)
Finish with a clear top coat to seal your color.
IPSY Tips
If you're going for a dark base (dark blue, dark green, dark purple, or black nail polish), try using a nail prep formula first. Dark nail polishes can stain your nails.
Choose your color combination before you start painting. We know that sounds like a no-brainer, but the crisscross look works best when the three different colors complement each other.
Make sure each coat of polish is thoroughly dry before applying the next. If you're too hasty, you could smudge your color and will have to start from scratch.
Look 2: Chevron Stripes
We love how chevron stripes (on even just one nail) can give a simple, clean mani a little something extra without sacrificing style and elegance. And the fun thing about this type of design is that when you master striping tape, there are so may geometric nail art ideas you can play with. Instead of creating diagonal designs, you can play with horizontal and vertical stripes, and alternating the space between each line.
What You'll Need
Grey nail polish–try TRUST FUND BEAUTY Nail Polish in Zero Carbs for the ultimate lavender-grey
Thin nail striping tape
Shiny top coat
Chevron Stripe How-To
Paint your nails (except the accent nail) in solid grey in three stripes, starting on the left, then right, then the center of your nail beds.
Cut a small strip of thin striping tape.
Apply the striping tape to accent nail in a chevron pattern.
Paint your nail over the striping tape.
Peel off striping tape before the paint dries completely.
Clean up any smudges with a small brush.
Finish with a clear top coat to seal in color.
IPSY Tips
Striping tape isn't meant to be peeled from your nails after sticking it on—it’s meant to stay on your nail as part of a design. That's why you need to peel the striping tape before the paint dries completely. If it dries, you might have to start again from scratch.


Look 3: Half-Matte Nails
This half-matte look takes a clean, classic nail design and uses texture to make it next level. Experiment with dark green (as pictured above), black, or try this look with navy, purples, and greys.
What You'll Need
Dark green nail polish–TRUST FUND BEAUTY Nail Polish in I Kaled It is the perfect shade for this look
Shiny clear top coat
Matte top coat
Half-Matte How-To
Paint 2 coats of polish on all nails in three stripes, starting on the left, then right, then the center of your nail beds.
Apply a shiny top coat onto all of your nails.
Carefully, use a matte top coat on the top half of your nails, creating a diagonal shape from the center of your nails on one side and onto the tips, similar to the crisscross nail design.
IPSY Tips
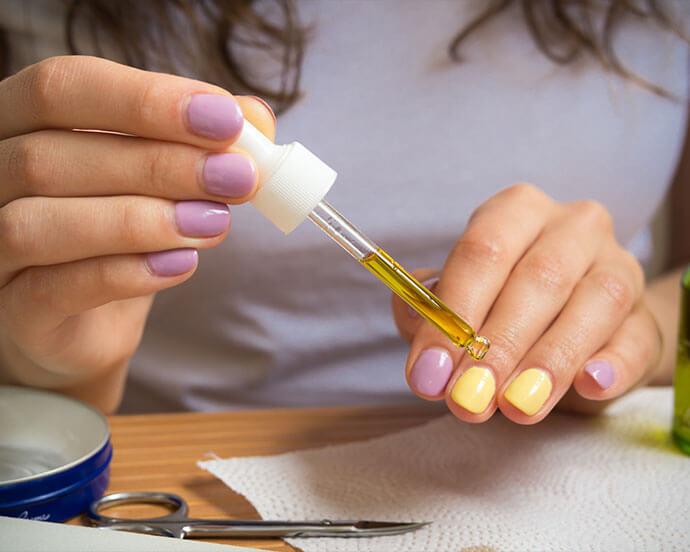
With multiple coats of nail polish, it’s important to let each coat dry thoroughly (for 20-30 minutes) between applications.
It's about glam time you treated yourself.
Join IPSY

Liked this post? Share!
Related Stories


Nails
Why Natural-Length Nails Are the Biggest Manicure Trend Right Now
5 min read


Nails
FIFA World Cup 2026 Nail Art Designs You’ll Get a Kick Out Of
2 min read


Nails
Spurs or Knicks? Show Support for Your NBA Team With These Nail Art Ideas
2 min read
Nails
Why Everyone’s Suddenly Asking for Soap Nails
3 min read

Nails
The Easiest Way to Moisturize Your Nails All Year Long
3 min read

Nails
Strawberry Milk Isn’t Just a Tasty Treat—Here’s How to Ace the Nail Trend!
6 min read


Nails
10 Cute and Colorful Korean Jelly Nail Designs to Try This Summer
5 min read

Nails
The Ultimate Aura Nail Guide: DIY Tips & 10 Dreamy Designs to Try
5 min read

Beauty Picked Just for You
Get 5 products worth up to $70
Exclusive access to epic deals up to 80% off
Starting at just $15/month. Cancel anytime.