How to Expertly Apply Nail Stickers For the Perfect Natural Manicure Everytime
IPSY Editors


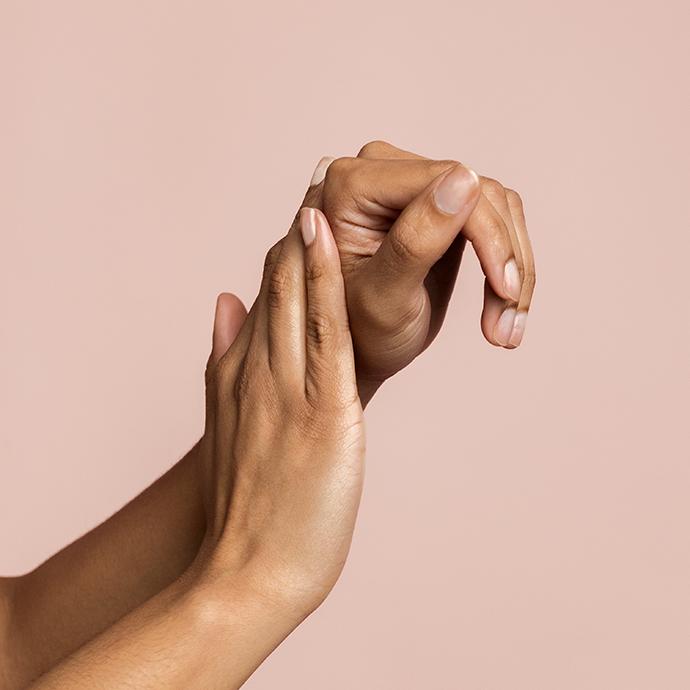
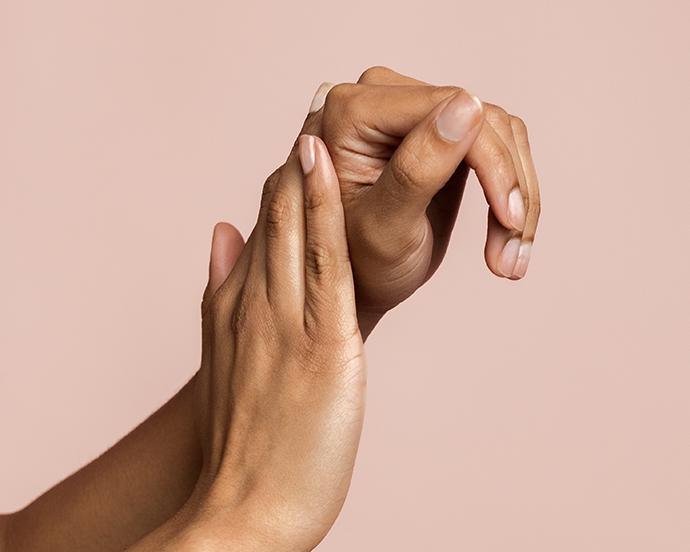
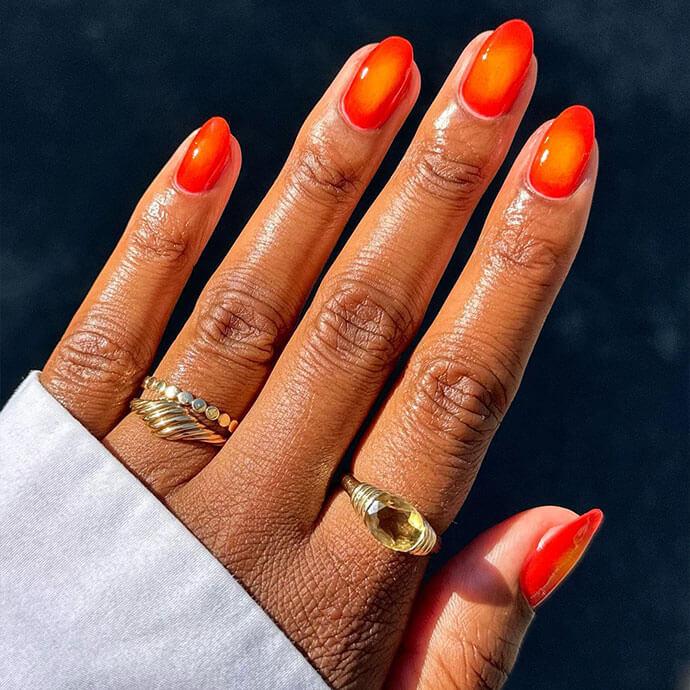
If you're looking for an easy way to upgrade your at-home manicure, nail stickers are a great option. These adhesive designs come in a variety of colors, patterns, and textures, making it easy to achieve a professional-looking nail art design without having to spend hours with a brush in your hand or hours at the salon.
But how do you apply nail stickers so that they look as perfect as possible on natural nails? Don’t worry, the process is easy for beginners to master! Read on as we'll guide you through the steps to apply nail stickers like a pro, so you can show off a stunning and unique manicure that will have everyone asking just how you did your mani. Spoiler: there are even nail stickers that will give you freshly done gel nails!
It's about glam time you treated yourself.
Join IPSY

How to Apply Nail Stickers Like a Pro
Applying nail stickers is a simple DIY process that can elevate your manicure game. Follow these step-by-step instructions to achieve a flawless application for nail decals.
1. Prepare Your Nails
Start step one by cleaning your nails and removing any old polish with nail polish remover. File and shape your nails to your desired length and shape. Push back your cuticles gently with a cuticle pusher and buff and shine your nails as needed. There is no need to use a base coat, as it could interfere with how the nail sticker adheres..
2. Select Your Nail Art Stickers
Choose the nail wraps you want to apply. There are various options available, including full nail stickers, decals, and individual nail designs. Pick a style that suits your taste and the size of your nails.
3. Size and Trim
Match the size of the sticker to your nail. If the sticker is larger than your nail, use a sharp pair of scissors to carefully trim it to fit. Make sure you cut it slightly smaller than your nail to prevent it from overlapping with your skin.
4. Carefully Peel the Sticker
Remove the sticker from the backing using tweezers or your fingers. Be gentle to avoid stretching or tearing the sticker.
5. Apply the Sticker
Position the sticker at the base of your nail, near the cuticle with the sticky side down. Lightly press the sticker onto your nail, starting from the center and moving towards the edges. Smooth out any air bubbles or creases using a cuticle pusher or your finger. A pair of tweezers can also be helpful when applying. You can use tweezers to smooth edges and create a crease to trim excess on either side of your nail bed.
6. Trim and Shape
Once the sticker is applied, use a nail file to gently file away any excess sticker material at the tip of your nail. File in one direction to avoid damaging the sticker.
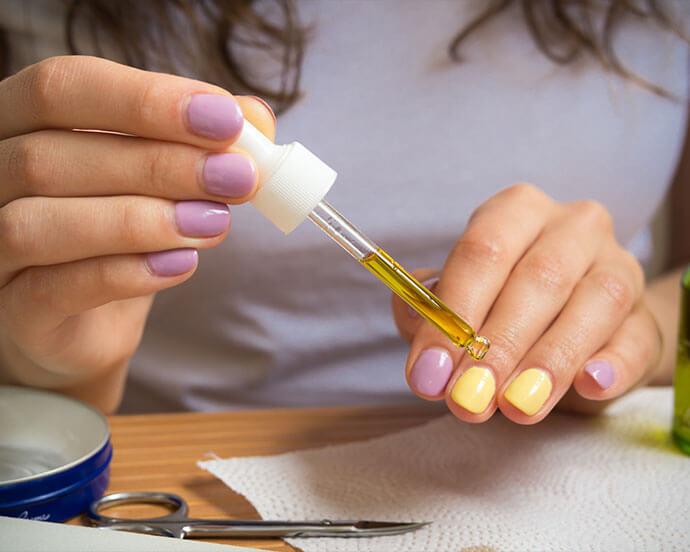
7. Seal the Sticker
Apply a clear top coat over the entire nail, including the sticker. This step helps to seal the sticker in place and extends its longevity. Allow the top coat to dry completely.
8. Finish and Protect
Repeat the above steps for all the remaining nails until your desired design is achieved. Once the top coat is dry, apply a nail oil or cuticle cream to moisturize your nails and cuticles. We also love to treat our hands with lotion too. This step adds a finishing touch and helps to protect your nails.
By following these steps, you can easily apply nail stickers and enjoy a professional-looking manicure in no time. Experiment with different designs and colors to express your creativity and style.
Looking for more inspiration? Take our Beauty Quiz now to get started with your own IPSY beauty subscription. Already an IPSY member? Refer your friends to earn points, which you can use toward products. Either way, don’t forget to check us out on Instagram and TikTok @IPSY.
Like this article? Share it with your friends by clicking the icons below!
Liked this post? Share!
Related Stories


Nails
Why Natural-Length Nails Are the Biggest Manicure Trend Right Now
5 min read


Nails
FIFA World Cup 2026 Nail Art Designs You’ll Get a Kick Out Of
2 min read


Nails
Spurs or Knicks? Show Support for Your NBA Team With These Nail Art Ideas
2 min read
Nails
Why Everyone’s Suddenly Asking for Soap Nails
3 min read

Nails
The Easiest Way to Moisturize Your Nails All Year Long
3 min read

Nails
Strawberry Milk Isn’t Just a Tasty Treat—Here’s How to Ace the Nail Trend!
6 min read


Nails
10 Cute and Colorful Korean Jelly Nail Designs to Try This Summer
5 min read

Nails
The Ultimate Aura Nail Guide: DIY Tips & 10 Dreamy Designs to Try
5 min read

Beauty Picked Just for You
Get 5 products worth up to $70
Exclusive access to epic deals up to 80% off
Starting at just $15/month. Cancel anytime.