3 Easy Ways to Clean a Makeup Sponge
IPSY Editors


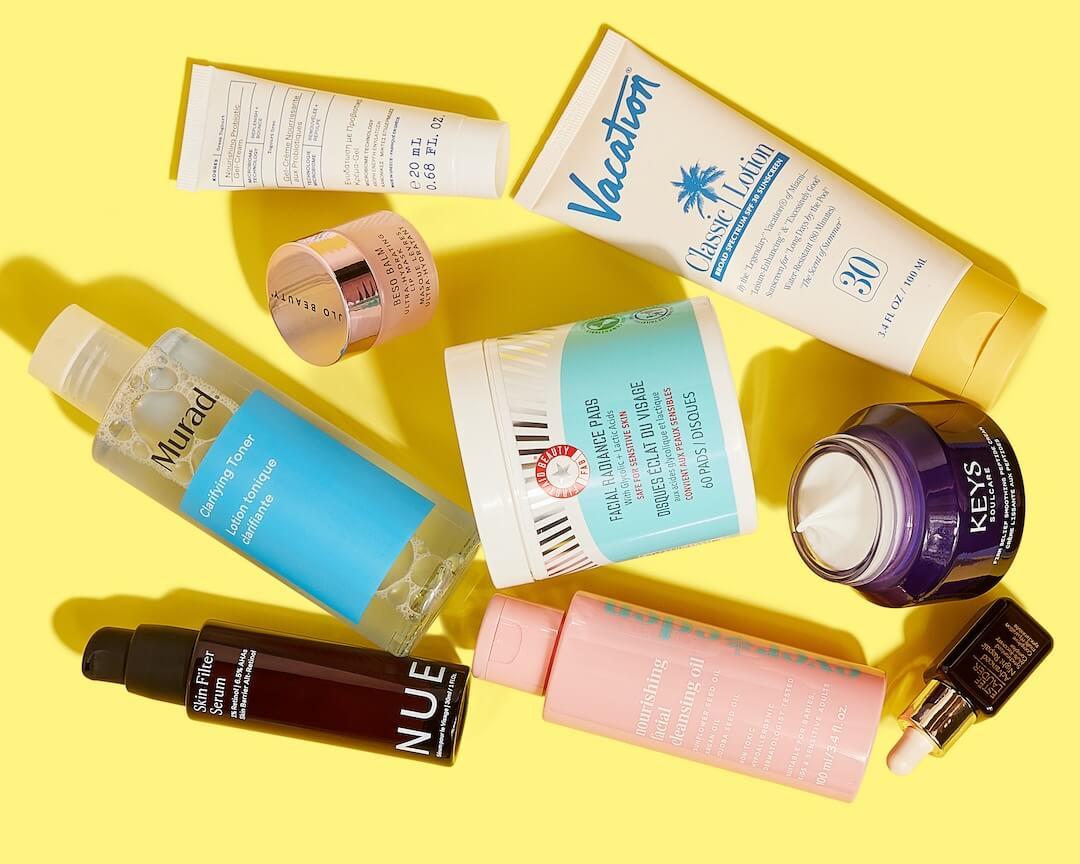
Using the right beauty tools can make or break your entire makeup look, which is why we can’t stress enough how important it is to invest in quality makeup applicators and take good care of them, too. We’ve told you about the best ways to clean your makeup brushes (including DIY brush cleansers, warm water + dish soap, brush cleaning gloves, and more), so now it’s time to for the low-down on how to clean our other favorite makeup tool for blending, swirling, and patting: the makeup sponge. Clean makeup sponges make for a tidy makeup bag, help prevent blackheads and breakouts, and also lend your complexion a flawless, dewy appearance.
The good news is cleaning your makeup sponges doesn’t have to be a chore. There are a few quick ways to sanitize your makeup sponges from bacteria, dirt, and product build up that won’t add more than a few minutes to your beauty routine.
If you’re rolling your eyes at the thought of yet another chore to add to your to-do list, bear with us. Keep scrolling below for our top 3 tips to clean your makeup sponges–they’re so easy, we promise they’ll become a habit before you know it.
Method #1: Use Baby Shampoo or Sponge Cleanser
This first easy makeup cleansing method is gentle enough for regular washes–daily or weekly, depending on how often you use your makeup sponge. All you need is warm water and a simple liquid soap or bar soap that won’t dry out your sponge. A baby shampoo (like this aromatic ERBAVIVA Baby Shampoo with organic lavender), sponge cleanser (the MAC COSMETICS Blendercleanser Solid is a favorite), or dish soap will do the trick.
Step 1: Wet your sponge.
Hold your dirty sponge under running warm water until it’s totally soaked through.
Step 2: Lather.
Squeeze a generous amount of liquid soap onto your sponge or rub your sponge with your solid cleanser until its foaming. Massage, squeeze, and press the sponge into your palm to ensure the soapy water fills every nook and cranny. The key is to scrub out as much dirt, bacteria, and product build-up as you can manage.
Step 3: Rinse and dry.
After a good lather, once all the makeup mess slides away, give the sponge a good rinse with non-soapy water until the water looks completely clear. Wring out excess water and set aside to air dry.
Method #2: Microwave It (Yes, Seriously)
If you’re short on time or just feeling too lazy to lather and scrub (hey, no judgement here), this second makeup sponge cleansing method has your name on it. Combining heat with warm, soapy water, it’s the quick version of putting your sponge in the washing machine. You’ll need a liquid soap (like the baby shampoo or dish soap mentioned in method #1), a microwave-safe cup, and...well, a microwave. Get ready to zap the dirt right out of your sponge.
Step 1: Create a soapy water solution.
Combine a few squirts of your liquid cleanser of choice with warm water in a microwave safe bowl or cup. Give it a quick stir to make sure they mix together and form suds.
Step 2: Wet your sponge.
This step is crucial. Zapping dirty sponge in the microwave when it’s completely dry will leave you with nothing but another melted mess to clean up. Make sure you dampen your sponge with soapy water and wring it out a few times before finally leaving it completely submerged.
Step 3: Zap it.
Microwave your sponge-filled cup for about a minute. Let it sit for about 30 seconds before removing from the microwave so that it cools off. Open the microwave door to find a liquid, makeup-y soup and your sponge freshly cleaned and looking brand new.
Step 4: Wring it out.
Once the microwave dish is cool to the touch, remove the sponge, wring it out several times, and rinse it under running water to remove any leftover residue. Then, let it air dry.
Method #3: Give it a Deep Clean
If it’s been a while (read: never) since your last proper makeup sponge washing session, consider this third cleansing method. It requires a bit more time than the first two methods, but it’s guaranteed to make your old makeup blenders like new. Here’s what you need: a baby shampoo or liquid brush cleaner, like this professional make-up artist-level VERA MONA Revive Liquid Brush Cleaner, plus a regular bar of soap, like this lovely, vegetable-based LA CHATELAINE Lavender Travel Soap. Turn to this deep-clean tip for when your sponge is stained or has gunk that just won’t seem to go.
Step 1: Soak your sponge.
Take a few squeezes of your liquid cleanser and combine it with warm water in a bowl or cup. Drop your sponge into the soapy mixture and let it soak for at least 2 minutes.
Step 2: Scrub.
With your solid soap bar, scrub all the sides of your sponge vigorously, paying special attention to any particularly stubborn patches of dirt or makeup residue. When you’ve worked up a foamy lather, drop the sponge and use your fingers to work the soap deep into the sponge.
Step 3: Rinse.
Eventually, you’ll notice more dirt and product build-up sliding down the drain that on your sponge. At that moment, you can hold the sponge under cold running water to rinse it clean. Wring out excess water and let the sponge air day.
It's about glam time you treated yourself.
Join IPSY

Liked this post? Share!
Related Stories


How-To
Skin Barrier 101: How to Repair Summer-Stressed Skin
4 min read
How-To
How to Apply Cream Blush Without Overthinking It
5 min read


How-To
The Secret to Better-Looking Makeup Isn’t What You Think
6 min read


How-To
Got a Cut on Your Face? Here’s How to Help It Heal Without Scarring
4 min read
How-To
Why Everyone’s Scent Stacking Right Now
4 min read


How-To
How to Treat Yourself: 39 Simple Self-Care Ideas
15 min read

How-To
Here’s How to Build Your Perfect Skincare Routine for Both Morning and Night

How-To
10 DIY Face Masks That Are Expert-Approved & Actually Work

Beauty Picked Just for You
Get 5 products worth up to $70
Exclusive access to epic deals up to 80% off
Starting at just $15/month. Cancel anytime.