Here’s How To Curl Your Eyelashes Like a Total Pro


Maddie Aberman

Eyelash curlers can be as polarizing as cilantro (hang with us for a second here!). There are two camps of people: those who love eyelash curlers and those who hate them. If you’re in the latter category, we don’t blame you. We’ve seen our fair share of lash curling fails—from crimped lashes to broken lashes, or lashes that fall flat no matter how hard you try to curl them. But the truth is, with the right knowledge, lash curling is a lot easier than you think.We’re huge fans of lash curlers ourselves. They’re responsible for some of our best lash days—and paired with a great mascara, they can take your lashes to new heights. With a bit of practice and some expert guidance, we're pretty confident lash curlers would become a staple in every eye makeup routine. To see if we're right, we tapped makeup artists Lindsay Katsuk and Anne Baker to share their eyelash curling tips.
It's about glam time you treated yourself.
Join IPSY

MEET THE EXPERT
Lindsay Katsuk is a professional makeup artist based in New York City. Check out her work at LindsayKatsuk.com. Anne Baker is a California-based makeup artist and the talented creator behind Glam N Anne on Instagram and YouTube.
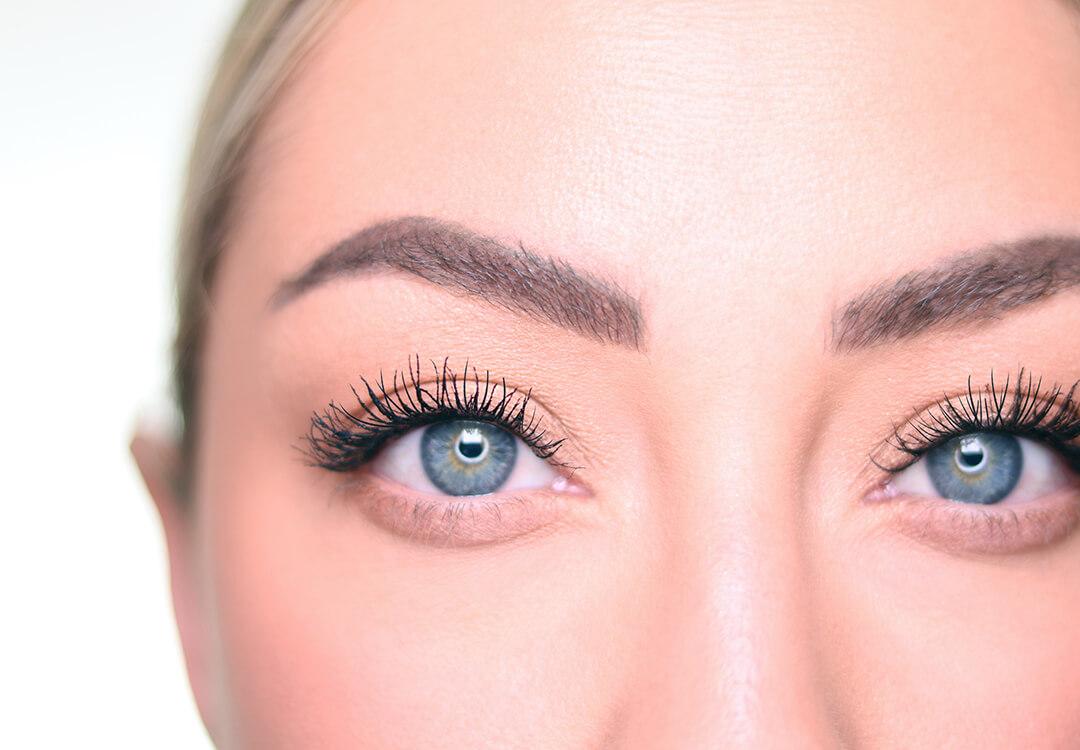
First, why curl lashes? “Typically, lashes are naturally on the straighter side, which makes it more difficult to see their true length,” says Baker. "Eyelash curling highlights lashes’ true length.” If you’re hesitant to try, you’re not alone. “Some people might be intimidated or confused by lash curlers because using a tool so close to your eye can feel scary,” says Baker. “My biggest piece of advice to anyone out there who feels scared to use a lash curler is to take the process slowly and go step by step.” Once you learn, it’s well worth it. You’ll get the look of long lashes in 10 seconds or less (aka it’s fast enough to do every day). Keep reading to learn how to curl your eyelashes the right way with tips from the pros.
Should You Curl Your Lashes Before Or After Mascara?
Before we get into a full tutorial, let's tackle this commonly asked question. No matter what hacks you see on the Internet, both Katsuk and Baker strongly say “no” to applying mascara before you curl eyelashes. “Curling your lashes with mascara on could potentially cause damage to your lashes if you're not careful because the curler can stick to the mascara and pull on your lashes,” Baker says. For the best results that won't damage your lash line, start the curling process with fully makeup-free, natural lashes.
Can I Curl My Eyelash Extensions?
We love eyelash extensions for lift, curl, and drama. While lash extensions have a built-in curl, you may find yourself reaching for a curler if your natural lashes start to look straighter than the extension. Unfortunately, if you’re currently wearing eyelash extensions, using your every day, classic mechanical eyelash curler is a no-go. Instead, try using a heated eyelash curler (we love this CHELLA Heated Eyelash Curler). These essentially work like tiny curling irons for your lashes that curl gently without disrupting the bond between the extensions and your lashes.
How to curl lashes using an eyelash curler

1. Choose the right eyelash curler for your eye shape.
Just like other products in your makeup or skincare routine, eyelash curlers are not one-size-fits-all. Knowing your eye shape is key to finding a curler that will give you great results. “Look for one that fits our eye shape,” says Katsuk. “Not all curlers are made with the same curve. If your eyes are more rounded, pick something with a stronger curve. If your eyes are more almond shaped or monolids, find a lash curler that has a softer curve.”
2. Prep and check your eyelash curler.
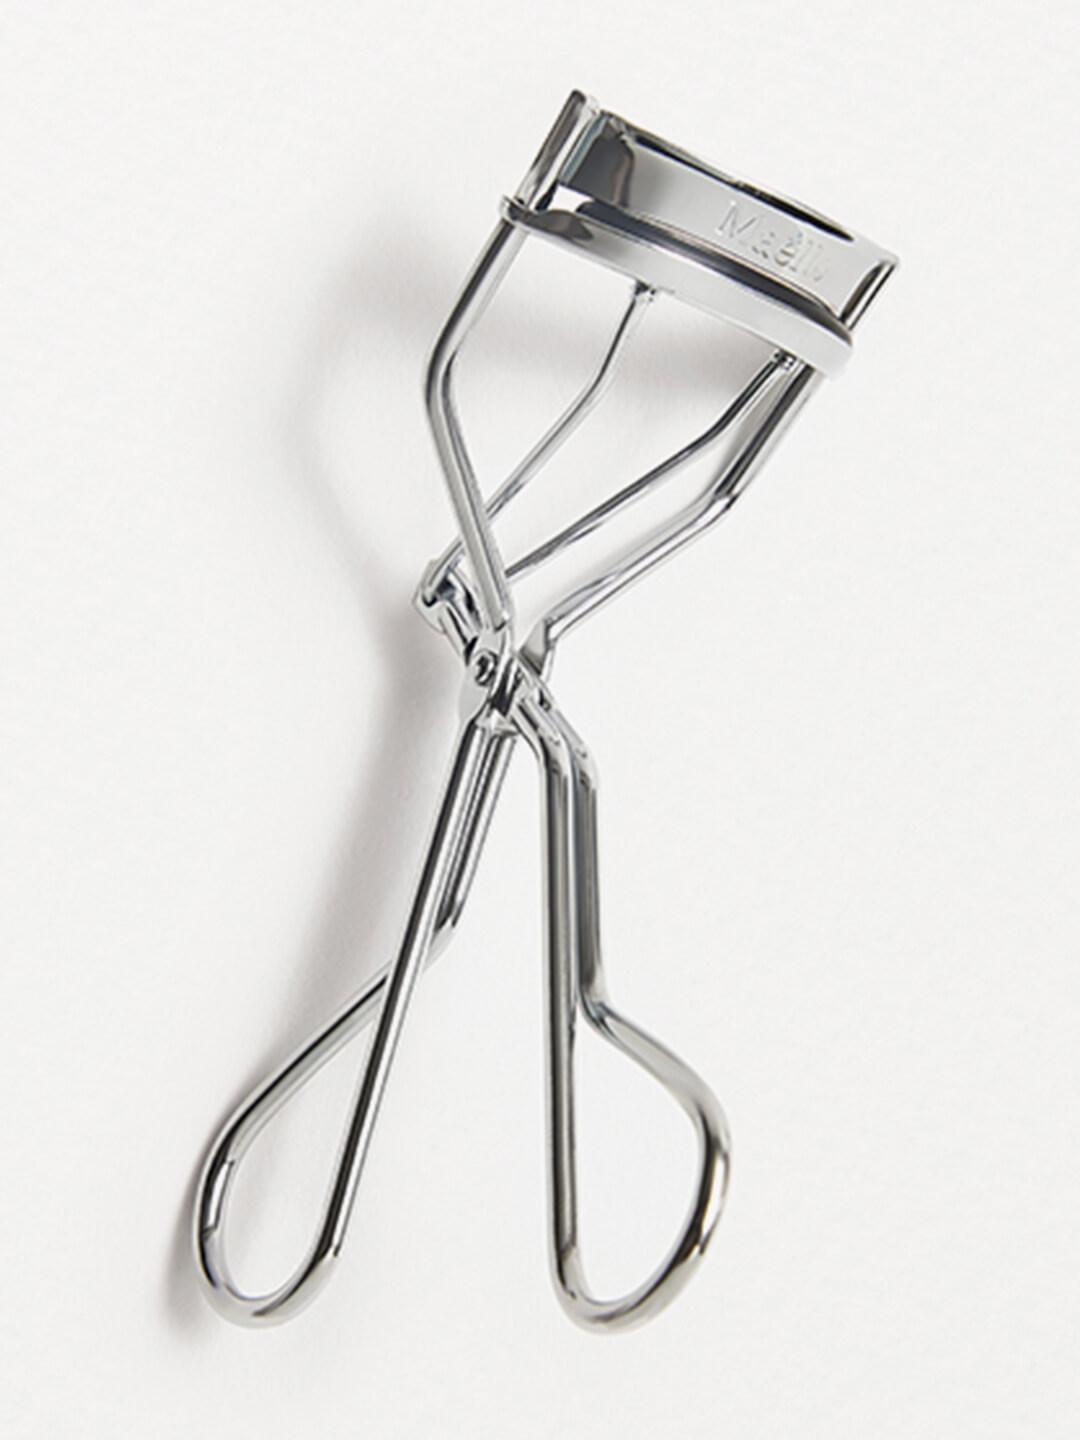
“First, make sure your lashes are clean. I like to brush through my lashes with just a mascara spoolie,” says Katsuk. (You can also use a clean mascara wand).Then, grab your eyelash curler. (We love Glam Bag favorite MAËLLE BEAUTY Filmstar Eyelash Curler for its universal shape that works with any eye shape, easy-to-hold ergonomic handle, and gentle, latex-free rubber pads.) Another key step? Check that your curler is in good shape before you use it. “You always want to make sure the cushion pad on the eyelash curler is in good shape as this provides a bit of a buffer [to your lash line]. They give you extra ones for a reason!”To get your tool ready, warm it up a bit (warm being the keyword here) by holding the top of the curler in your hands, dipping it in warm water (not hot water), or quickly blasting it with your blow dryer. Just make sure to tap the curler on the inside of your wrist to make sure it’s not too warm before holding it against your eye. “This will help you get the best curl possible,” says Anna. “By warming up the curler, it essentially acts like a curling iron for your hair and gives your lashes more lift and more staying power.”

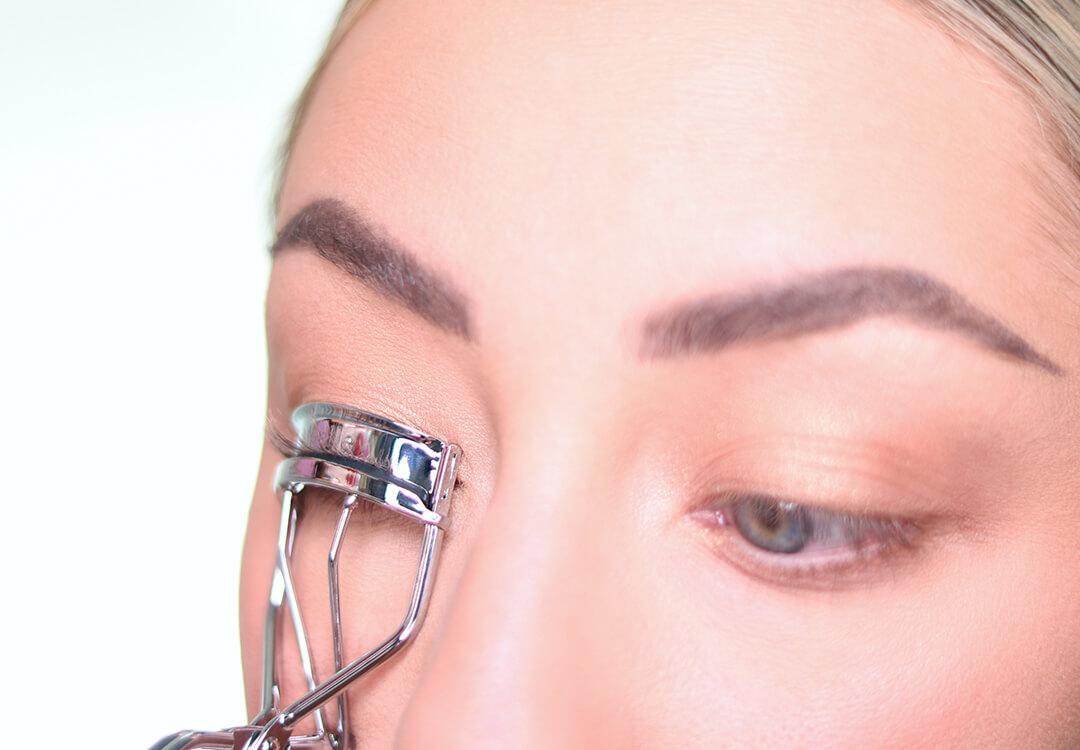
3. Get in position.
“With your eye halfway open, position the lash curler around your lashes, placing it at the base,” says Baker. Having a hard time seeing what you’re doing? Look down into a mirror to help you visualize the placement of your curler along your lash line. You want to get as close as possible to the base of your lashes without grabbing any skin. “I squeeze very, very gently to make sure I have no skin (no one likes being pinched by a lash curler) and if I need to re-adjust, I do,” says Katsuk.
4. Pulse a few times.
Once you feel comfortable with the placement, it’s time to get curling. “Clamp down on the curler for five to 10 seconds with light pulses,” says Baker. Again, start slowly to make sure you don’t accidentally have any skin in the curler. Katsuk adds, “You don’t need to squeeze as hard as you can. Gentle is better. Also, make sure you are curling at two points of your lashes: the base and towards the tip of the lash. This will help to avoid a “L” shaped [or crimped] lash curl.”


5. Take it to the next level.
Have super straight lashes or lashes that just don’t seem to hold a curl? Katsuk knows the struggle. “Straight, or downward-pointed lashes tend to be a bit more difficult to curl because they naturally fight it. I have these lashes and the curl tends to fall if I do not do it correctly.” Try this pro trick: As the curler is clamped over your lashes, gently tilt the lash curler handle up toward your forehead slightly to create a more intense curl.

6. Extend the curl.
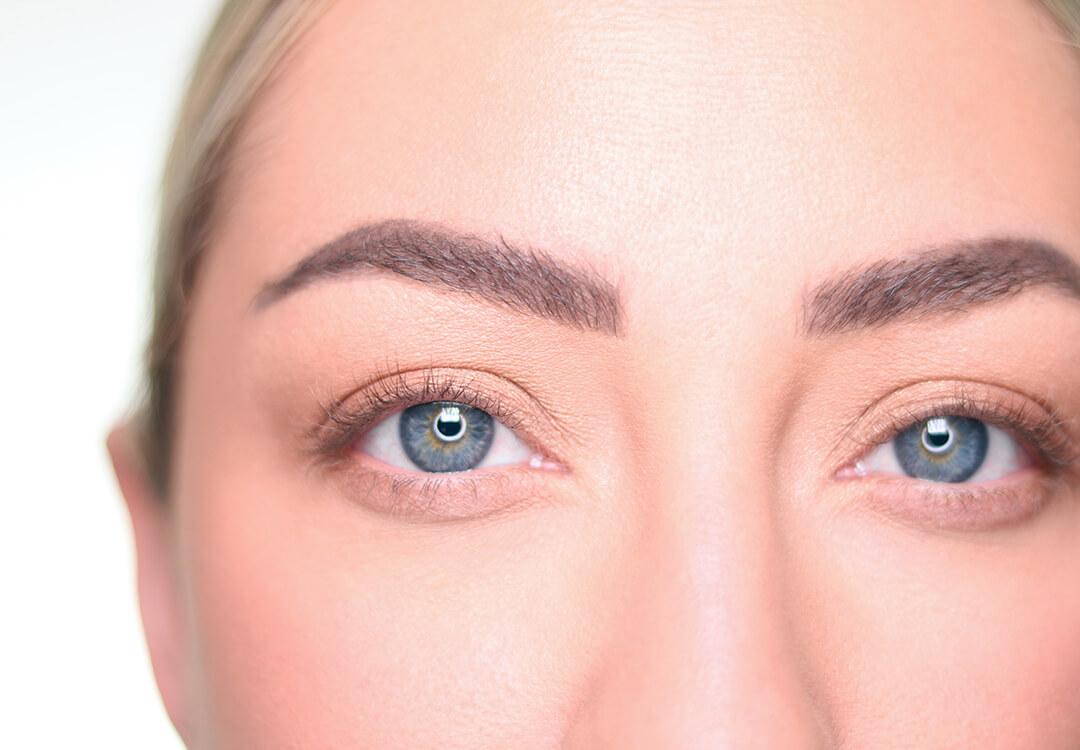
At this point in the process, you’ll just be left with a slight crimp at the base of your lashes. But for the most natural-looking lash curl possible, Baker recommends taking the curl through the entire length of your eyelash: “Turn your head to the side to better see your lashes in the curler, and lightly pulse the lash curler down the length of your lashes. Then place the curler back at the base of the lashes and give it one last pulse.”


7. Lock it in with mascara.
Now for our holy grail makeup product: mascara. If you're looking for even more curl, try using a curling mascara to lock in that lash lift. For a boost of volume, a volumizing mascara like IT COSMETICS Lash Blowout Salon Volume Lift Mascara in Black will hold the curl in place all day and give you the look of falsies (no lash strip or glue needed), Heading out in the rain, snow, or sleet? Swipe on a waterproof formula to make sure those perfectly curled lashes stay lush and lifted all day long.


8. Want more drama? Apply false eyelashes (if that’s your thing!).
While applying mascara before curling lashes is never a good idea, you can apply it before wearing false lashes. Pro tip: To help your natural lashes seamlessly blend in with a pair of falsies, first curl your bare natural lashes, then apply one quick coat of mascara before gluing on a set of false lashes. Looking for a full DIY tutorial on how to apply false eyelashes? We got you.
Want more lash products and tips from the pros? Take our Beauty Quiz now to get started. Already an Ipster? Refer your friends to earn points, which you can use toward products. Either way, don’t forget to check us out on Instagram and Twitter @IPSY.
Like this article? Share it with your friends by clicking the icons below!
Liked this post? Share!
Related Stories


Makeup
The Best Hybrid Beauty Products for Low-Effort Routines
5 min read


Makeup
How to Recreate Zendaya's Glowing Makeup From “The Odyssey” Premiere
3 min read


Makeup
We're in Our Eyeshadow Era—These 10 Looks Make It Easy
6 min read


Makeup
CLINIQUE Just Turned Black Honey Into a Full Collection
3 min read


Makeup
MARC JACOBS BEAUTY Is Back—Here's What I Really Think
4 min read


Makeup
A Bombshell Has Entered: Inside Kayda’s ‘90s “Love Island USA” Makeup
4 min read


Makeup
Olivia Rodrigo Is the Blueprint for Modern Pop-Punk Glam
5 min read


Makeup
6 Beauty Brands Reinventing the Packaging Game
4 min read

Beauty Picked Just for You
Get 5 products worth up to $70
Exclusive access to epic deals up to 80% off
Starting at just $15/month. Cancel anytime.