Want To Try Out Bantu Knots? Here’s How


Katrina Mitzeliotis Lanza


If you’re looking for a cool, protective hairstyle that will keep your ends safe from breakage, look no further than Bantu knots. While the look continuously pops up on the red carpet and on the runway, the look dates back centuries ago to the Zulu people in South Africa. Due to its origin, the style is also known as Zulu knots. Fast-forward a couple of centuries and the look is often seen on the celeb set (including our queen, Rihanna). In the ‘90s, Scary Spice and Lauryn Hill were known to sport the style, as did Jada Pinkett Smith in The Matrix Reloaded.
While you can wear Bantu knots and make a statement, the knots are also a great way to rock your natural hair while still keeping it protected and giving it a break from heat styling, allowing you to achieve healthier, stronger, and longer hair. Wrapping your hair in Bantu knots can also help you create a more defined curl pattern if worn overnight in curly hair or coiled, kinky hair. Once you twist out the knots you’ll be left with amazing curls. This style is also known as the Bantu knot-out (but more on that later).
Want to rock Bantu knots but not sure how to master the style? Check out our easy-to-follow Bantu knot tutorial below and read on for expert tips for twisting your tresses.
How to do bantu knots, step-by-step
Bantu knots are created by sectioning the hair and twisting it around into tiny knots. Watch the video above and follow these simple tips to try the style at home. Depending on your hair type, whether you have short or long hair, and how large your section your strands, you'll be able to achieve different looks. “In larger knots they will look like a stack of tires,” says hairstylist and Matrix artistic director Michelle O’Connor. “On small knots, they will look like rosebuds.”
It's about glam time you treated yourself.
Join IPSY

MEET THE EXPERT
Michelle O’Connor is the artistic director for Matrix and an editorial stylist and salon owner.
1. Prep the hair
Creating Bantu knots leaves a large portion of the scalp exposed, so it’s best to work with clean hair so that product build-up isn’t visible. O’Connor says you should prep by washing hair with a sulfate-free shampoo. Using a sulfate-free shampoo won’t further strip your hair of natural oils. In turn, it will reduce frizz. You can check out our list on the 10 best sulfate-free shampoos here. After you shampoo and condition your hair, apply a leave-in conditioner, like the PLAYA Monoi Milk Leave-in Conditioner. This provides an added layer of protection against breakage as you coil, twist, and wrap your strands. Before you get to styling, you’ll also want to detangle hair. Using a wide-toothed comb, detangle wet hair after you apply a leave-in conditioner or detangling serum. This will ensure your knots are smooth and shiny.
2. Separate the hair
Use a rattail comb to part hair into four sections, creating a T-part. Next, decide how many knots you want to create within each of the four sections. Further divide hair into smaller parts within each section. “Sections can be anywhere from 1/2 an inch to 3 inches, depending on the definition that you want to see and the length of the hair,” says Michelle. If you’re unsure of how to divide your sections for each knot, remember this: “The shorter the hair, the smaller the sections should be,” says O’Connor.
While damp hair is easiest to work with, you can also create knots on wet or dry hair. If you plan on sporting your knots for a few days, wet hair is your best bet. “Wet hair will give the strongest set, has the strongest hold, and will last the longest,” says O’Connor. If you’re concerned about shrinkage, however, you should work with dry hair. “It will give you a slightly stretched-out version of this curl and carry less shrinkage,” says O’Connor.
3. Apply curl cream
Use your fingers and the praying hands technique to work a curl cream from root to tip, evenly coating the length of your hair, working in your divided sections to moisturize your strands. Using a cream or mousse will allow your hair to set in place easily and will eliminate frizz, says O’Connor. After the product is fully applied, comb through the smaller portions gently and thoroughly to ensure even distribution. “Apply your product to each knot as you work through the entire head,” says O’Connor. Opt for a styling cream with a light-to-medium hold, like the EVA NYC Rock-A-Wave Curl Cream, so that your hair isn’t too stiff. Twist each section of your hair between your fingers. This will create the base of the knot.
4. Divide with cornrows
Add a cornrow in between sections on the initial T-part. Feel free to add extensions or ribbon in the braid. The thin cornrows will separate the hair.
5. Section into ponytails
Divide each section into small, ½” sections. Once you separate the hair, secure the smaller sections using an elastic hair tie to create a mini ponytail, doing one at a time. Continue throughout your hair, creating individual mini ponytails in the four larger sections.
6. Twist
Working with each small ponytail individually, separate the hair in the ponytail into two sections. Begin a two-strand twist, twisting each part around each other. Twist and tightly wrap the hair around itself to form a bun. Feel free to twist and wrap at the same time as you work. In between the knots, create small cornrows to section off the hair.
7. Knot, set, and secure
Take the twisted hair and weave it around clockwise to create a knot or mini bun. If you have longer hair, your Bantu knots will look like a pyramid or funnel. If you have short hair, they’ll look more like rosebuds. Tuck the end of your hair inside the bun, under the knot. If your knots are tight, your ends may stay in place. If not, use a bobby pin or hair pin to secure the end inside the bun.
8. Repeat
Continue twisting the tiny ponytails until you’ve turned them all into tiny knots. If you want to add variety to your look, you can also recreate Bantu knots by individually braiding each section instead of creating two-strand twists.
9. Sleep
You can sport your Bantu knots for a few days in a row, but in order to preserve your style, it’s important that you care for your hair even when you sleep (especially if you want to prevent frizz and breakage and get the most mileage out of your style). “Wrap a scarf around your head or sleep in a satin bonnet,” says O’Connor.
10. Bantu knot-out
After sporting your Bantu knots overnight (or for a couple of days), you can take the protective style out and enjoy defined curls. “This look is known as a knot-out,” says Michelle. “Carefully unravel each knot in the opposite direction that the hair was wrapped and separate the coils to erase the original pairings and create volume.” If you love your curls you can also knot your hair on a daily basis before you go to sleep as part of your nightly routine, says O’Connor. “You may continue to re-wrap your Bantu knots nightly to keep your knot-out fresh.”
We love a beauty twofer–especially a protective, natural hairstyle that allows you to achieve two totally different looks. Have you tried twisting your hair into Bantu knots? If so, share a photo with us. Take a selfie of your style and be sure to tag us on Twitter and Instagram @IPSY so we can see your ‘do.
Want in on all the Glam Bag fun? Take our Beauty Quiz now to get started. Already an Ipster? Refer your friends to earn free products. Either way, don’t forget to check us out on Instagram and Twitter @IPSY.
Liked this post? Share!
Related Stories


How-To
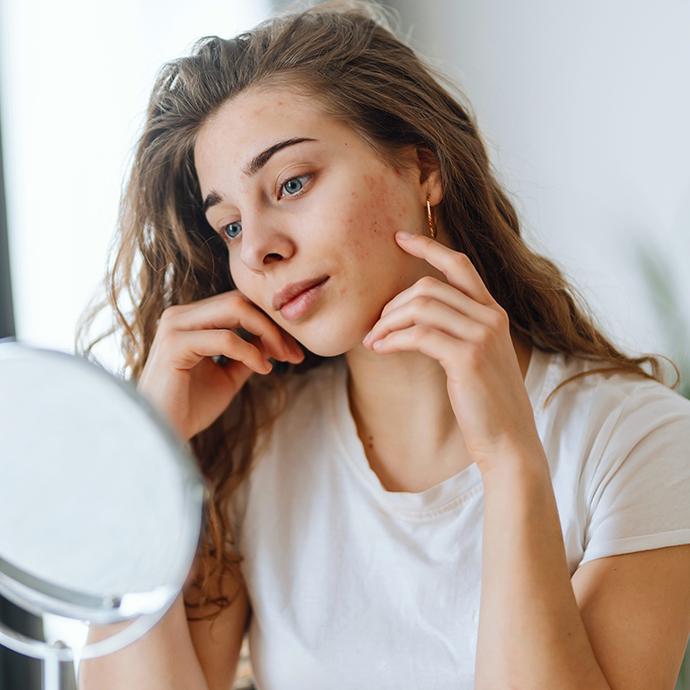
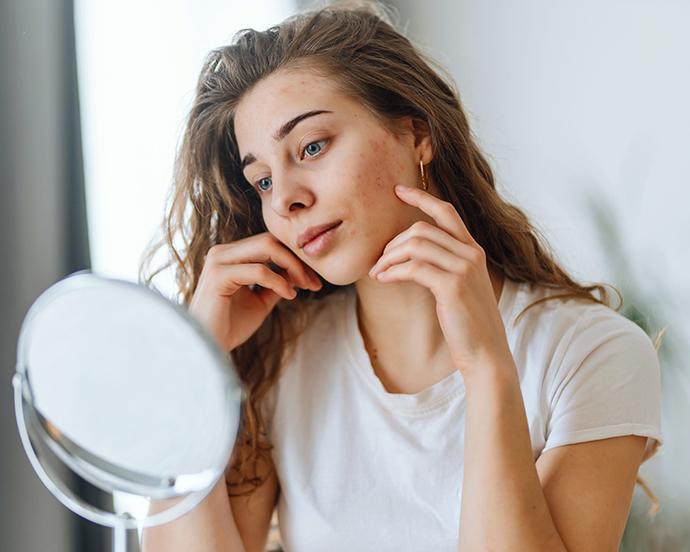
Skin Barrier 101: How to Repair Summer-Stressed Skin
4 min read
How-To
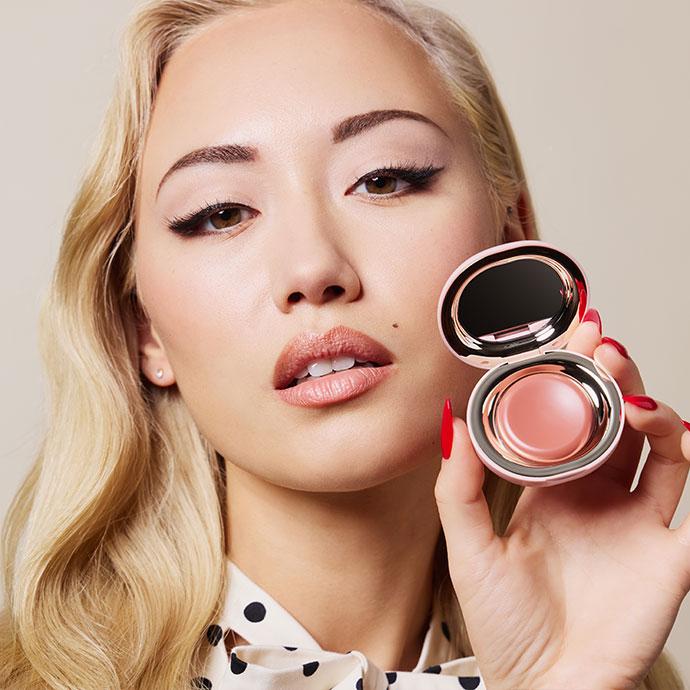
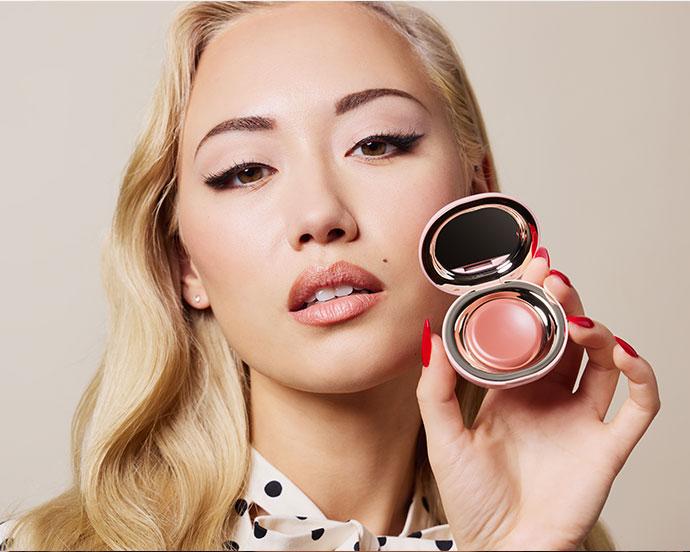
How to Apply Cream Blush Without Overthinking It
5 min read
How-To
The Secret to Better-Looking Makeup Isn’t What You Think
6 min read
How-To
Got a Cut on Your Face? Here’s How to Help It Heal Without Scarring
4 min read
How-To
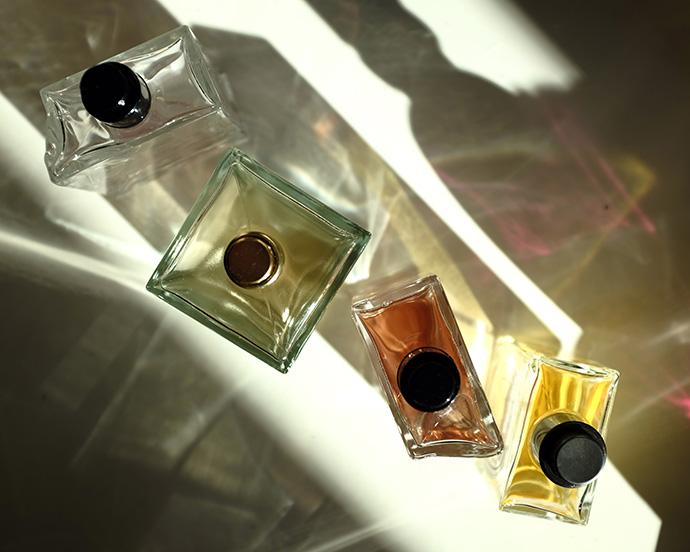
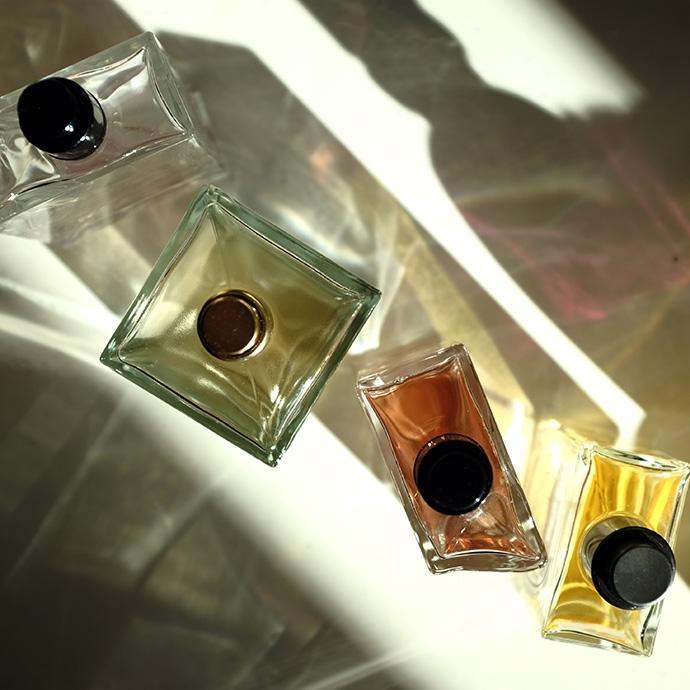
Why Everyone’s Scent Stacking Right Now
4 min read


How-To
How to Treat Yourself: 39 Simple Self-Care Ideas
15 min read

How-To
Here’s How to Build Your Perfect Skincare Routine for Both Morning and Night

How-To
10 DIY Face Masks That Are Expert-Approved & Actually Work

Beauty Picked Just for You
Get 5 products worth up to $70
Exclusive access to epic deals up to 80% off
Starting at just $15/month. Cancel anytime.