How to Do Ombré Nails


Brittany Leitner

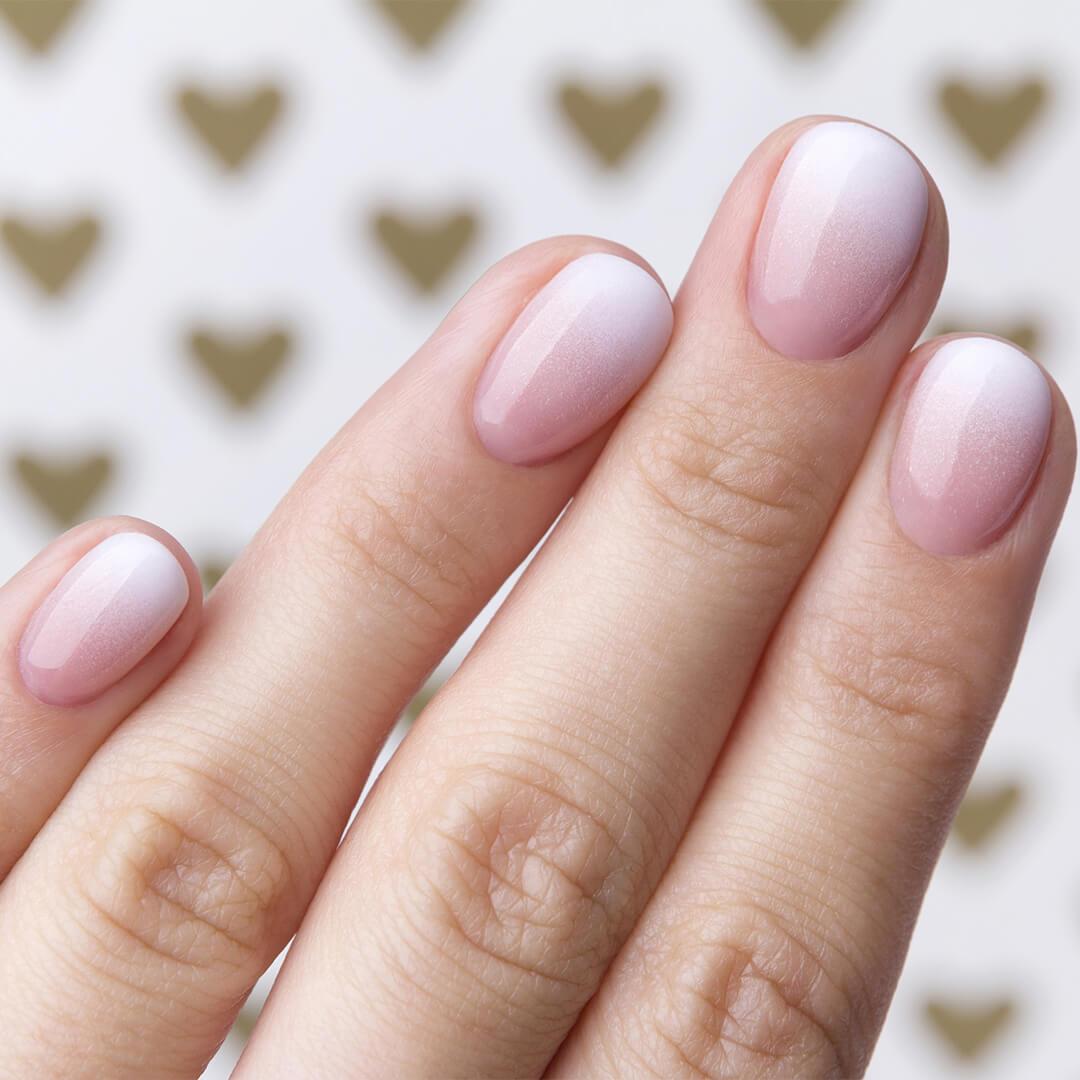
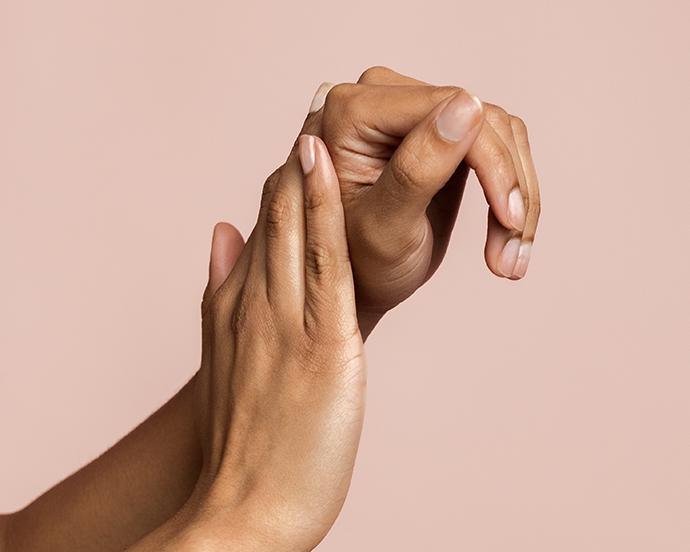
No nail look is more coveted (and also intimidating to create) than the DIY ombré nail. If all goes well, you’ll have gorgeous colors fading into each other like the sunset on each finger. If it goes wrong—well, you know the struggle. But have no fear, we’re here to show you that an at-home ombré mani doesn’t have to be as hard as long as you have the right tools. To find out how to flawlessly try the DIY ombré nail trend at home, we spoke with celebrity and editorial nail artist Elizabeth Garcia. Read on for her expert tips and tricks to ensure your DIY mani looks like you just got home from the salon.
It's about glam time you treated yourself.
Join IPSY

MEET THE EXPERT
Elizabeth Garcia is a professional nail artist focused on celebrity and editorial work for the last 17 years. She specializes in non-harmful nail extensions and nail art.
What You’ll Need
Base coat: Any great manicure starts with a solid base coat. It helps nail polish go on more smoothly, makes the color of nail polish pop, and will protect the base of your nails from discoloration or flaking that can be caused from wearing nail polish. Try a base coat that’s infused with antioxidants to shield out pollutants from environmental factors, and protect your nails from the nail polish you’re applying on top, or even glitter nail polish. The ADESS New York Brightening Base has all of that protection plus vitamin E to nourish your nails.
Top coat: A good top coat gives your nails the texture or finish you’re after (like glossy or matte) and will protect against premature chips and nicks. This CIATÉ LONDON Plant Pots Speed Coat Top Coat is made with natural ingredients to harden nails, prevent breakage and chips, and give an overall glossy finish.
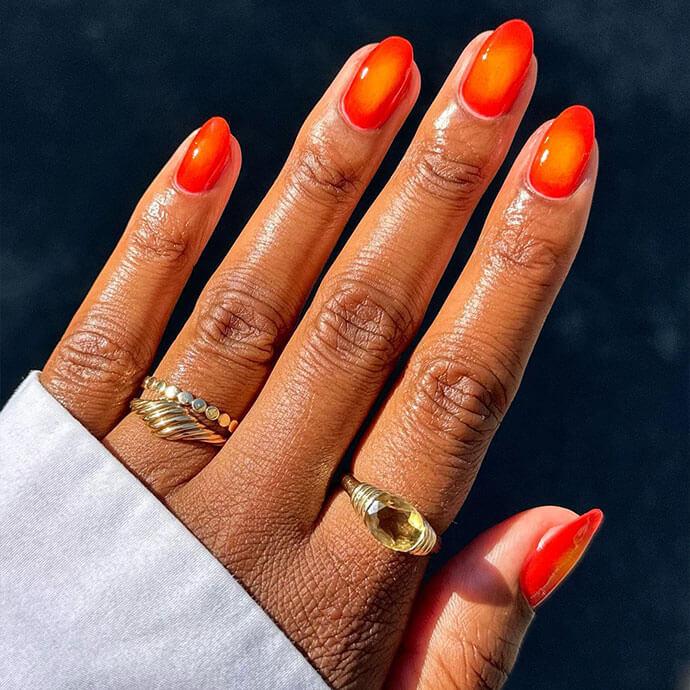
Nail polish shades: It can be tricky choosing which ombré shades you want to blend into each other, but Garcia says you can blend just about any colors you want. If you’re feeling indecisive, Pinterest has tons of inspo to guide you. Choosing colors in the same color family is always a good bet too, like fading pinks into magentas and then reds, or pink into lilac then blue. We’re loving these gel-like GELlusion Nail Polishes from P.R.M.I.T BEAUTY for a smooth, long-lasting finish.
Latex sponge makeup wedges (or latex-free): Before the Beautyblender, there were handy makeup sponge wedges—the ones you can find in your drugstore makeup aisle. These are exactly what you’ll need to achieve this ombré look.
Tape: Any brand of tape will do. This is just to clean off the debris from your makeup sponge.
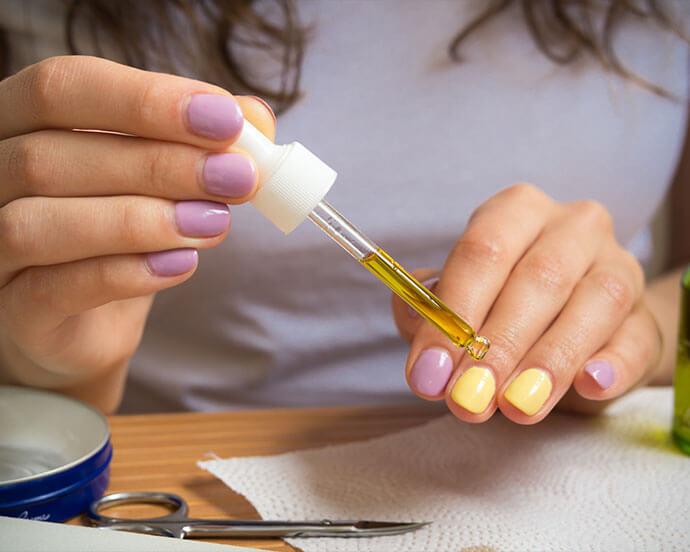
Nail polish remover: Go bold without having to worry about excess color on your fingers. Keep nail polish remover nearby to clean up any spills or color outside the lines. Try one that you can use with just one hand, like the ZOYA 3-in-1 Remover. Just tap your cotton ball on the cap and product will soak through.
How to create your ombré mani
Now that you’ve got all the products you need, let’s break down how to DIY your very own ombré nail look.
Step 1: Base Coat
Apply one to two coats of your base coat of choice and let dry completely before adding more color.
Step 2: Clean your sponge
Take a piece of tape and dab it over your sponge. This ensures your sponge is clean and ready for application and that no loose pieces of the sponge fall out and get stuck on your nail.
Step 3: Add color to the sponge
“Apply each color (on the sponge) in rows overlapping each other not leaving any space in between. Overlapping them is very important for a smooth ombré effect,” says Garcia.
Step 4: Start applying
Dab sponge into the nail. Let each layer dry and then dab it again, says Garcia. “It would take 2-4 times to accomplish a good pigmented ombré nail,” she says.
Step 5: Clean things up
When you’re happy with your color pigmentation on the nail, clean the sides of your nails and skin with a brush or cotton swab soaked in nail polish remover.
Step 6: Add a top coat
“The top coat will smooth everything out even more and will be the final seal,” says Garcia.
Ombré nails look sophisticated and chic, and they’re surprisingly easy to do yourself. Have you tried creating your own at-home ombre manicure? Show it off by posting a photo on Instagram or Twitter and tagging us @IPSY.
Want to find more nail colors and looks to try? Join the IPSY Glam Bag fun and take our Beauty Quiz now to get started. Already an Ipster? Refer your friends to earn points, which you can use toward products. Either way, don’t forget to check us out on Instagram and Twitter @IPSY.
Like this article? Share it with your friends by clicking the icons below!
Liked this post? Share!
Related Stories


Nails
Why Natural-Length Nails Are the Biggest Manicure Trend Right Now
5 min read


Nails
FIFA World Cup 2026 Nail Art Designs You’ll Get a Kick Out Of
2 min read
Nails
Spurs or Knicks? Show Support for Your NBA Team With These Nail Art Ideas
2 min read
Nails
Why Everyone’s Suddenly Asking for Soap Nails
3 min read

Nails
The Easiest Way to Moisturize Your Nails All Year Long
3 min read

Nails
Strawberry Milk Isn’t Just a Tasty Treat—Here’s How to Ace the Nail Trend!
6 min read


Nails
10 Cute and Colorful Korean Jelly Nail Designs to Try This Summer
5 min read

Nails
The Ultimate Aura Nail Guide: DIY Tips & 10 Dreamy Designs to Try
5 min read

Beauty Picked Just for You
Get 5 products worth up to $70
Exclusive access to epic deals up to 80% off
Starting at just $15/month. Cancel anytime.