How to Give Yourself a Salon-Worthy Facial At Home


Maya Ernest


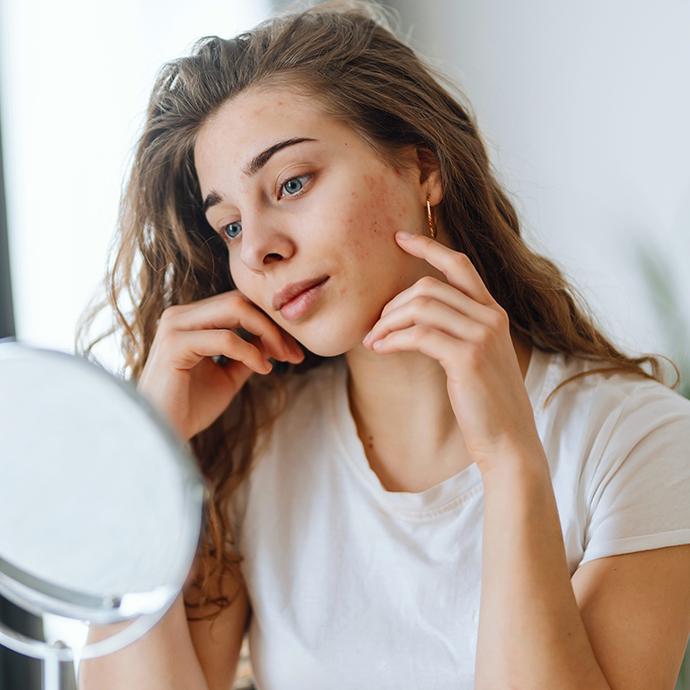
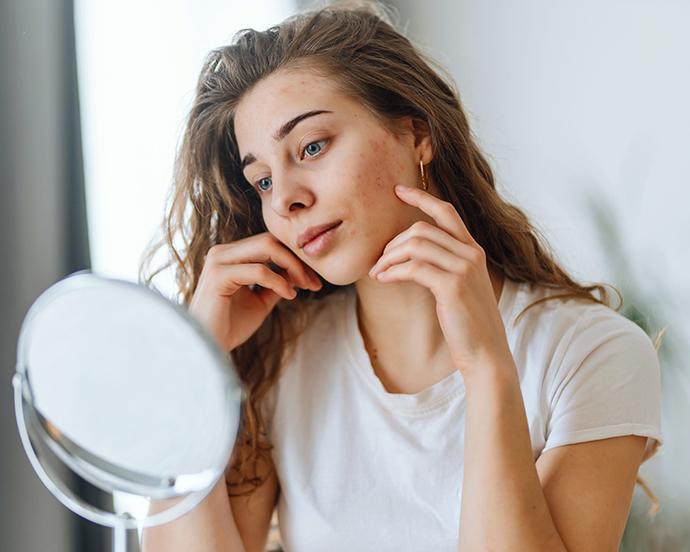
There are endless reasons why we love getting a facial—the deep cleanse, the gentle exfoliation, the glowy results (even with dry skin), and, of course, the relaxing vibe of it all. And if you’ve spent time out in the sun or dry winter air, or if your skin’s been stressed, a facial is what your skin needs to feel refreshed and radiant. Nothing compares to an in-spa facial, but when you can’t book your favorite esthetician for a professional facial, or your fave dermatologist is all booked, an at-home facial is the perfect way to boost your complexion.
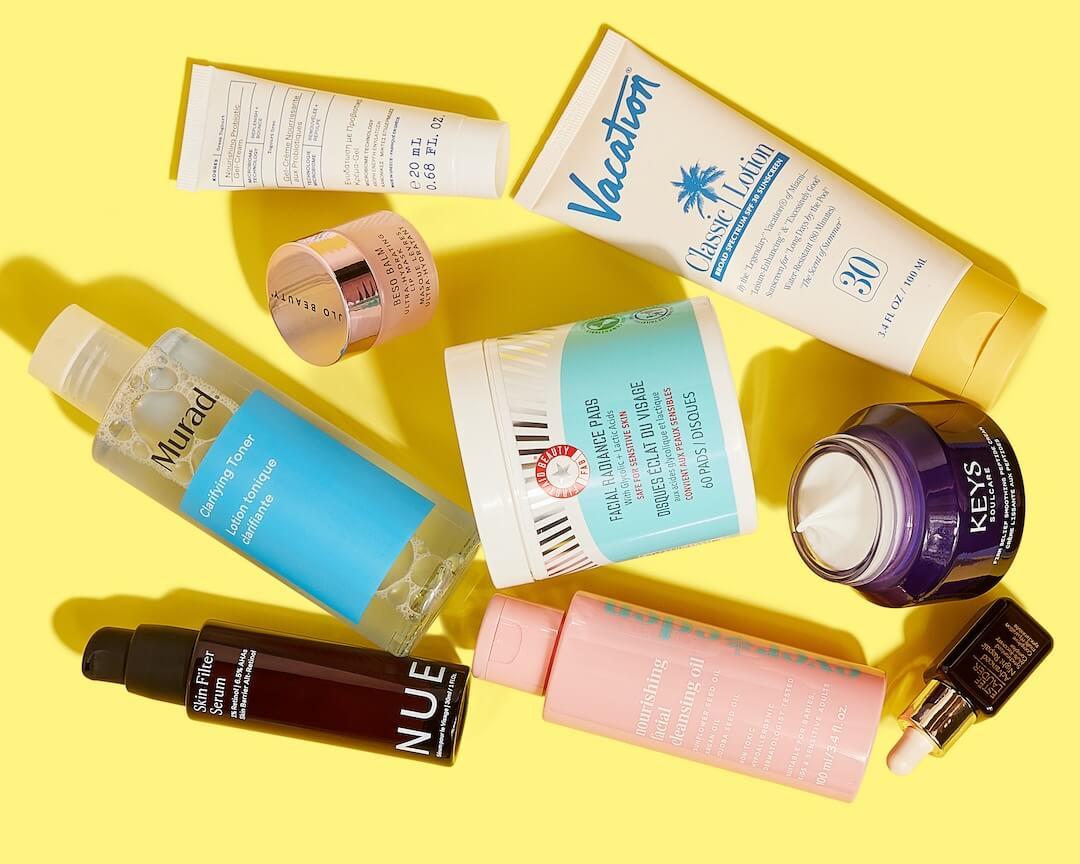
The best part? You don’t have to overhaul your entire skincare cabinet for your DIY treatment, either: You probably already have products packed with ingredients to help you get that glazed look. “Hyaluronic acid gets all the praise right now, but glycerin is just as good,” says NYC-based esthetician Bryce Anthony. [It’s] a humectant, which binds water into the skin. This also helps your other products to penetrate the skin more efficiently.”
To be clear, we’re not talking pore extractions here—please leave extractions to the pros (doing it yourself without the right technique and tools could cause more harm than good). Think of your at-home facial like your traditional skincare routine, but with some added pampering. “Giving yourself mini facials is the best way to keep your skin bright, smooth, and glowing in between professional facials,” says Los Angeles-based esthetician Erica Marie, who loves inspiring people with tips on how to give yourself a facial at home.
There are many types of DIY facials that incorporate facial massage, steaming, and more, so if you’re ready to up the indulgence, dive into our slew of expert tips from Marie, Anthony, and Los Angeles-based esthetician Aziel Faith Rodgers. Get your skin glowing until you and your facialist meet again.
It's about glam time you treated yourself.
Join IPSY

MEET THE EXPERT
Erica Marie Glatt Marie is a Los Angeles-based esthetician and founder of EM Skin.
Aziel Faith Rodgers is the lead esthetician at The Things We Do in Los Angeles.
Bryce Anthony is a NYC-based esthetician and glow guru.
DIY Facial in 8 Easy Steps
Step 1: Create Your Oasis
One reason we cherish spa time is the ambiance—we love taking in the stress-melting scents and soothing ambience, while our trusted facialist brings our skin back to life. Before you start your at-home facial, gather your favorite candles, or put on a playlist you love to create your ideal vibe. “Using an essential oil diffuser and mixing scents will help enhance your experience,” says esthetician Aziel Faith Rodgers. The plus side of doing facials at your own oasis is that you can customize them based on your mood or time of day.
For example, Rodgers loves ylang-ylang and lavender oils to soothe and calm, and lemon and rosemary to energize and clear the mind. Give yourself a similar sensation with this SULWHASOO Concentrated Ginseng Renewing Cream, which melts into skin with a slight earthy smell to help boost skin resilience and improve the look of wrinkles.


Step 2: Start With a Double Cleanse
Ever since we started double cleansing, we’re convinced that our skin has never been cleaner (and clearer). “Double cleansing is important to really cleanse the skin and remove impurities,” says Rodgers. This two-step method ensures that all makeup, dirt, and excess oils come off, and that you’ve got a clean slate for the rest of your skincare products.
Rodgers says to start with an oil-based cleanser to remove makeup and SPF that can be tough to remove with other formulas. Massage it all over your skin, using gentle circular motions, then remove with a warm, wet washcloth. Next, go in with a cream, gel, or foam cleanser (cream cleansers are great for sensitive skin types), massaging it all over and then rinsing away with warm water.
“Always include your face, neck, and decollete,” adds Erica Marie, who recommends AYUR MEDIC’s Mild Cleansing Gel that nourishes the skin barrier. We love to use the DRUNK ELEPHANT Beste™ No. 9 Jelly Cleanser, which is a major hit on TikTok for a reason. We love its soothing formula and the way it dissolves stubborn makeup, sunscreen, dirt, and debris from our skin without stripping it of moisture.
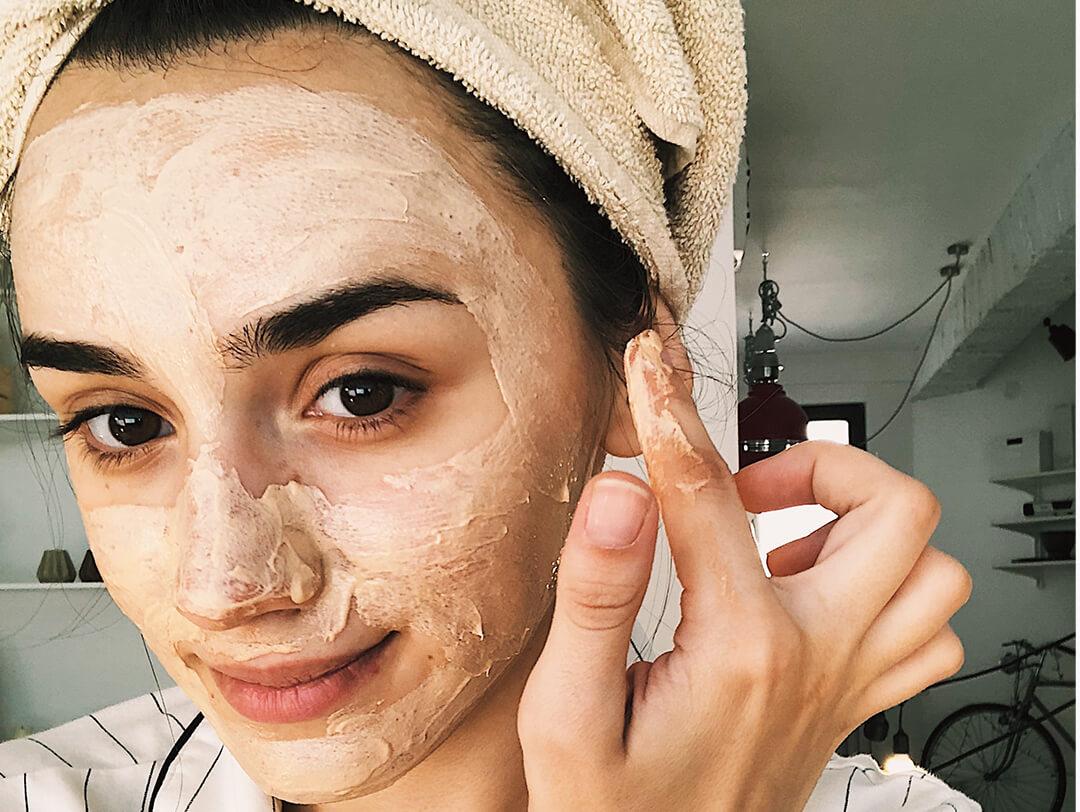
Step 3: Exfoliate Away Dullness
When dead skin cells pile up on our skin’s surface, they can make our complexion look dull and uneven. “Exfoliation is important to help turn over skin cells and remove dead skin. This in turn will help with smoothing skin’s texture and help with product penetration,” says Rodgers. Reach for a mask with exfoliating small granules, like this ORIGINS Clear Improvement™ Blackhead Clearing Mask-To-Scrub, to reduce blackheads, reduce oil, and smooth your overall skin texture. Focus on areas where you see congestion, Marie adds, “and don’t go over the same spot more than three times.” While you rinse, continue to massage in circles until it’s all removed. Pat (don’t rub) your skin dry.
Another exfoliator we think is worth adding to your skincare lineup is the HEY HONEY Come Clean Propolis & Dead Sea Minerals Facial Scrub. We love that it sloughs off dead skin cells and unclogs pores to help reveal a more youthful, glowy, even complexion. Want to really tap into your inner esthetician? We suggest going with one of our all-time favorite physical exfoliators: DERMAFLASH LUXE+. This electronic tool removes peach fuzz and dead skin cells. The result? A deeper exfoliation, clearer complexion, and smoother skin. The tool does include a small blade, so be sure to consult with a professional if you’re new to using dermaplaning tools.
Step 4: Steam to Open Pores
Love a soothing steam session? You don’t need a fancy facial steaming device to reap those pore-opening and skin-softening benefits. “If you don’t have a small facial steamer, you can boil water and add herbs like rosemary or lavender to it,” says Rodgers. Then, hold your face over the pot of water (while maintaining a safe distance), and place a towel over your head to catch all the steam.” Heavenly, right? In a pinch, Anthony recommends dousing a face towel in very warm water, ringing out any excess water, and once gently placing it over your face for two to three minutes.


Step 5: Apply A Face Mask or Multimask
We all have our unique skin concerns—so choose face masks that target yours. Oily and breakout-prone skin tends to benefit from applying pore-detoxifying, oil-absorbing clay masks. If your skin is dry, reach for something that boosts hydration. Marie suggests the IS CLINICAL Hydra Intensive Cooling Mask with ingredients like hyaluronic acid, rosemary leaf, and soothing aloe vera. You also can’t go wrong with the DR.JART+ Dermask™ Porecting Solution Face Mask, which is a no-rinse, bubbling charcoal face mask that instantly reduces oil, hydrates your skin, and tightens visible pores.
The coolest part about DIY facials is that you’re not limited to just one mask. When you multimask, you can apply masks to different areas of your face (like a clay mask to your T-zone if it’s oily, and a cream mask to your cheeks if they’re dry), or you can apply them consecutively (for example, a clay mask followed by a hydrating sheet mask—we love the MID FLOWER Hyaluronic Acid Moisturizing Sheet Mask, made with moisture-locking hyaluronic acid to help hydrate, plump, and smooth skin.).
Just don’t physically mix mask formulas, because doing so may prevent them from having their intended effect. And if you love whipping up your own masks, Rodger suggests not to “use anything too acidic or alkaline like lemons or baking soda,” as it can “impair your skin’s natural barrier.”


Step 6: Use an Ice Globe Over Hydrating Masks
If you’ve never tried an ice globe, you’re about to be wowed. Marie recommends using ice globes for their cooling, soothing, depuffing effects. “Ice globes help improve blood circulation, reduce puffiness, decrease inflammation, give you a healthy glow, and more! I like to keep ice globes in the refrigerator, not the freezer. Use ice globes with light pressure over a hydrating mask starting at your eyebrows, then glide them vertically to your temples and under eyes, and gently massage in circular motions over your face, neck, and décolleté. Repeat three times.”
We suggest the SONÄGE SKINCARE Baby Firoz Mini Icy Globes in Lilac make for the perfect pick-me-up on tired skin—just pop them in the fridge and use them to massage your skin, boost circulation, reduce redness, and more.


Step 7: Add Serums and Moisturizer
When we want to amplify our glow, we incorporate silky serums and moisturizers into our spa routine. Not only do we love the way they feel, but they also enhance our skin’s vibrancy. The Radiance Repair Serum from GOLDFADEN MD is a great place to start, thanks to its bio-active reverse emulsion formula. Apply a pump of this renewing product for long-lasting radiance and rejuvenated skin.
After applying the serum(s) of your choice, we recommend a moisturizer. We stand by the KATE SOMERVILLE® Goat Milk Moisturizing Cream because it’s safe for all skin types and infused with antioxidant-rich grapeseed oil and vitamin E to neutralize inflammation in the skin. We feel like we’re lapping our faces in luxury with every last swipe.
Step 8: Massage with Face Oil
You’ve made it to the most relaxing, indulgent part of your facial—the massage. Facial massages help boost circulation, and can help with lymphatic drainage (to help direct toxins out of your body). “You can use facial tools like a jade roller to help with product penetration, or a gua sha tool to help with toning and lifting,” says Rodgers. But if you don’t have those, your hands will work just fine.
Regardless of what you’re working with, Anthony especially recommends using facial oil to glide anything across your face—especially in the winter, when skin can be dryer. “Winter is a good time to switch to a thicker moisturiser, and incorporating a facial oil gives you an extra boost of moisture and slip,” he explains. Face oils are great for facial massage, and they’re packed with skin-healthy ingredients.
“Just apply with your fingertips, and then gently massage and tap onto your skin,” says Rodgers. Focus on spots like your orbital bone, under your cheekbones, your jaw, and behind your earlobes (so soothing). Once you’re done, you can dab off any excess product or let your skin soak it up. The BYROE Pear Serum Oil uses a nourishing blend of moringa seed oil, red algae, a dew-boosting glow matrix, and leaf shield to help hydrate and strengthen your skin’s barrier.
Step 9: Top Off Your Eyes and Lips
If you’ve ever had a pro facial, then you know the telltale signs that your relaxing treatment has come to an end: the application of eye cream and lip balm. Yes, these two products signify the final step of your facial, but they also serve an important purpose. The skin around both your eyes and your lips is incredibly thin and prone to moisture loss. You’ve done all that work above to ensure your skin is hydrated and happy, and eye cream and lip balms lock that all in, so you can reap the benefits of your at-home facial for longer.
When we want to leave a facial with soft, supple, decadently moisturized lips, we apply the CIATÉ LONDON Smiley® Lip Mask. It goes the extra mile, extending beyond your traditional balm. Shea butter and jojoba seed take hydration to the next level, even doubling as an overnight mask if we choose to use it that way. As for eye cream, we suggest MZ Skin’s Soothe and Smooth Hyaluronic Brightening Eye Complex, which helps smooth mature under-eyes while stimulating collagen and elastin. We also recommend this Flash Nap Instant Revival Priming Eye Gel-Cream from Fenty Beauty, which is like a flash nap in a tube: Packed with ingredients like horse chesnut, green tea, and hyaluronic acid, this formula works on contact to plump under-eyes and add hydration. A cooling mini eye massage tool rolls the product on for an added touch of luxury.


Want to Take Your DIY Facial to the Next Level? Try These Easy Ideas.
Try an At-Home Microcurrent Device: According to Marie, microcurrent is the perfect way to boost your facial if you purchase a DIY device. “[Microcurrent] softens fine lines and wrinkles, brightens dark circles, de-puffs, tightens, tones, and gives you a beautiful glow!”
Try an All-In-One Tool: Marie recommends SOLAWAVE Wand, which is known for its multiple benefits. It stimulates muscles and deeper layers of skin with microcurrents, gently massages skin to de-puff, delivers both red and blue light therapy to target skin concerns, and imparts therapeutic warmth to boost absorption of skincare products during your facial, resulting in reduced redness, and more.
What Not to Do During Your DIY Facial
DIY Extractions: Repeat after us, “Extractions are for the pros.” It may be tempting, but trying to extract your own blemishes, blackheads, or clogged pores can actually make them worse and cause damage to your skin, resulting in scarring.
Use Harsh or Strong Skincare Products: If you’ve discovered a new wonder cream made with skincare ingredients you’ve never tried before, now may not be the time. Between cleansing, exfoliating, steaming, and more, your skin’s already undergoing more than usual. Use something gentle your skin is already used to, and always check with your derm before trying something that may be harsh on your skin.
Use Unwashed Tools: Cleanliness is key! From your hands to your skincare tools, to the washcloths and surfaces you’re using, make sure everything’s nice and clean so you’re not introducing germs to your skin.
Final Thoughts:
With the right skincare, tools, and attitude, achieving a facial at-home isn’t as hard as you might’ve thought. And besides feeling accomplished, you’ll leave your personal spa session with a relaxed mindset and smooth, glowing skin—now that’s what we call facial awareness.
Liked this post? Share!
Related Stories


How-To
Skin Barrier 101: How to Repair Summer-Stressed Skin
4 min read
How-To
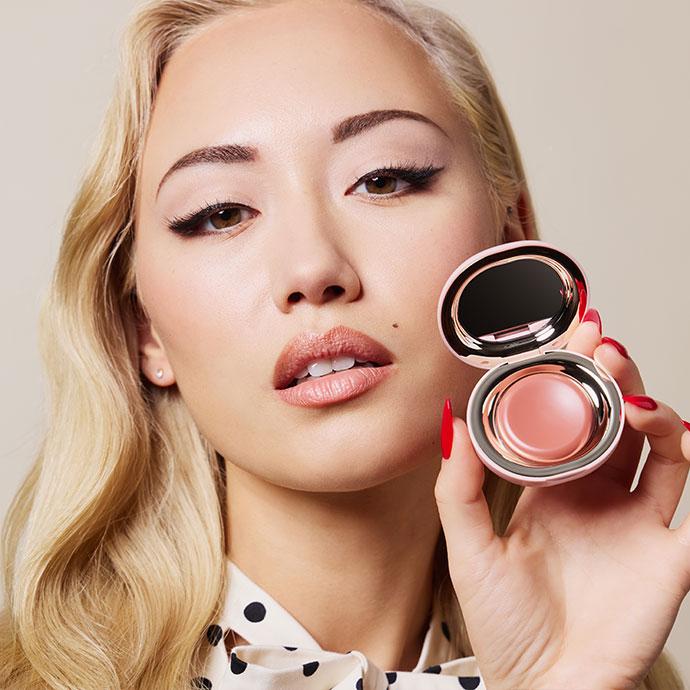
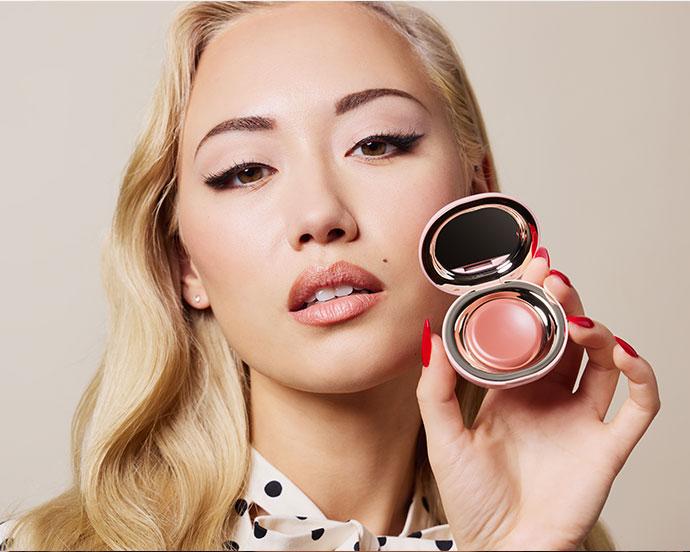
How to Apply Cream Blush Without Overthinking It
5 min read
How-To
The Secret to Better-Looking Makeup Isn’t What You Think
6 min read
How-To
Got a Cut on Your Face? Here’s How to Help It Heal Without Scarring
4 min read
How-To
Why Everyone’s Scent Stacking Right Now
4 min read


How-To
How to Treat Yourself: 39 Simple Self-Care Ideas
15 min read

How-To
Here’s How to Build Your Perfect Skincare Routine for Both Morning and Night

How-To
10 DIY Face Masks That Are Expert-Approved & Actually Work

Beauty Picked Just for You
Get 5 products worth up to $70
Exclusive access to epic deals up to 80% off
Starting at just $15/month. Cancel anytime.