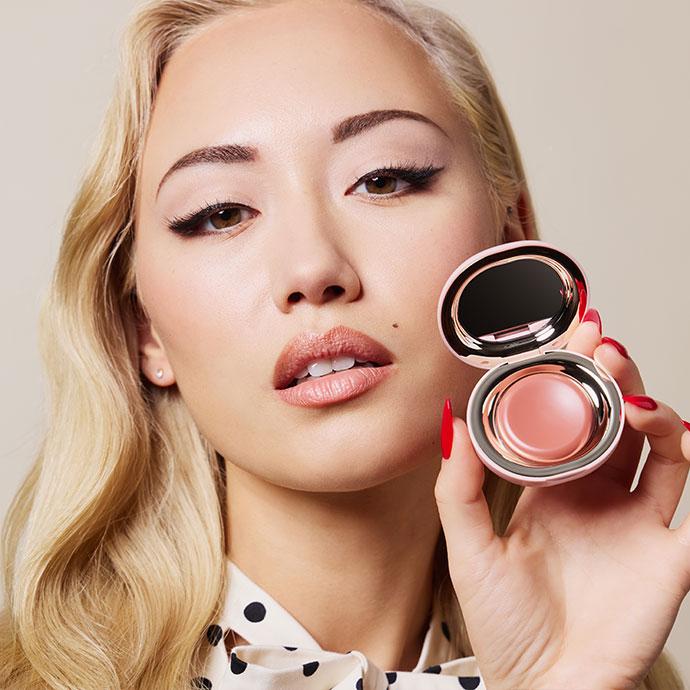
10 Easy Steps to Getting Perfect Eyebrows Without Ever Leaving Your House


Katrina Mitzeliotis Lanza


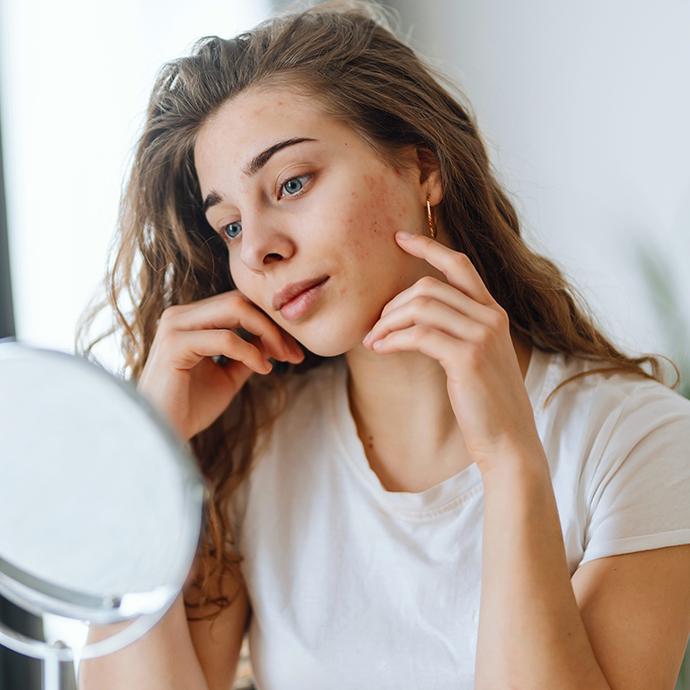
From cutting your own hair to removing the remnants of a gel manicure, we’ve become more comfortable with the idea of taking beauty matters into our own hands—and eyebrow shaping is no exception. Whether you missed your monthly appointment with your brow stylist, (hey, life happens!), or you’re unsure of when you’ll feel comfortable having an expert that close to your face, your eyebrows shouldn’t have to suffer. We turned to the pros who broke down the do’s and don’ts to shape your brows at home and offered a step-by-step guide so you can manage maintenance and minimize mistakes.
It's about glam time you treated yourself.
Join IPSY

MEET THE EXPERT
Meri Desevic is a brow-shaping specialist with more than 20 years of experience working at Bergdorf Goodman and Chanel and is a veteran in the beauty industry. Desevic currently serves as the president of Lilibeth Beautiful Brows & Eyes in NYC.
Joey Healy is one of the most influential and sought-after eyebrow specialists in the industry. With his skill for crafting the ideal arch, Joey launched his eyebrow empire in 2010 with his signature product line, Joey Healy Eyebrow Collection, following in 2011. In 2012 Joey opened his flagship Fifth Avenue Joey Healy Eyebrow Studio, a stylish eyebrow sanctuary for his jet-setting, unisex clientele.
How to shape your eyebrows
Although you may think shaping your eyebrows only has a subtle impact on your appearance, the reality is the right shaped brow can completely transform your face. “It opens your eyes, it can lift your cheekbones, it could even narrow a nose,” says Joey Healy, celebrity brow expert and founder of the Joey Healy Eyebrow Studio in NYC. Since eyebrows make an impact on your entire appearance, it’s best to follow these pro tips before you get too tweezer-happy.
1. Start in a well-lit room.
If you’ve never given much thought to shaping your brows at home, you might assume the first step starts with picking up the tweezers, but any brow artist would tell you to put the tweezer down and define the natural shape of your brow before you begin. This creates an outline and serves as a guide as you work—and it also minimizes the chances of messing up.
In order to properly outline your eyebrow, you need ample light so you can see what you’re doing. While this step may seem obvious, it’s worth pointing out. Even if you’re the type of person who doesn’t need a well-lit room to normally do your makeup, you’re going to want to get as much light as possible on your brows. This will make it easier to see all the fine hairs and random stragglers before you start any DIY shaping.
2. Make sure you have the proper tools.
Before you can start removing hair, it’s important to get out all the brow products you’ll need. This includes brow powder or an eyebrow pencil, a sturdy spoolie, brow scissors, a tweezer, concealer, and a flat brush. If you don’t have the right tools, you’re setting yourself up for failure before you even start.
“It’s like wanting to cook and not having a spoon or a spatula,” says Meri Desevic, president and brow-shaping specialist at Lilibeth Beautiful Brows & Eyes in NYC. “If you don’t have the right tools, you can’t create a great brow.” If you don’t have all the tools handy, you can also pick up an eyebrow kit that often comes with everything you need.
3. Find the starting point.
Before you can start to shape your brows, you have to outline what you’re working with, so brush your brow hairs up using a spoolie. This will allow you to identify too-long hairs (more on that later), and any sparse spots that might need filling in. Once you’ve brushed your brows, you can determine the appropriate starting point based on the shape of your face. “My rule is corner of nose to corner of eye,” says Healy.
Rather than trying to emulate the full brows trend, work with your face shape. To find the starting point, take your brush and place it outside of your nostril, extending vertically to the inner corner of your eye. Mark the starting point. “The length of your brow should be the length of your eye,” says Desevic.
If you spent years over-plucking, waxing, or threading, there’s a chance you may be missing hair at the starting point of your brow line. Instead of starting where the first sign of hair grows, it’s best to pencil in the starting point using powder or an eyebrow pencil. “Many people will follow their natural brow and look for the first sign of hair, but in most cases what they’re looking at could be the result of a mistake,” says Desevic. “If you don’t have hair at your starting point, create the illusion of hair to get them closer together.”
The starting point plays a crucial role in defining the rest of your features and contouring your face. “If your brows are too far apart your nose will look wider, and if they start to merge together like a unibrow, the bridge of your nose can look too narrow and pinched,” says Healy. To avoid these common mistakes, use the bridge of your nose to determine where your brow should begin.
4. Then find the end point.
To determine where your eyebrow should end, use a pencil or your brush, and hold it on an angle, measuring from the outside of the nostril to the outer corner of your eye. While the starting point impacts how wide or narrow your nose looks, the end point can change the shape of your eyes. “If the eyebrow is too long it’ll make the eye droopy, and if it’s too short it’ll make the eye puffy,” says Healy.
5. Next, find your arch.
Now that you’ve determined the length of your brow, it’s time to pinpoint your arch, which will give you a natural lift while adding dimension to your brows. “Defining the arch can completely change the shape of your face, it’s like an instant eye lift,” says Merie.
Both Desevic and Healy say placing the arch in the wrong spot is one of the most common mistakes they encounter when clients come in after trying to shape their brows on their own.“Your arch will be two-thirds the way out,” says Healy, which is why it’s so important to clearly mark the starting point and the end of the eyebrow.
While the right brow can transform and enhance your features, a harsh brow can do the opposite. “As we get older, it’s best to soften the edges of the arch,” says Desevic.
6. Connect the dots (starting point, arch, end).
Once you’ve determined the shape, connect the three points you’ve marked and fill in your brow, using brow powder or an eyebrow pencil. “A filled-in brow represents an ideal brow,” says Healy, who stresses the importance of filling in your brow to create the illusion of ideal growth which serves as an outline when you’re ready to tweeze. When working on your brows, it’s best to use a mirror that allows you to see your entire face—steer clear of magnifying mirrors. “You get lost in the details and you end up overworking them,” says Healy, who often encounters clients who’ve made mistakes by getting too close-up to the situation.
7. Now it’s time to conceal.
Now that you’ve penciled in your brow and connected the dots, take a flat brush to apply a cream concealer to the area beneath the brow line. “This highlights, lifts, and creates that perfect brow, because the light against the dark contours and gives the illusion of a fuller brow,” says Desevic. Not only will it enhance the shape of your brow, but it also creates a guide and highlights any mistakes or stray hairs for you to tweeze. “You’re only going to take off the hair in the highlighted area that falls outside of the brow line,” says Desevic.
8. Pay attention to the direction you're tweezing.
When it comes time to actually tweeze, only focus on the eyebrow hair in the concealed or highlighted areas that grow outside of the brow line of your defined eyebrow shape. While many don’t think twice about the direction they tweeze when it comes time for hair removal, it can have a major impact. “You want to tweeze in the direction your hair grows, so it glides out of the hair follicle,” says Desevic. “If you tweeze in the opposite direction the hair may snap and break at the surface of the skin, leaving half the root stuck inside.”
Be careful not to overdo it before you start plucking away. “You can easily go overboard, and it’s always better to leave some extras then to overwork them,” says Healy. A good rule of thumb he advises his clients to follow: “If you’re not sure about a hair, do not pluck it.”
If you make a mistake, it’s best to quit while you’re ahead instead of trying to desperately even out the situation. You’re only going to make matters worse. “Put your tweezers down,” says Healy. “The urge and the instinct is to work the other one to look like the other one because we're so obsessed with symmetry, but thickness is prioritized over symmetry.”
9. Trim sparingly.
Trimming your brows at home is often more detrimental than over-tweezing, so taking a less-is-more approach before you snip away is the best way to maintain your eyebrow shape without getting too scissor-happy. “Make sure your mirror is on the wall or on a stand, because you need both hands available,” says Desevic.
Both Desevic and Healy recommend using a sturdy spoolie to brush the hair up before you trim. “First you brush your brows up, and then you trim one at a time on a downward angle,” says Healy. Why is it so important to trim while the brow hairs are up? “We never style our brows with them combed down,” says Healy.
10. Visit a brow stylist twice a year.
Even if you’ve discovered you’re a natural when it comes to DIY brow shaping at home, it’s still best to check-in with a pro once or twice a year. “Think of it like your annual physical,” says Healy. ”It keeps the line of work right, and it ensures you aren’t taking the brows in a different direction.” While consistently shaping your brows at home, you can start to make subtle changes over time and begin to steer your brows in the wrong direction without even realizing it. A quick visit to a specialist can help get you back on track. “It’s like going to the chiropractor and getting readjusted,” says Healy.
When it comes to shaping, it isn’t about recreating the fabulous set of eyebrows you spied on your favorite celebrity or influencer on Instagram. Instead, it’s all about creating the perfect eyebrow based on your face shape, so set aside some time, grab your tools, and get to work.
Want in on all the Glam Bag fun? Take our Beauty Quiz now to get started. Already an Ipster? Refer your friends to earn points, which you can use toward products. Either way, don’t forget to check us out on Instagram and Twitter @IPSY.
Liked this post? Share!
Related Stories


How-To
Skin Barrier 101: How to Repair Summer-Stressed Skin
4 min read
How-To
How to Apply Cream Blush Without Overthinking It
5 min read
How-To
The Secret to Better-Looking Makeup Isn’t What You Think
6 min read
How-To
Got a Cut on Your Face? Here’s How to Help It Heal Without Scarring
4 min read


How-To
Why Everyone’s Scent Stacking Right Now
4 min read


How-To
How to Treat Yourself: 39 Simple Self-Care Ideas
15 min read


How-To
Here’s How to Build Your Perfect Skincare Routine for Both Morning and Night

How-To
10 DIY Face Masks That Are Expert-Approved & Actually Work

Beauty Picked Just for You
Get 5 products worth up to $70
Exclusive access to epic deals up to 80% off
Starting at just $15/month. Cancel anytime.