How to Do Your Eyebrows: A 5-Step Guide (Pro Tips + Tools)


Brittany Leitner


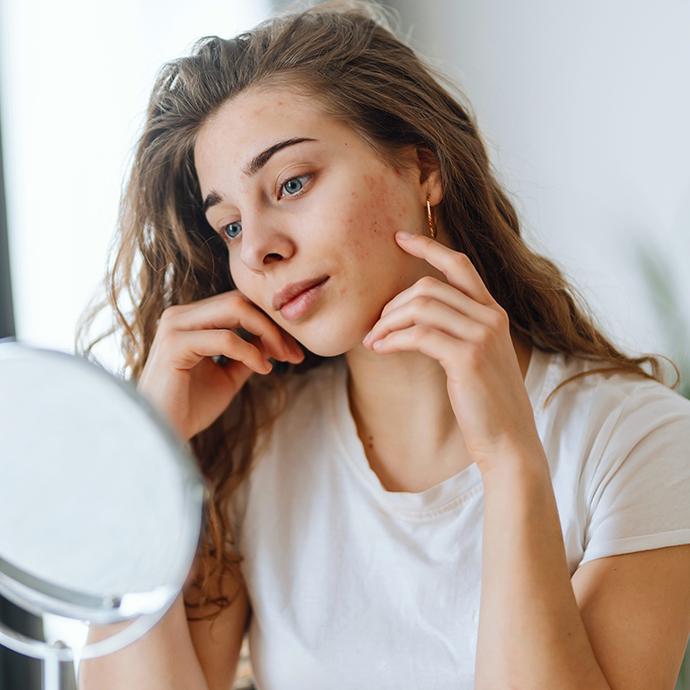
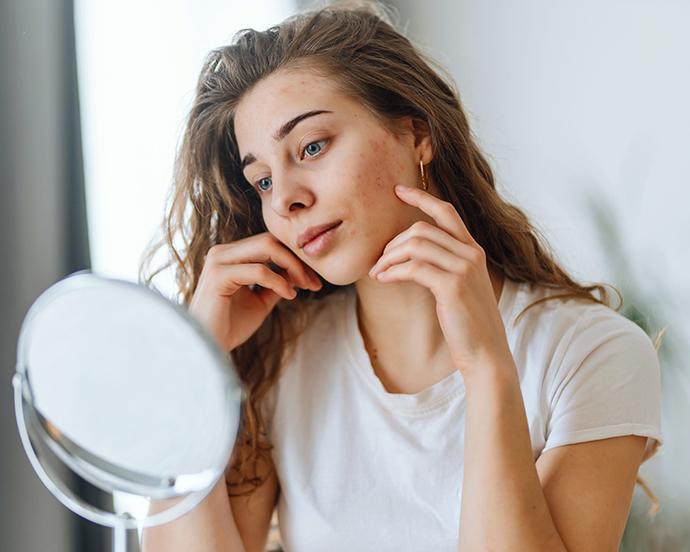
Have you ever looked at a photo of yourself from a few years ago (or even a few days ago!) and thought something about your look just feels totally off? Well, chances are, it could be your eyebrows. “Eyebrow blindness” is a term that has been trending on TikTok for the past few months, and it shows that we aren’t always the best judge of character when it comes to our own faces. Why? Sometimes, it’s because we look at ourselves in a mirror so often, our brains have a tendency to gloss over small changes. And a small eyebrow change can make a huge difference in your overall look.
If you want to learn how to be a brow grooming expert, and figure out the best shape for your face, we’ve made it easier than ever to pluck, fill, and shape like an expert. Follow along below and we’ll teach you how to groom your brows like a professional makeup artist in five simple steps. And for those who are really looking to boost their natural brows to new, bolder heights (think Cara Delevingne and Lily Collins), these tricks for getting thicker eyebrows will help in no time.
It's about glam time you treated yourself.
Join IPSY

MEET THE EXPERT
Drita Paljevic is the head makeup artist at KEVYN AUCOIN BEAUTY.
What You’ll Need to Do Your Eyebrows
First things first, you’ll need to get your gear ready. We’ve pulled together the products and tools you’ll need for proper grooming.
An Eyebrow Brush: Look for an angled eyebrow brush, like BILLION DOLLAR BROWS Eyebrow Brush to help with precise eyebrow application. Bonus: this brush does double duty with a spoolie brush on the other end that you can use for blending and grooming.
Tweezers: With a super-precise angled tip, these ARACELI BEAUTY Precisión Tweezers help you easily shape your brows and grab those teeny-tiny rogue brow hairs like a true brow expert.
Eyebrow Pencil: We find that precision pencils, like the ANASTASIA BEVERLY HILLS Brow Wiz® (which comes in 12 shades to cover every brow color needed), work best to draw hair-like strokes when you fill in your brows.
Brow Gel: Clear or tinted brow gel—it’s up to you. Either way, a good brow gel is a must-have to lock your work in place. Swipe the gel across your eyebrow hairs to tame, smooth, shape, and tint your brows instantly.
Brow Powder or Brow Pomade: When it comes to building up your brows, you’ve got options. Choose a formula that you prefer and are most comfortable applying. We love the two complementary tones of powder in KIMCHI CHIC BEAUTY Kimbrowly Eyebrow Powder and the soft natural finish of BENEFIT COSMETICS Precisely My Brow Wax in Shade 5.
Highlighter: A highlighter is key to really enhance and define the shape of your brows. BENEFIT COSMETICS High Brow Eyebrow Highlighter glides onto the brow bones and blends easily, even with your fingers.
How to Do Your Eyebrows in 5 Easy Steps
Step 1. Shaping Your Brows
Before you get grooming, you need to figure out the eyebrow shape for you. While you can always pay a visit to a professional brow stylist (or a waxing or threading professional) to get started, you can also do this at home with just your eyebrow brush from your toolkit above.
First, place one end of the brush against the outside of your nostril and the other end at the inner corner of your eye so it looks like a straight vertical line. This is where you'll want the front of your eyebrow to begin. Make a little dot with your brow pencil to mark the spot, and then repeat on your other brow.
Next, move the top of the brush to line up with your pupil. The spot where the brush overlaps your brow is where your ideal arch should be located. Mark it with another dot of your brow pencil, then repeat on your other eye.
Lastly, move the top of the brush to the outer corner of your eye (still keep the bottom of the brush next to your nostril). This is where your ideal brow shape should end. Mark it with a dot, and repeat on the other side. Connect all the dots until your brows are outlined, and that’s it!
Step 2. (Careful!) Tweezing Time
Now that you’ve found your perfect brow shape, it’s time to use your tweezer to pluck any hairs that fall outside of this shape. If you're after a bushier, feathered brow shape, feel free to skip this step entirely.
Tips for Plucking:
Find the root of hair with the edge of your tweezers, and pull in the direction of hair growth.
Look for strays that are clearly above or below your arches—these are fair game.
The area in between your eyes (on the upper bridge of your nose) is another hotspot for stray hairs that can be tweezed.
Look at your face as a whole in the mirror between each pluck to keep them even.
Step 3: Choosing the Right Eyebrow Shade
According to KEVYN AUCOIN BEAUTY makeup artist Drita Paljevic, figuring out the perfect shade for your eyebrow pencil or gel is simple. “The best way to find the right eyebrow shade is to pick a shade lighter or the same color as your natural hair color,” she explains. “Anything darker will make you look harsh.”
Remember that eyebrow blindness we were talking about earlier? Try adjusting your shade first if something feels totally off with your finished makeup look.
Step 4: Fill In Sparse Areas
Sparse areas might be frustrating, but they’re totally normal. To fill in areas where hair is bare, make sure to “color” inside the lines. Start with soft strokes and build up to match the rest of your brows.
Using your eyebrow pencil, start at the middle of your brow and gently flick the pencil upwards, making small, hair-like strokes, to fill in any bare spots or gaps. Try to hold the pencil lightly and apply gentle pressure—you want to mimic the tiny hairs that make up your brows, and pressing down too hard can lead to blocky, chunky pigment.
Step 5. Brush Then Up and Grab Your Brow Gel
The quickest way to create polished brows? Using a brow gel, hands down. Eyebrow gel is super fast and easy to apply, and if you're in a rush or aiming for a no-makeup makeup look, you could even stop after this step.
Types of Brow Gel:
Tinted: This helps to create a stronger brow shape
Clear: If you already have full brows, a clear gel can help create a clean and natural look and can help smooth flyaways.
Remove the mascara-like spoolie brush from the tube of your brow gel pick, ensuring that the spoolie end is coated evenly with gel. Then brush through your brows, fluffing them up at a slight angle to follow their natural line of growth. Depending on how long your brow hairs are, you may want to run a spoolie along the top of your arch to put any strays back in line.
Common Mistakes to Avoid When Doing Your Brows
According to Paljevic, the most common mistake people make is overplucking in line with trends that have long passed. “You can create hairlike strokes and fill in sparse spaces where the hair never grew back with the help of eyebrow pencils,” she explains.
“Another common mistake is microblading or tattooing the brows, which sometimes ends up turning the eyebrows an ashy color,” she says. “The best way to correct that is by using any eyebrow pencil or product that has a hint of redness to cut the ashy color.”
Know These Tips & Tricks
And as you're building and filling in your brows, keep these extra tips in mind:
Make sure the arch isn’t super-pointy. If it starts looking too obvious, blend it out with your brow brush or spoolie.
Don’t overextend the tail of your brows too much—this can create a droopy look and make you look tired or surprised. Remember, your eyebrows generally shouldn't go past the outer corner of your eye (see step 1 if you need a reminder of where to end your brow shape!)
Harsh lines and angles can sometimes make your eyebrows look overdone, but don’t stress if this happens: it's usually just because you applied too much product. To fix it, simply gently buff it out with your spoolie brush, or dip a Q-tip into some makeup remover to erase and rebuild that section.
How to Do Eyebrows FAQs
Need an expert-approved cheatsheet? Here are some answers to your biggest brow conundrums.
How do I fix over-plucked brows?
Paljevic says overplucking is super common and can be fixed. “I recommend creating the eyebrow shape you desire with an eyebrow pencil, filling in the sparse, overplucked areas with hairlike strokes to achieve the shape you prefer,” she says. Your go-to pencil will work or, if you want one with an ultra-precise tip, try the KEVYN AUCOIN precision brow pencil.
How long does an eyebrow pencil stay in place?
This will depend on your product, but you can help set the look with a translucent or brow-colored powder, or setting spray.
What is the best brow look for older ladies?
As we age, the hair all over our bodies gets more and more sparse. You can keep up a youthful look by filling in brows using the tips above.
Final Thoughts
Your brows frame your face, so giving them a little attention goes a long way. With the right tools, some careful shaping, and a few pro-approved tricks, you can easily create polished, natural-looking eyebrows that highlight your features. Remember: less is more—don’t overpluck, keep your strokes light, and brush everything through for a seamless finish. Once you’ve nailed your routine, you’ll wonder how you ever lived without it.
Liked this post? Share!
Related Stories


How-To
Skin Barrier 101: How to Repair Summer-Stressed Skin
4 min read
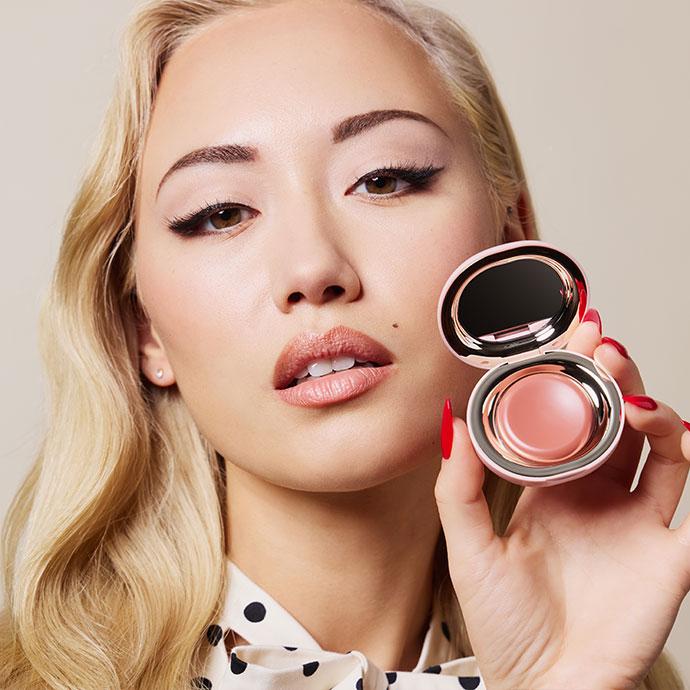
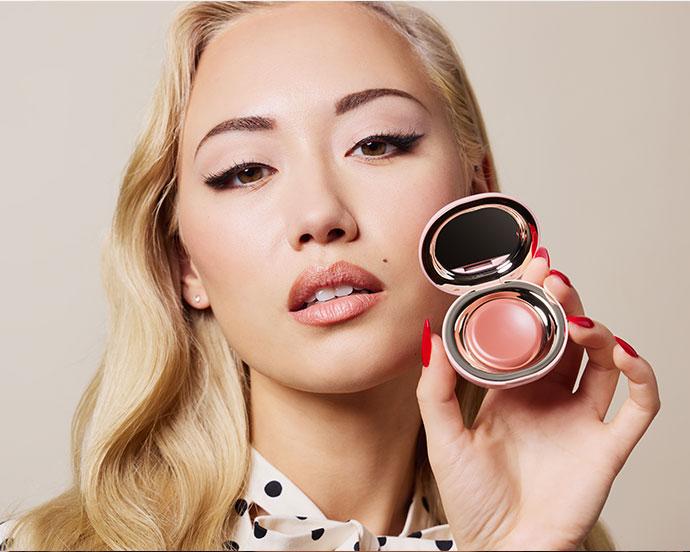
How-To
How to Apply Cream Blush Without Overthinking It
5 min read
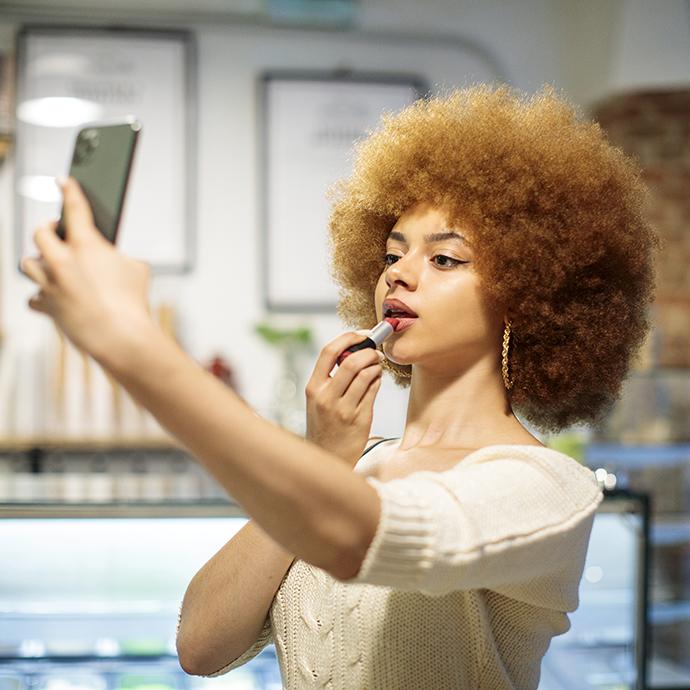
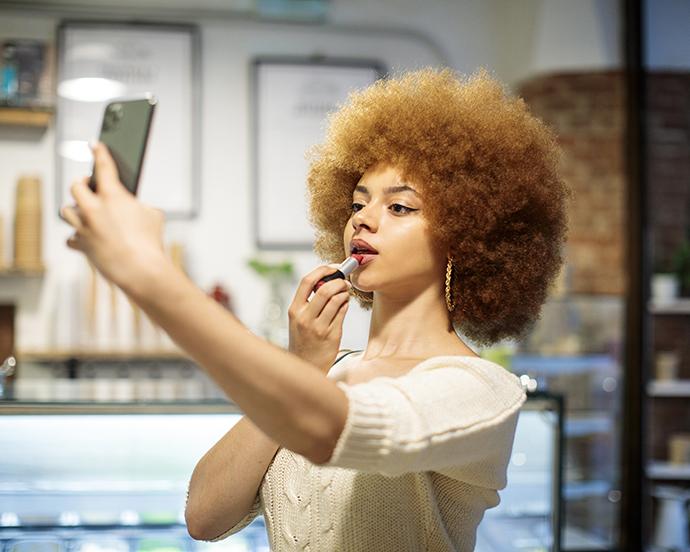
How-To
The Secret to Better-Looking Makeup Isn’t What You Think
6 min read
How-To
Got a Cut on Your Face? Here’s How to Help It Heal Without Scarring
4 min read
How-To
Why Everyone’s Scent Stacking Right Now
4 min read


How-To
How to Treat Yourself: 39 Simple Self-Care Ideas
15 min read

How-To
Here’s How to Build Your Perfect Skincare Routine for Both Morning and Night

How-To
10 DIY Face Masks That Are Expert-Approved & Actually Work

Beauty Picked Just for You
Get 5 products worth up to $70
Exclusive access to epic deals up to 80% off
Starting at just $15/month. Cancel anytime.