Anastasia Soare Is Spilling the Secret to Her Patented Eyebrow Shaping Technique


IPSY Editors

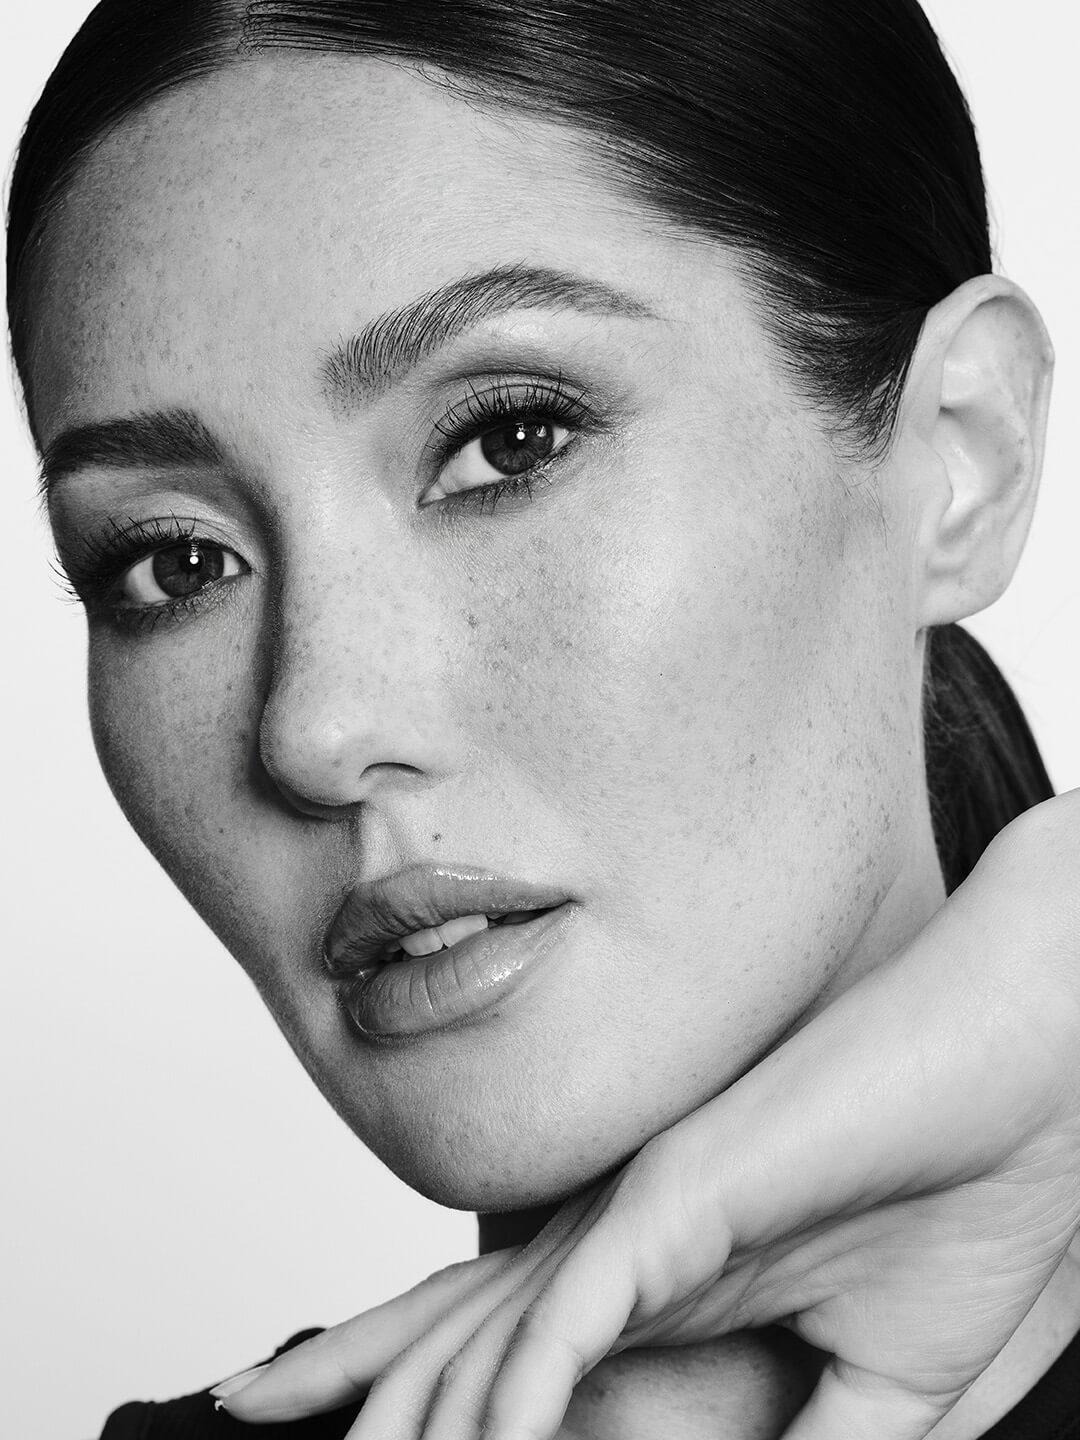
All throughout history, eyebrow trends have evolved. There was the ultra-thin, downward sloping eyebrow in the 1920s; the bushy, unmanicured arch in the ‘80s; and the skinny, heavily tweezed brow all through the ‘90s (some of us are still recovering!). Just when you had one trend mastered, a new trend would emerge. Then Anastasia Soare entered the chat.
“I discovered the importance of eyebrows in art school,” says Soare. “I learned that eyebrows have the ability to transform your expression; they are such an important feature of the face.” Soare used her passion and knowledge of art and architecture to develop the Golden Ratio® eyebrow shaping method, a technique that utilizes balance and symmetry to help frame the face and create harmony within the features.
“My philosophy and the foundation of ANASTASIA BEVERLY HILLS is rooted in balance and proportion,” says Soare. “One eyebrow does not fit all. With my patented Golden Ratio® eyebrow shaping technique, you can achieve an eyebrow that is tailored to your unique features. In a few simple steps, your brows will outlast any trend.” In honor of Soare’s May Icon Box collab, she shared with us exactly how to create her timeless and personalized eyebrow shape at home. Keep scrolling for the full Anastasia Soare eyebrow tutorial.
It's about glam time you treated yourself.
Join IPSY

MEET THE EXPERT
Anastasia Soare is the founder and CEO of ANASTASIA BEVERLY HILLS and the curator of IPSY’s first-ever Icon Box, which launches in May.
How to Fill in Your Eyebrows Like Anastasia Soare
1. Find Your Shape
The first step in Soare’s Golden technique is to determine your ideal brow shape based on your face shape. “I use key points of the face to accurately measure where your brows should begin, end, and arch,” says Soare.
To find the starting point of your brow, hold a straight edge (Soare uses a brow pencil, like the ANASTASIA BEVERLY HILLS Brow Wiz®) from the center of your nostril pointing up. Where it hits your brow area should be the starting point, so mark that spot with a dot of your brow pencil.
To find the ending point of your brow, hold the straight edge on the bottom outside corner of your nostril, and align it with the outside corner of your eye. Mark that end spot with a dot or brow pencil.
To find the arch of your eyebrow, look straight ahead and hold the straight edge on the center of the tip of your nose, and align it with the center of your iris. Finally, mark the spot where the straight edge hits your eyebrow area with a little dot. That is your ideal arch point.


2. Lay Down the Hairs
Next, brush a small amount of eyebrow wax, like the ANASTASIA BEVERLY HILLS Brow Freeze®, through your brow hairs to lift and sculpt them into your desired shape. Remember, the hairs from the front of your brow to the arch grow more vertically, and the hairs from the arch to the tail grow more horizontally. “If you want more of a laminated look, use the spatula end [of my Dual End Applicatore] to lay the hairs down flat,” says Soare.
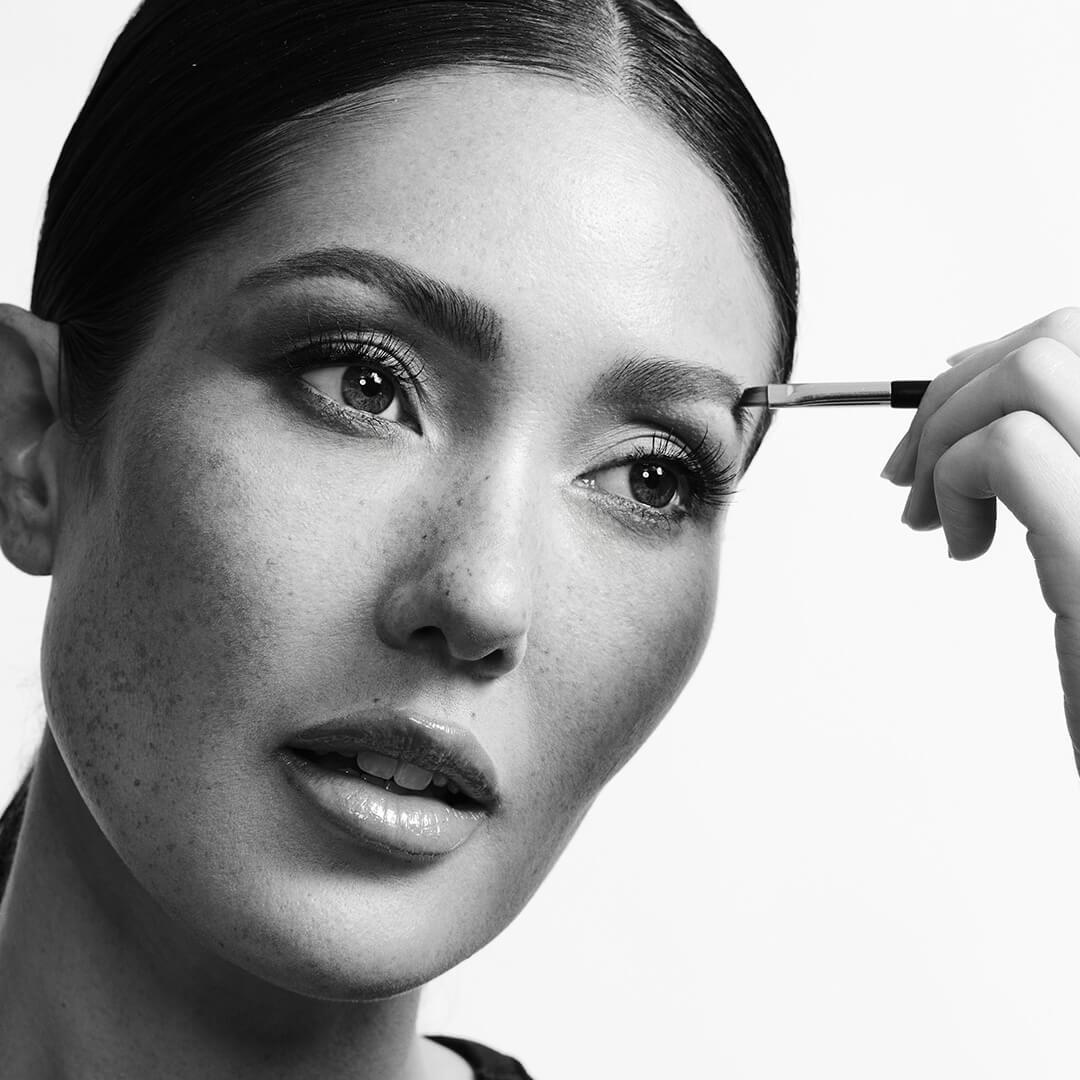

3. Fill in Your Brows
Once your shape is locked in and the brow wax has had a minute to set, Soare likes to go in with a brow powder and angled eyebrow brush to fill them in using those dots you created in step one as a guide of where they should start, stop, and arch. For the most realistic look, apply a lighter shade of brow powder in front of the brow and a deeper shade from arch to tail. “The key to a natural-looking brow is blending as you go and using light pressure,” says Soare. “Remember, it’s makeup and you can easily fix any mistake by blending or using concealer.
4. Add More Detail
Now that your overall shape is in place, it’s time to create more dimension and detail in your brows, which is the key to creating the most-natural look. This is where your brow pencil comes back into play. A fine tip will help you create hair-like strokes in the direction of hair growth. “The [ANASTASIA BEVERLY HILLS] Brow Definer is a must-have for filling and detailing brows quickly,” says Soare. “The all-in-one triangular tip is ideal for any brow type.” Lucky for you, this product is part of her May Icon Box collection.

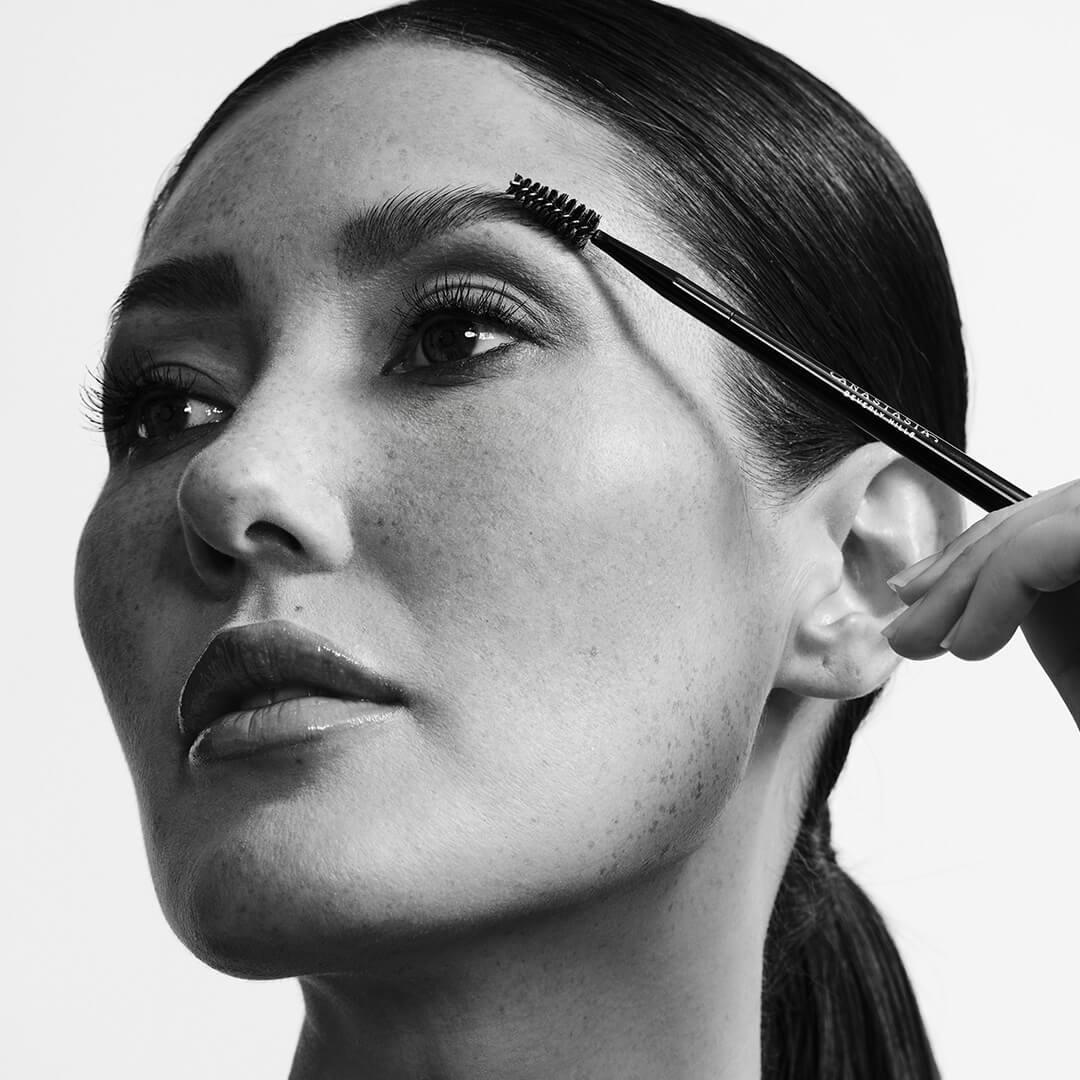
5. Perfect Your Hard Work
“One of my favorite techniques is to also use foundation or concealer in a shade that best matches your skin tone to highlight and define the brow—It looks so natural,” says Soare, who recommends the ANASTASIA BEVERLY HILLS Magic Touch Concealer (she also included it in her May Icon Box!). Trace the concealer along the underside of your eyebrows to sharpen the shape, then use a clean spoolie to brush the hairs up one final time. This will also blend a bit of that concealer into your brows to soften everything for a more-natural look. Finish your eyebrows by applying a clear brow gel through everything using short, upward motions, and you’re done!
Ready to make your IPSY experience even more iconic? We got you! Upgrade to an Icon Box before we run out—Icon Box by Anastasia Beverly Hills quantities are limited. Don’t forget to follow us on Instagram and TikTok @IPSY for all the latest beauty news (hint: there might be some more Icon Box product reveals coming soon!).
Like this article? Share it with your friends by clicking the icons below!
Liked this post? Share!
Related Stories
Makeup
Why Mulberry Flush Is the Only Blush Trend That Matters Right Now
Published on Jan 24, 2026 • 6 min read
Makeup
TikTok Loves Soft-Focus Liner—Here’s How to Achieve the Blurred Wing Eyeliner Look
Published on Jan 23, 2026 • 5 min read
Makeup
Is Blush the New Contour? The Soft-Sculpt Technique Makes Us Think So
Published on Jan 22, 2026 • 9 min read
Makeup
Soft Sculpting Is the Contour Alternative That Still Snatches
Published on Jan 15, 2026 • 3 min read
Makeup
You Should Change Your Foundation Between Seasons—Here’s How to Do It
Published on Jan 15, 2026 • 7 min read
Makeup
Valentine’s Day Makeup Looks to Fall in Love With
Published on Jan 12, 2026 • 11 min read


Makeup
Holiday Party Makeup Ideas for When You Want to Go Full Festive
Published on Dec 18, 2025 • 9 min read
Makeup
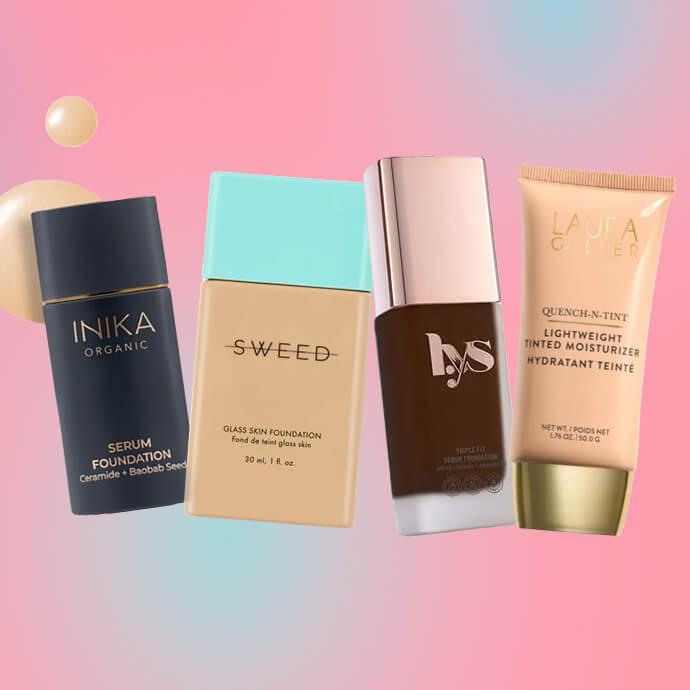
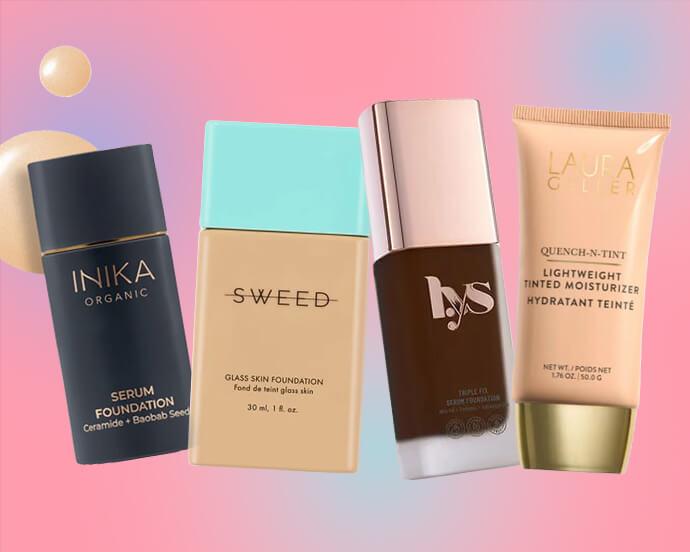
What Is a Dewy Foundation? Here Are Our Top Favorites for Each Skin Type
Published on Dec 15, 2025 • 6 min read


Beauty Picked Just for You
Get 5 products worth up to $70
Plus exclusive access to epic deals up to 80% off
Starting at just $14/month. Cancel anytime.