Here’s How to Nail the At-Home Manicure (Pun Intended!)
If there’s one thing we’ve learned over the past two years, it’s that some beauty treatments are definitely not meant to DIY (we have photos of our lopsided at-home haircut to prove it). But we’ve also learned that a handful of other beauty treatments are totally doable at-home: shaping our eyebrows, toning our hair, and of course, the at-home manicure.
While our DIY mani skills are pretty good, they still don’t leave us with the perfect finish we get from a pro. So we tapped editorial nail artist Miss Pop to get her tips to level up our at-home manicures. Keep reading to see how you can recreate a professional manicure from the comfort of your own couch while watching Netflix’s Single All the Way (or is that just us?!).
About the Expert:
Miss Pop is a New York-based editorial nail artist. Her nail designs have been featured in many beauty and fashion publications—from Allure and The Cut to Refinery29 and Cosmopolitan—and on the runway for brands such as Moschino, Oscar de la Renta, and Rodarte.
Your DIY Mani Toolkit:
- Nail File
- Cuticle Softener (or hand sanitizer)
- Cuticle Pusher
- Cuticle Nipper
- Cotton Pads
- Nail Polish Remover
- Base Coat
- Nail Polish
- Small brush
- Top Coat
- Cuticle Oil
- Hand Cream
Ready to try some nail art? Check out our retro design tutorial now:
How to Nail the At-Home Manicure:
1. Start With Shaping
“At home, the focus is typically on the polishing,” says Miss Pop. “At the salon, the focus is on prepping the nails and hands for the polish. Filing, hydrating, nipping, and cleansing take much longer at a salon than the polish coats.” Which is why your first step should be creating your desired nail shape. Whether your end goal is square, oval, or squoval (yes, that’s a thing!), your first step should be to clip the rough shape with a nail clipper. Then go in with a file (Miss Pop recommends one with a grit of 200 or above for natural nails) to refine the shape and edges.
2. Focus on Your Cuticles
If we had to point out the biggest difference between our at-home manicures and the salon ones we’re used to, it would be the state of our cuticles. To get that flawless look, Miss Pop likes to coat the cuticles in a softener (hand sanitizer also works) then gently push back the skin with an orange stick (those wood nail sticks) or a cuticle pusher. “Carefully clip off dead skin and hangnails with a nipper,” she adds. “Do not cut anything but dead skin.” If you’re unsure, err on the side of less is more.
3. Cleanse the Surface
After all that work filing and caring for your cuticles, the surface of your nails are covered in oils and dust and whatever else they’ve come in contact with. All of this buildup can seriously mess with the longevity of your polish. Douse a cotton pad in remover, then swipe it over each nail, paying special attention to the edges near your cuticle. This will create a clean surface for your next few steps.
4. Don’t Skip Base Coat
One layer of base coat can make a big difference in look and wear. “This will help your mani last a couple extra days and prevent staining,” says Miss Pop. “It’s kind of like a primer for foundation.” Paint on a thin coat, then allow it to fully dry before the next step. This should only take a few minutes.
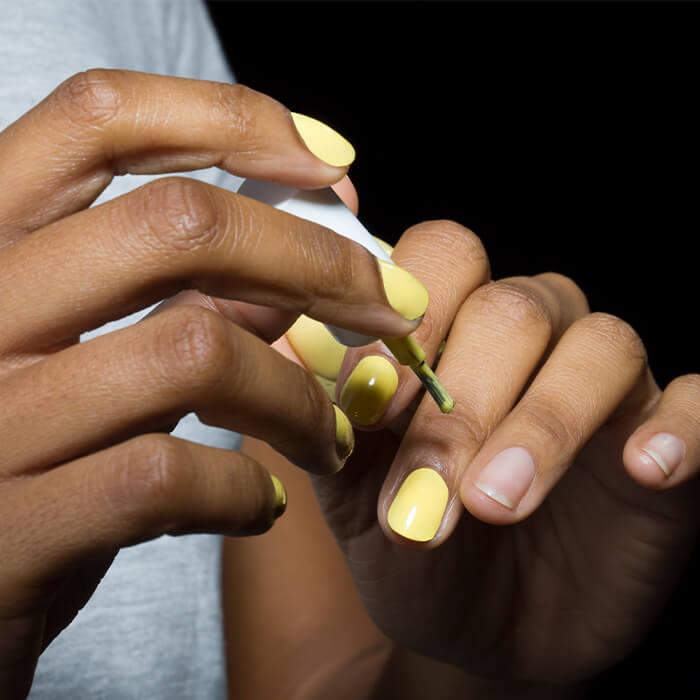
5. Polish With a Purpose
You’ve probably painted your nails hundreds of times in your life—but these tips from Miss Pop will completely change your polish game. First, keep your coats thin. “Thick, gloppy coats take forever to dry,” says Miss Pop, who advises on two to three thin coats depending on the opacity of your color. Give each coat a couple of minutes to dry before applying the next. And ease up on the pressure. Pushing down too hard as you swipe is the fastest route to a streaky mani. “Let the brush do the work, and gently guide it.”
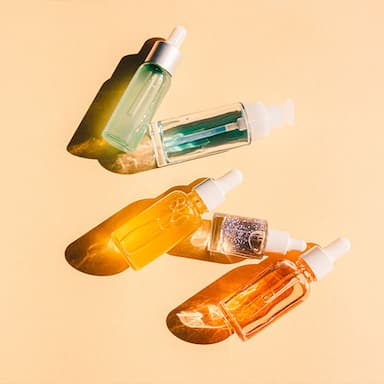
If the nail polish you’ve had for years starts to get bubbly or too thick to evenly coat your nails, it’s probably been exposed to too much air and it’s time to toss it out, says Miss Pop. “For longevity, it’s best to store your polishes in a cool, dark, dry place,” she adds. “For those super coveted shades, try your refrigerator.” Ready to replace some expired colors? Check out our list of the best nail polish shades for winter.
6. Perfect Your Polish
This might be our favorite at-home manicure tip from Miss Pop. Your paint job doesn’t need to be perfect… at least right away. Nail polish remover and a small paint brush or old eyeliner brush (something that won’t leave behind fibers, like a Q-tip) to clean up any mishaps will be your best friend. “Painting with your non-dominant hand is like getting to Carnegie Hall, it takes practice,” says Miss Pop. “It’s all muscle memory. If you paint your nails every week for six months, you’ll get it! Or invite a friend over for manis and do each other’s non-dominant hands.”
7. Seal Your Manicure
One final layer of top coat will protect your paint job and add extra shine. As with the first coats, keep this one thin. Fact: Lots of thin coats will always last longer than a few thick ones. And don’t forget to seal the free edge of your nail. This is often the first area to start chipping. Just swipe the brush across the outside tip of your nails to coat it in a protective top coat.
8. Give Yourself Ample Drying Time
Twenty minutes before you need to get dressed and head out the door is not the best time for a pro-quality, at-home manicure. Neither is 20 minutes before bed. You’re just asking for sloppy sheet marks. Instead, carve out a good hour and a half. It might sound like a lot, but the prep work and paint job should take some time, and you want to give your nails at least 30 minutes to dry before you move on to something else. Use this time to catch up on this week’s episode of The Real Housewives of Salt Lake City (this season is bonkers!). Remember, they won’t be fully cured for hours, but they should be pretty smudge-resistant within that time.
9. Finish With Skin (Hand?) Care
This finishing touch is a must for your next mani selfie. “Cuticle oil will make it look like you just stepped out of the salon, even without polish,” says Miss Pop. “It will keep your nails hydrated and strong. I keep a little bottle in my cup holder, and when I’m stuck at a long light, I swipe it on.”
Want in on all the latest beauty products and trends? Take our Beauty Quiz now to get started with your very own IPSY Glam Bag. Already an Ipster? Refer your friends to earn points, which you can use toward products. Either way, don’t forget to check us out on Instagram and Twitter @IPSY.
Like this article? Share it with your friends by clicking the icons below!