How to Apply Lipstick Without the Fuss


Cortney Clift
Lipstick is one of the beauty industry's biggest secret weapons because of how stunningly versatile it is. Heading somewhere dressy but don’t have time for a full 20-minute makeup routine? Apply mascara with a bold lip and you’re good to go. Feel like a simple makeup look? Swipe on some nude lipstick and concealer and you’re set for the day. No matter how you choose to wear it, lipstick’s got your back–or in this case, your lips.
To make your lip color last as long as possible, there are a few quick and crucial steps to keep in mind. Sure, you can simply swipe and go, but to be real with you, that type of application probably won’t last very long and will likely start to feather and smudge within a few hours.
Luckily, there are some easy tips and tricks you can incorporate into your makeup routine to make your fave lipstick shade last all day. Check out our step-by-step guide on how to apply lipstick like a pro below, and get ready for smudge-proof lip color that’ll last as long as you need it to.

It's about glam time you treated yourself.
Join IPSY

Step 1. Exfoliate your lips.
The enemy of a flawless lip look is dry, flaky skin. So before you even start your lipstick application, you’ll want to make sure you’ve set up a smooth, moisturized base for your color.
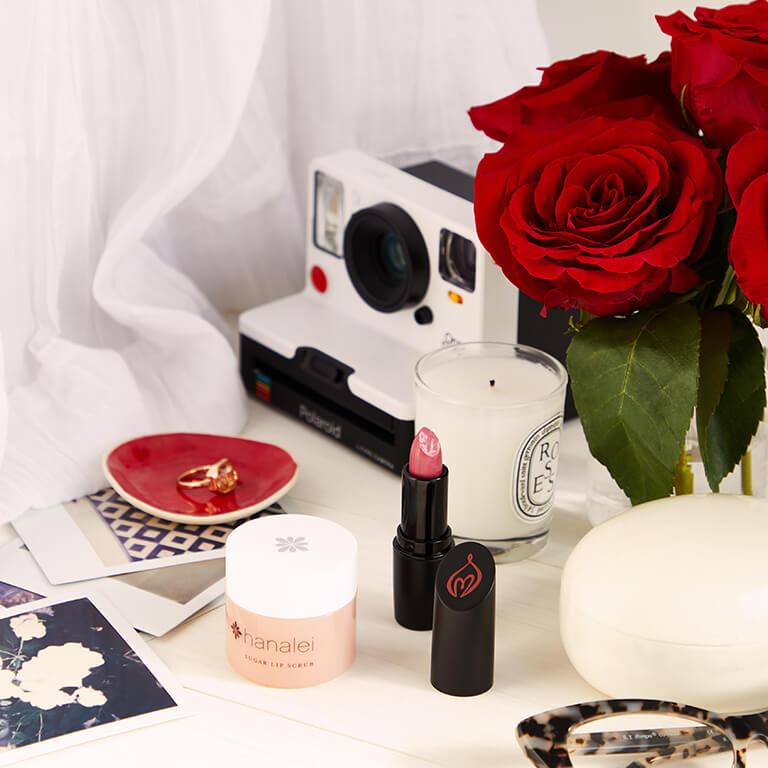
The best way to kick things off is by using a little bit of lip scrub. We’re particularly fond of the HANALEI COMPANY Sugar Lip Scrub, which is packed with vitamin C and Hawaiian kukui nut oil to leave your lips feeling baby soft.
Rub a pea-sized dollop of the product all over your lips in a gentle circular motion using your finger. Make sure to scrub both the innermost and outermost parts of your lips for complete exfoliation. For a more intense scrub, you can use a toothbrush to very lightly brush the scrub around your lips (just don’t press down too hard or you could end up breaking the skin). After about a minute, wipe off the scrub and dead skin using a tissue.

Step 2. Apply lip balm.
Now that we have a fresh base, it’s time to moisturize your lips. The best way to do that is by using a lip balm. This step is especially important if you opt for a matte lipstick or a lip stain, as those tend to be more drying than other formulas.
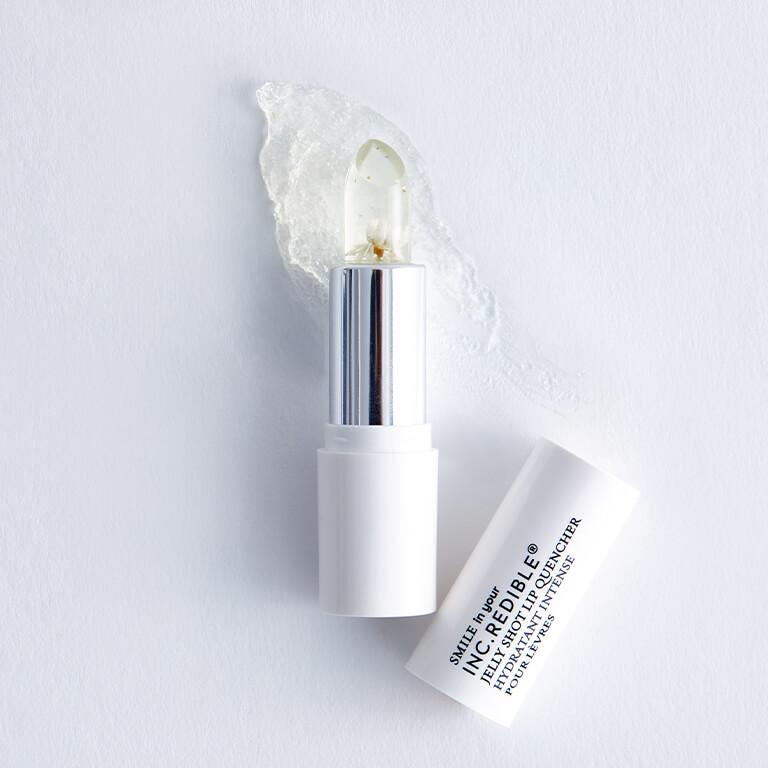
When looking for a lip balm to use under your lipstick, go with one that will absorb quickly, like INC.REDIBLE Jelly Shot Lip Quencher in Ex Revenge. Thick, liquid balms will typically take longer to absorb and could disrupt the rest of the application, but a lightweight one like this is still hydrating without feeling gunky. After all, you want your lips to feel soft and smooth, not wet and slimy.
Step 3. Choose your shade.
Now comes the fun part: choosing your color! With literally millions of lipstick colors to choose from, finding the perfect color can feel overwhelming. If you’re a lipstick newbie, you’ll want to start the selection process by first figuring out if you have warm undertones in your skin or cool undertones. One easy way to find out is to look at the veins in your wrist under natural light. If they look slightly green, you have warm undertones. If they appear blue, that’s an indication that you have cool undertones. If you see a mix, you have neutral undertones.
Whether you’re trying to find the best red for your skin tone or searching for the perfect nude, a good sign that the lipstick will be a great fit is if the color has the same warm or cool undertones as your skin. Not sure which to pick? Check out our guides to the best red, nude, pink, orange, and even glitter lipsticks for every skin tone and preference.
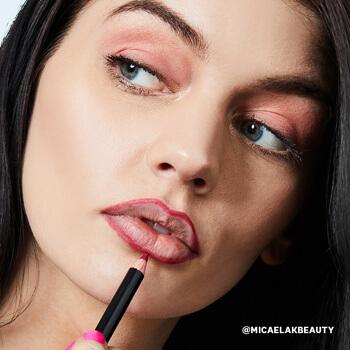

Step 4. Apply lip liner.
Before you start applying lipstick, there’s one more key prep step: applying lip liner. It can be tempting to skip this step, but don’t do it! Lip liner is arguably the most important part of the whole process. It typically lasts much longer than lipstick, helps to define the shape of your lips, and provides a base coat so that if and when your lipstick does wear off, it’s not quite so noticeable. The waterproof (and drink-proof) liner OFRA COSMETICS Lip Liner in Maya or Silk is a favorite of ours.
When applying lip liner, start at your cupid’s bow (the two curves at the center of the top lip) and work your way slowly around the edges of the lips creating an outline. Then, fill in the lips in using a lip liner. If you want to make the lips appear larger than they really are, do this by drawing just outside your natural lip line. This way, the faux outline will last all day. For more tips, take a peek at our step-by-step guide to applying lip liner.
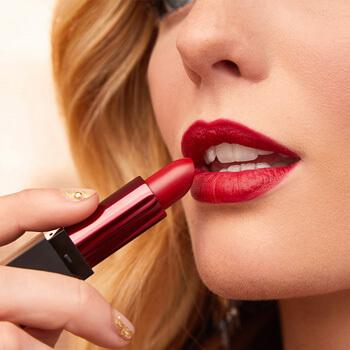

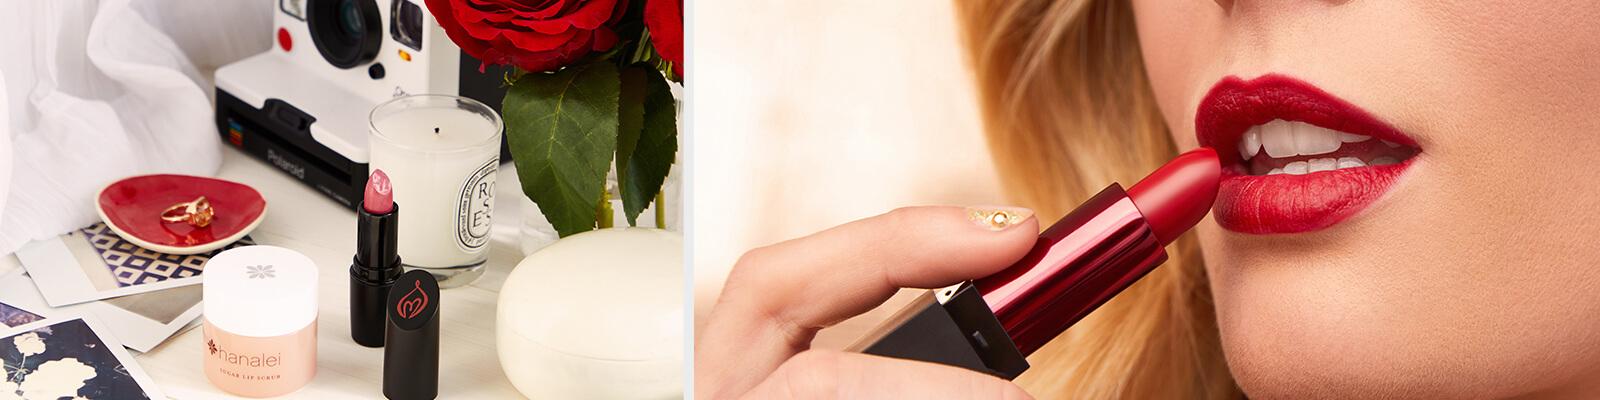
Step 5. Apply your lipstick.
There are a lot of variables in this step because there are so many different types of lipstick applicators. There’s the traditional tubed lipsticks, liquid lipsticks that come with a doe-foot applicator, lip stains, lip pencils... the list goes on.
There’s no one best type of lipstick applicator: which you choose is really a matter of personal preference. For beginners, solid lipsticks are generally the easiest to control and apply. Lip stains, lip crayons, and lip pencils also allow for a lot of control. Liquid lipsticks with doe-foot applicator tend to be the trickiest, but can easily be mastered with a bit of practice.
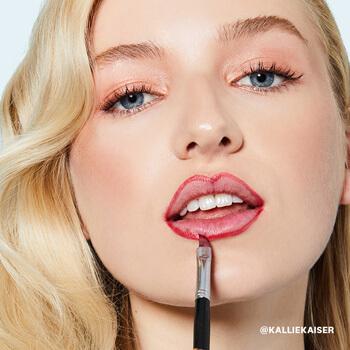
No matter what type of applicator you’re working with, you’ll want to start by first applying lipstick along the center of your bottom lip, swiping back and forth two to three times. Gently press your lips together to distribute the lipstick to your upper lip. Then, apply the pigment to the outer corners of your lips, using slightly less product than you did in the center of your lips (as it’s a smaller area). Make sure you define the edges of your lips and blend with either your finger or a lip brush to evenly distribute the color, making sure you finish with a clean, even layer.

Step 6. Blot your lips.
Like lip liner, blotting is a step you might be tempted to skip, but trust us: this is the step that’ll seal your lip look for the entire day (or night). This key step removes excess product from transferring onto drink glasses or anything else your lips might touch. It also helps to press the product into the lips so that it lasts longer and wears off evenly.
To properly blot your lipstick, fold a piece of tissue paper in half length-wise. Pull it taught and place it in between your upper and lower lip. Slide the tissue to the back corners of your lips and very gently press your lips down until you have a clean, light layer of lipstick on your lips. Reapply your color if you want, then repeat this step until you’ve built up the desired consistency.

Step 7. Clean up the edges.
Accidentally get some color outside of your lip line? Don’t worry–it’s easy to fix. Simply dip a fine-tipped concealer brush, like the LUXIE 528 Concealer Brush, or a clean lip brush into a small amount of liquid concealer. Apply the concealer around the edges of your lips to clean up stray lipstick and create a super crisp, clean lip line.
Want in on all the Glam Bag fun? Take the beauty quiz now to get started. And don’t forget to check us out on Instagram and Twitter @IPSY.
Liked this post? Share!
Related Stories


Makeup
The Best Hybrid Beauty Products for Low-Effort Routines
5 min read


Makeup
How to Recreate Zendaya's Glowing Makeup From “The Odyssey” Premiere
3 min read


Makeup
We're in Our Eyeshadow Era—These 10 Looks Make It Easy
6 min read


Makeup
CLINIQUE Just Turned Black Honey Into a Full Collection
3 min read


Makeup
MARC JACOBS BEAUTY Is Back—Here's What I Really Think
4 min read


Makeup
A Bombshell Has Entered: Inside Kayda’s ‘90s “Love Island USA” Makeup
4 min read


Makeup
Olivia Rodrigo Is the Blueprint for Modern Pop-Punk Glam
5 min read


Makeup
6 Beauty Brands Reinventing the Packaging Game
4 min read

Beauty Picked Just for You
Get 5 products worth up to $70
Exclusive access to epic deals up to 80% off
Starting at just $15/month. Cancel anytime.