Apply Magnetic Eyelashes In 4 Simple Steps Thanks to This Fool-Proof Guide


Katrina Mitzeliotis Lanza

If you’ve loved the look of long, glam lashes for as long as you can remember, traditionally you had only a few options: eyelash extensions, gluing on false eyelashes, and layering on an array of mascaras. These options can be time-consuming, take a certain level of skill, get costly, and also damage your eyelashes—but then magnetic eyelashes came along. Magnetic lashes look just like a false eyelash strip, but there are actually tiny magnets attached to the lash band that fasten to create a seamless makeup look. The idea of using a magnet near your eye may seem strange at first, but the reality is that magnetic lashes are an incredible solution for envy-worthy, makeup artist-approved lashes without the mess or stress of an alternative option. “Magnetic lashes are paraben- and sulfate-free, meaning they won’t irritate the eyes,” says Ann McFerran, creator of GLAMNETIC lashes.
Magnetic lashes are also a great choice if you have sensitive eyes, wear contacts, or have eyes that are otherwise easily irritated when using lash glue for falsies. “Unlike glue-on lash strips and lash extensions, they won’t cause burning, swelling, or potential loss of natural lashes,” says McFerran.
So if you want the look of long lashes without damaging your natural hairs, look no further than magnetic lashes to add some major drama to your lash line.
It's about glam time you treated yourself.
Join IPSY

MEET THE EXPERT
Ann McFerran is the creator of GLAMNETIC lashes. She created the company in 2019, after she recognized a gap in the beauty market for magnetic lashes that actually worked.
How to apply magnetic lashes
Ready to try magnetic lashes? From natural-looking wispies to va-va-voom volume, you can select the lash look you're going for based on your comfort level and your eye shape. You can find them online and even at your local drugstore. And if it’s the first time you’re applying magnetic lashes, set yourself up for success by dedicating some time to practice the process in a well-lit room. Cue up a tutorial, read through our expert tips below, and get ready to simplify your long-lash routine.
Step 1:
After you apply your eyeshadow, curl your natural eyelashes and apply mascara. The reason you’re doing this? McFerran says to ensure that your natural eyelashes blend easily with your magnetic lashes for a seamless look. While you want to prep your natural lash with a coat of mascara, be sure to never apply mascara on your magnetic lashes, because doing so can destroy them and ruin their shelf-life.
Step 2:
How you apply your magnetic lashes really depends on the type of lashes you’re using. When magnetic lashes first were introduced, they involved sandwiching your natural lashes in between two magnetic strips, which blanket your natural lash line to give you a fuller, more voluminous look without the downtime or irritation associated with using lash glue.
Magnetic lashes have come a long way since they were first introduced to the beauty world. If you’re a beginner and you’re using them for the first time, selecting a kit that uses magnetic eyeliner might make the transition easier. With this type of kit, rather than sandwiching your lashes between two strips, the lash strip instead adheres to the magnetic eyeliner. Here’s what you’ll do: First, shake the bottle of magnetic eyeliner formula for a few seconds to ensure everything is mixed together. Next, apply the eyeliner at the lash line. “Make sure there’s enough eyeliner at the end of the brush, and prop your pinky finger onto your cheek to use it as a lever while you make tiny strokes,” says McFerran.
Then allow the liner to dry for about 20 seconds before you reach for your eyelashes. McFerran also has a pro tip for making application a breeze: “Start on the inner corner lash line and use a stamping motion to touch and pull until [you] get to the edge of the outer corner,” she says. “Once done, go back and make the eyeliner as thick as the magnets.” By making the eyeliner as thick as the magnets, you’re ensuring the lashes stay in place once applied.
Step 3:
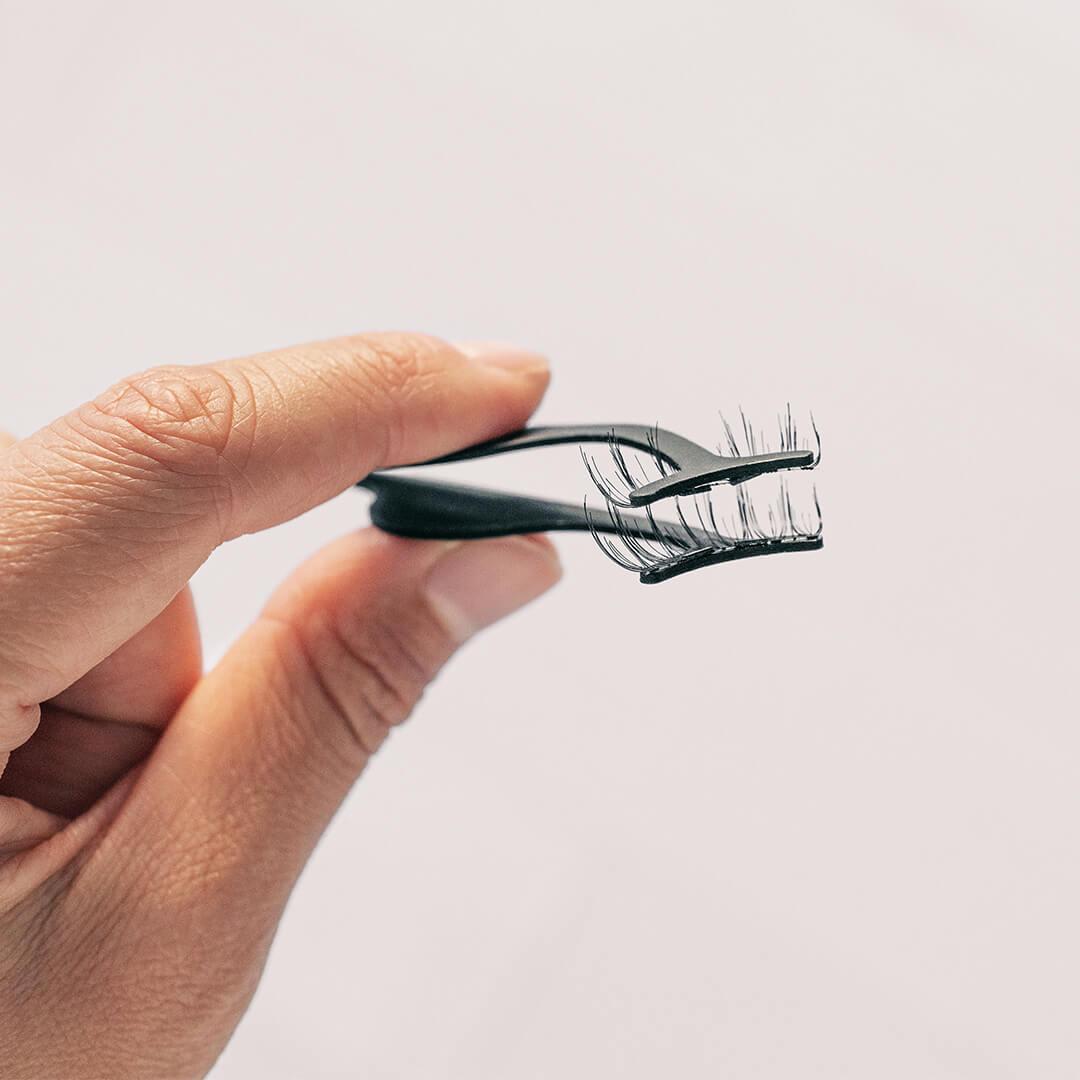
Now that you’re prepped and primed, you can apply your eyelashes. To do so, you can either use your fingers, an applicator, or a tweezer. If you’re using your fingers to apply magnetic lashes (with the sandwich method), place a fake lash on top of your lashes, close to the lash line. Take the bottom lash and place it underneath your lash, sandwiching your natural lashes. When you do so, the magnets should click together. If using a lash applicator, put the top lash on top of the lash applicator. Next, put the bottom lash underneath the top lash and bring it close to the lash line until it clicks together.
If you’re going to use your fingers and you’re using magnetic eyeliner, position your fingers at the center of the eyelash strip. “Start from the inner corner of your eyes to magnetize the lash, and then work your way down to the outer corners,” says McFerran. Worried that your placement won’t be perfect? One of the best things about using magnetic lashes is that they’re so easy to readjust on the upper lash line. Unlike a traditional eyelash strip or individual false lashes, magnetic lashes lift easily from your skin for mess-free adjustments that don’t require reapplication of glue.
If you’re using an applicator to apply your magnetic lashes, gently pick up the eyelash strip by the inner or outer corner of the lash and position it on the eye before placing it down. “Secure the lash by using the tip of the lash applicator to hold down onto the lash line for a few seconds,” says McFerran.
Step 4:
By now, you might be wondering how to take off these falsies when it’s time to remove your makeup. The good news? Removing magnetic lashes couldn’t be any easier. “Simply pull the false eyelash off and away from the eyelid,” says McFerran. By doing so, you’ll be removing only the magnetic lashes, and your natural lashes will stay intact without getting pulled in the process.
Another one of our favorite features of magnetic lashes is that they're reusable. Depending on the brand and set, you can clean them off with eye makeup remover or a gentle cleanser and simply let them dry before reapplying. “GLAMNETIC lashes can be worn up to a total of 40 times with the right care,” says McFerran. But before you clean the actual lash, inspect the magnet. “If you notice clumps from the eyeliner or mascara on the magnets, gently scratch it off with your nail on each of the magnets,” says McFerran. You can also soak a cotton pad and gently rub it against the magnetic lashes to dissolve and remove any makeup residue or eyeliner left on the lashes.
The magnetic eyeliner will come off when you take off your makeup during your evening skincare routine. “Use waterproof makeup remover, micellar water, or coconut oil,” says McFerran. If you like to double-cleanse, an oil-based cleanser or balm can also be effective in the removal process.
Want in on all the IPSY Glam Bag fun? Take our Beauty Quiz now to get started. Already an Ipster? Refer your friends to earn points, which you can use toward products. Either way, don’t forget to check us out on Instagram and Twitter @IPSY.
Like this article? Share it with your friends by clicking the icons below!
Liked this post? Share!
Related Stories


Makeup
The Best Hybrid Beauty Products for Low-Effort Routines
5 min read


Makeup
How to Recreate Zendaya's Glowing Makeup From “The Odyssey” Premiere
3 min read


Makeup
We're in Our Eyeshadow Era—These 10 Looks Make It Easy
6 min read


Makeup
CLINIQUE Just Turned Black Honey Into a Full Collection
3 min read


Makeup
MARC JACOBS BEAUTY Is Back—Here's What I Really Think
4 min read


Makeup
A Bombshell Has Entered: Inside Kayda’s ‘90s “Love Island USA” Makeup
4 min read


Makeup
Olivia Rodrigo Is the Blueprint for Modern Pop-Punk Glam
5 min read


Makeup
6 Beauty Brands Reinventing the Packaging Game
4 min read

Beauty Picked Just for You
Get 5 products worth up to $70
Exclusive access to epic deals up to 80% off
Starting at just $15/month. Cancel anytime.