Your No-Fuss Guide to Concealing Breakouts


Cortney Clift


We get it–pimples suck. While we can't make them magically disappear, we almost can thanks to the beauty powers that be. And the good news is, you only need three products to cover up a blemish: foundation, powder, and most importantly, concealer. But don't go applying these three products all willy-nilly–there's technique involved in properly concealing different types of breakouts. That's where we come in: we're here to tell you everything you need to know about covering up pimples so you can put your best face forward.
First Things First: What Type of Acne Do You Have?
As you probably know all too well, no two zits are created equal. And according to makeup artists and dermatologists, no two zits should be concealed equally either. The best way to cover up a breakout is to first identify which type of acne you're suffering from. From there, you can plan the best method of attack. Below, we break down exactly what you'll need to cover up every type of breakout:
Blackheads: To properly conceal pesky blackheads, it's important to use a variety of textures. You'll want to reach for a full-coverage liquid concealer like the MORPHE Fluidity Full-Coverage Concealer. Since concealer will be the star of the show here, you can choose between starting with a fuller-coverage product (like foundation) or a lighter-coverage product (like BB cream)–whichever you prefer. To lock it all in place, grab a setting powder.
Whiteheads: When dealing with whiteheads, it's best to use a stick or cream concealer like the HEY HONEY Trick AND Treat: ACTIVE PROPOLIS CREAM CONCEALER. Why? A concealer with a thick consistency (like cream concealers) will have an easier time adhering to the whitehead without slipping around. Non-cream concealers have a hard time adhering to the shape of whiteheads and will almost certainly end up being less effective.
Cystic acne: As much as we wish this wasn't the case, you’ll still see the texture of acne no matter what kind of coverage you create. This is especially true for cystic acne. One thing we can control is the redness often associated with this type of acne. To even out your skin tone, we recommend using either a tinted moisturizer or BB cream. Try to avoid using a full coverage foundation if possible as it can actually end up looking cakey and emphasizing cystic acne's texture. After this step, apply concealer to any areas that still look red. When concealing cystic acne, opt for products with a matte finish like the SMASHBOX COSMETICS Studio Skin Concealer.
Dark spots: So that pesky zit finally went away, but now you're left with an acne scar where it used to be. No sweat. Before applying any makeup, begin by using a brightening skincare product on the area. Once the skin has been prepped, use a full-coverage foundation and a liquid concealer like the SISTAR COSMETICS It's U Skin Perfecting HD Concealer to even out your skin tone.
How to Cover Up Breakouts, Step-by-Step
Below is a basic tutorial on how to cover up a pimple. As we just discussed, the process is a bit different depending on the type of breakout you're dealing with, so adjust accordingly!
P.S. It's always important to use clean brushes when applying makeup, but it's absolutely crucial that all your brushes are clean when you're focusing on concealing a breakout. Otherwise, the grease and dirt on the brush could end up making the spot you're trying to hide even worse.
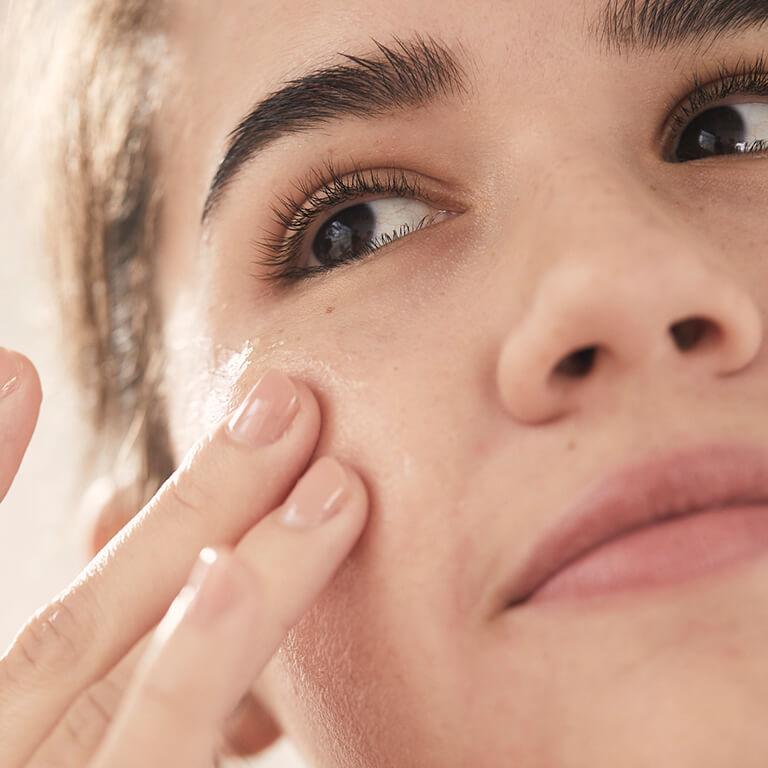
Step 1: Cleanse & moisturize your skin.
We're thankful that makeup makes it easy to cover up blemishes, but the real key to kicking acne to the curb lies in creating a skincare routine. You'll want to begin by washing your face with an acne-fighting cleanser. If you're suffering from cystic acne, now is also a good time to apply a hot or cold compress to your skin to help soothe inflammation and reduce swelling.
Next, apply a non-comedogenic moisturizer. While it might be tempting to skip this step when you're broken out, don't do it! Acne treatments have a tendency to dry out the skin and if dryness and inflammation get out of control, they can end up clogging your pores even more. Moisturizer is also crucial to providing a smooth base for foundation and concealer.
Step 2: Apply primer and foundation.
Once your moisturizer has soaked in, it's time to move on to primer. A few types of primers that tend to be great for acne-prone skin are ones that are formulated with acne-fighting ingredients like tea tree oil, mattifying primers, and color-correcting primers (this type of primer is especially great for people with cystic acne).
Next, begin to even out your skin tone with foundation. While our focus is primarily going to be on concealer, spot concealing tends to look more natural when it's blended into foundation as opposed to bare skin.
When choosing a foundation, look for an oil-free, non-comedogenic formula that will smooth out your complexion while still allowing your skin to breathe. There are even a handful of foundations made specifically for acne-prone skin if you want to actively treat your breakouts while wearing makeup.
Remember: If you have cystic acne, try swapping out full-coverage foundation for a BB cream or color-correcting tinted moisturizer.
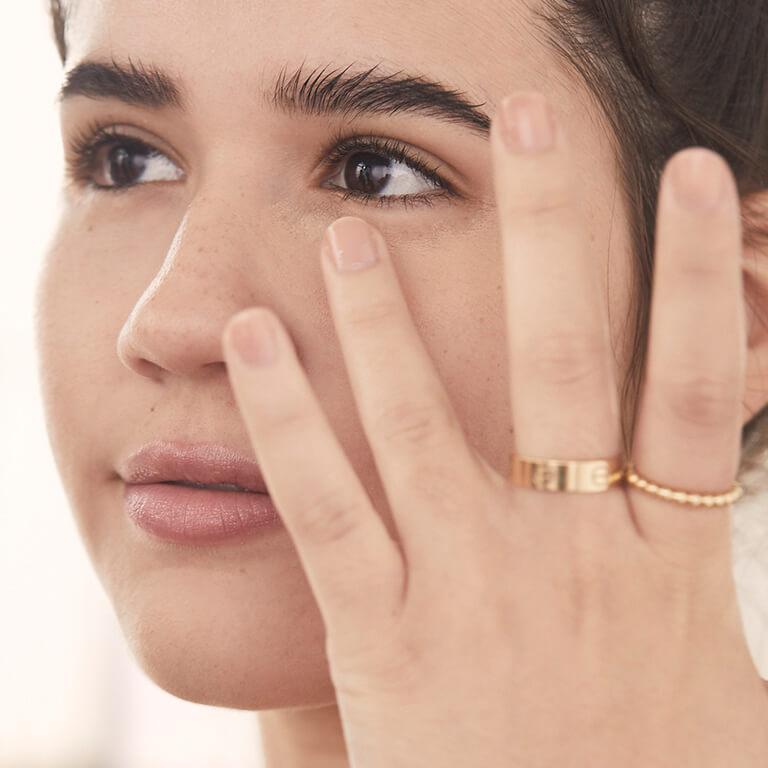
Step 3: Spot conceal and blend.
It's showtime! The type of concealer you'll use will depend on which type of acne you're trying to treat. If you're concealing blackheads or cystic acne, use a liquid concealer. For whiteheads, use a thick cream concealer. No matter which type you use, you'll want to apply and blend using a precise concealer brush.


Step 4: Set with powder.
Once you're happy with the finished product, it's time to set everything in place with powder. You have a few options here: to tack on a bit more coverage, you can use a powder foundation. If you just want to lock down your liquid and cream products, try using a translucent powder instead. Finishing with powder is especially important for those with oily skin. Without using powder to set, the cream and liquid products will slide around, requiring frequent touch-ups.
It's about glam time you treated yourself.
Join IPSY

Liked this post? Share!
Related Stories

Makeup
Why Mulberry Flush Is the Only Blush Trend That Matters Right Now
Published on Jan 24, 2026 • 6 min read
Makeup
TikTok Loves Soft-Focus Liner—Here’s How to Achieve the Blurred Wing Eyeliner Look
Published on Jan 23, 2026 • 5 min read
Makeup
Is Blush the New Contour? The Soft-Sculpt Technique Makes Us Think So
Published on Jan 22, 2026 • 9 min read

Makeup
Soft Sculpting Is the Contour Alternative That Still Snatches
Published on Jan 15, 2026 • 3 min read

Makeup
You Should Change Your Foundation Between Seasons—Here’s How to Do It
Published on Jan 15, 2026 • 7 min read

Makeup
Valentine’s Day Makeup Looks to Fall in Love With
Published on Jan 12, 2026 • 11 min read


Makeup
Holiday Party Makeup Ideas for When You Want to Go Full Festive
Published on Dec 18, 2025 • 9 min read
Makeup
What Is a Dewy Foundation? Here Are Our Top Favorites for Each Skin Type
Published on Dec 15, 2025 • 6 min read


Beauty Picked Just for You
Get 5 products worth up to $70
Plus exclusive access to epic deals up to 80% off
Starting at just $14/month. Cancel anytime.