8 Easy Steps to the Natural Makeup Look of Your Dreams
IPSY Editors


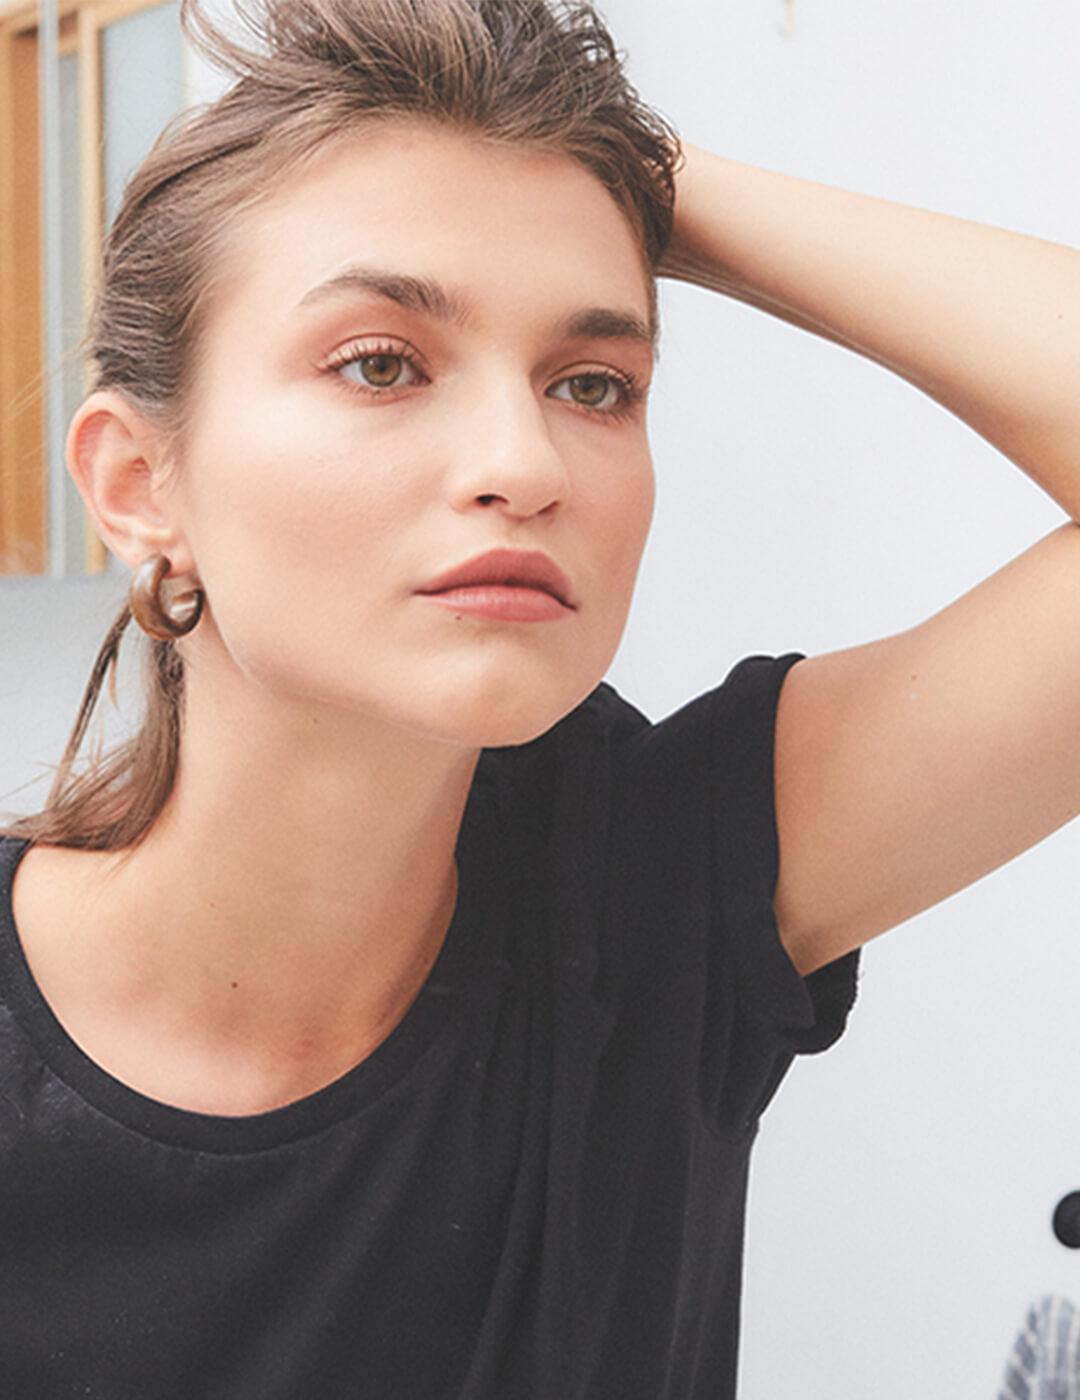
As nature would have it, looking like you're not wearing makeup actually takes quite a bit of work and an arsenal of key makeup products. Because there's no shame in our game, we've perfected the art of applying makeup in a way that looks totally natural and, dare we say, inconspicuous. Think I-woke-up-like-this skin, defined features, and eyes that pop without actually looking like you're wearing a face full of products. Ahead, tricks for looking done up, but not made up, because sometimes it's about faking it 'till you make it.
But first, check out Jaleesa’s ultimate no-makeup makeup tutorial:
It's about glam time you treated yourself.
Join IPSY

How to Get a Natural Makeup Look
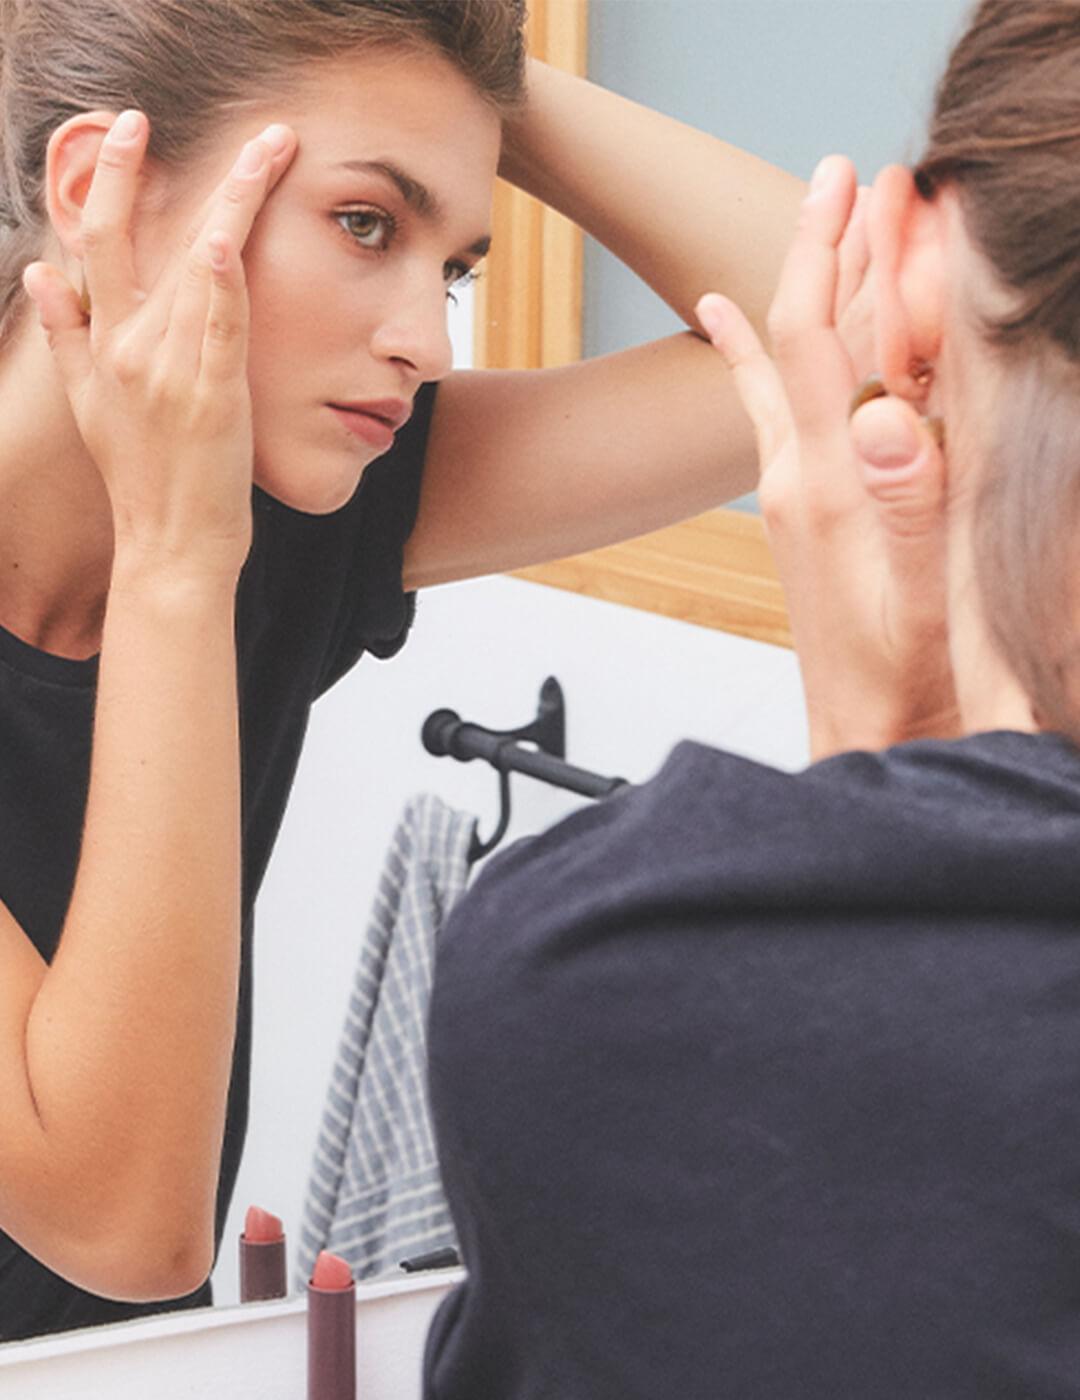
Step 1: Start With a Clean Canvas
Healthy-looking skin requires much less makeup to look fresh and glowy. Start with a good wash and some major hydration before breaking out the concealer, and your skin will look seriously enviable. PURLISSE's botanical skincare line is a safe and effective option for all skin types. Try their Blue Lotus 4~in~1 Cleansing Milk for a sulfate-free clean that's safe for even the most sensitive skin and dissolves dirt, oil, and makeup with ease. Follow it up with a moisturizer like Matcha Green Tea Antioxidant Priming Moisturizer. This oil-free moisturizer does double-duty to both hydrate and prep your skin for makeup, thanks to soothing white tea, vitamin E, and, of course, green tea, a powerful antioxidant that reduces signs of aging.

Step 2: Perfect With Primer
Think of primer as an in-between step after skincare and before makeup. It's an extra step you take to ensure your skin looks its best with or without makeup. For a no-makeup makeup look, we're fans of TOO FACED Hangover Primer. This primer is perfect for getting a dewy, natural finish on a variety of skin types and is made with plant-based oils and fruit juices (like hydrating coconut water) to soothe, smooth, and moisturize your skin. It's smoothing enough that you can even skip face makeup altogether and wear it alone for a your-skin-but-better natural look.
Step 3: Even Things Out
Now that your skin looks hydrated and plump, the last thing you need is a full-coverage foundation to hide it all. However, some lightweight complexion products work wonders at evening your skin tone. The face makeup you choose will vary based on how your skin is feeling on that particular day:
• If your skin feels clean and clear: a tinted moisturizer is all you need to boost your radiance. These products combine the skin-perfecting benefits of a sheer foundation with the skincare benefits of a moisturizer.
• If your skin feels a little tight and tired: try a BB cream to boost brightening power, hydration, and coverage. This multitasking beauty product combines skincare benefits like SPF, hydration, and even sometimes acne treatment with light- to medium-coverage makeup.
• If you're breaking out or have redness or hyperpigmentation: use a CC cream to cover up and correct blotchiness, redness, hyperpigmentation, acne, and dark spots. Similar to a BB cream, a CC cream will give you coverage and skincare benefits but focuses more on color correction, so it's perfect for slightly more coverage without looking cakey.

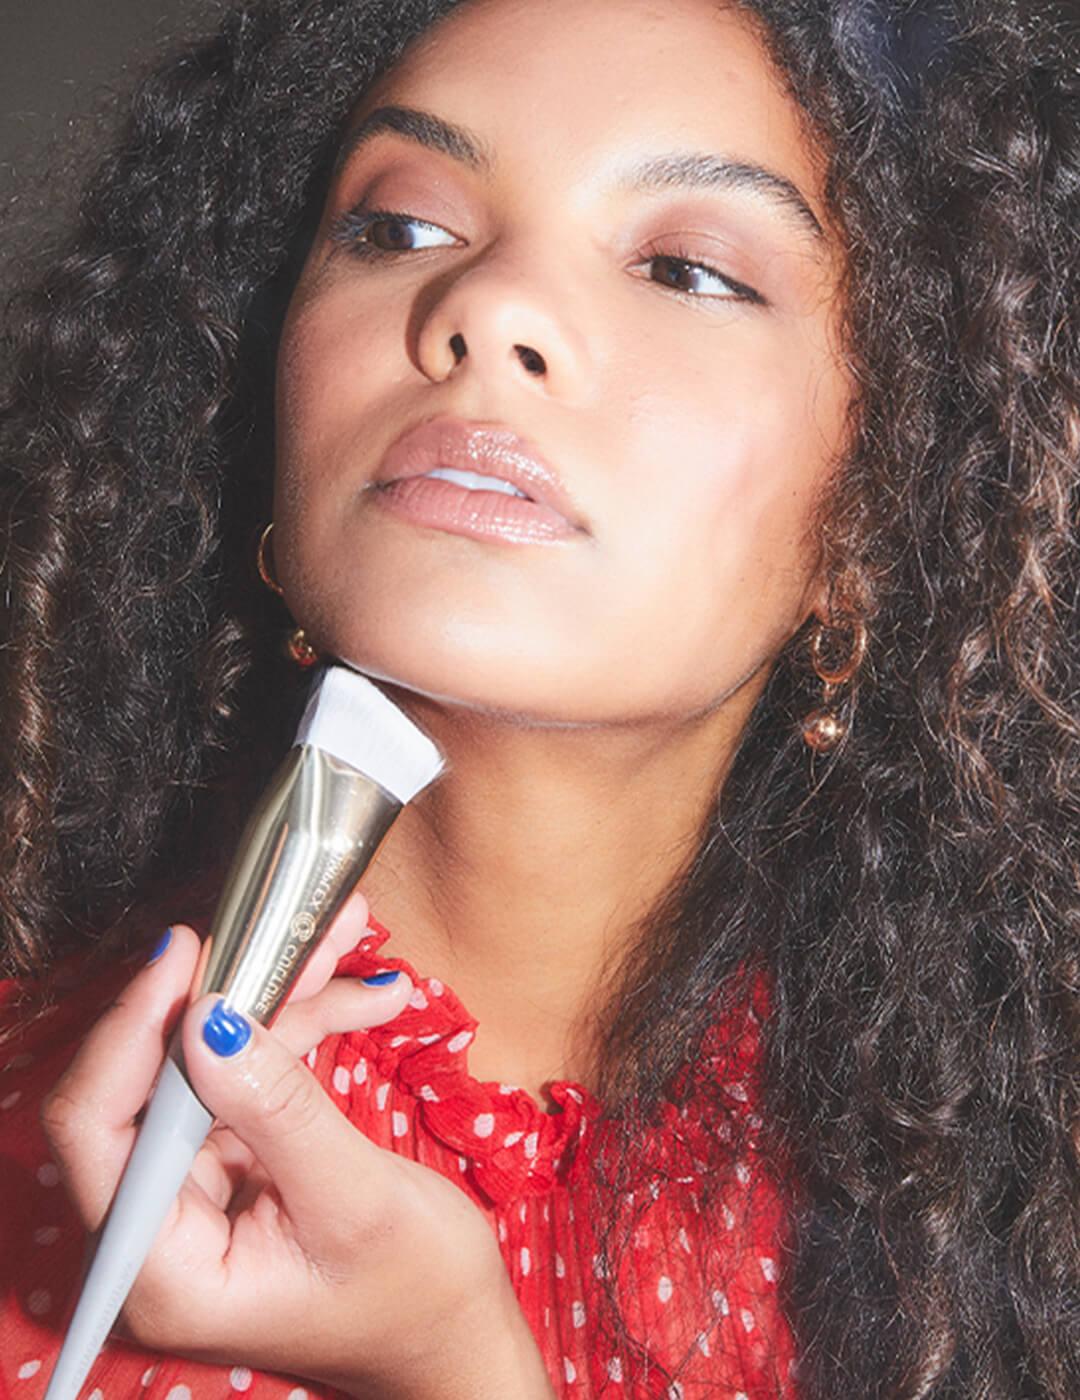
Step 4: Spot Treat
Now that you've laid the base layer of your makeup, a light hand and some concealer can hide all traces of redness and dark spots peeking through. NARS Radiant Creamy Concealer comes in a broad range of shades and easily covers everything from blemishes to dark circles. Dot your concealer where you need it, and use a precision brush to blend it using small, circular motions.

Step 5: Set It and Forget It
When you're ready to set your makeup and banish signs of shine, reach for a translucent setting powder. To apply, simply dip the flat side of a brush into your setting powder and tap the handle with your pointer finger to get rid of any excess product. Then, gently press the bristles onto your face, patting the powder in with light dabbing motions to blend and distribute.
If you have oily skin or want a more matte natural finish, use this powder all over to set your makeup and keep excess oil at bay. Otherwise, limit your application to your T-zone (your forehead, nose, cheeks, and chin) to keep your makeup fresh.

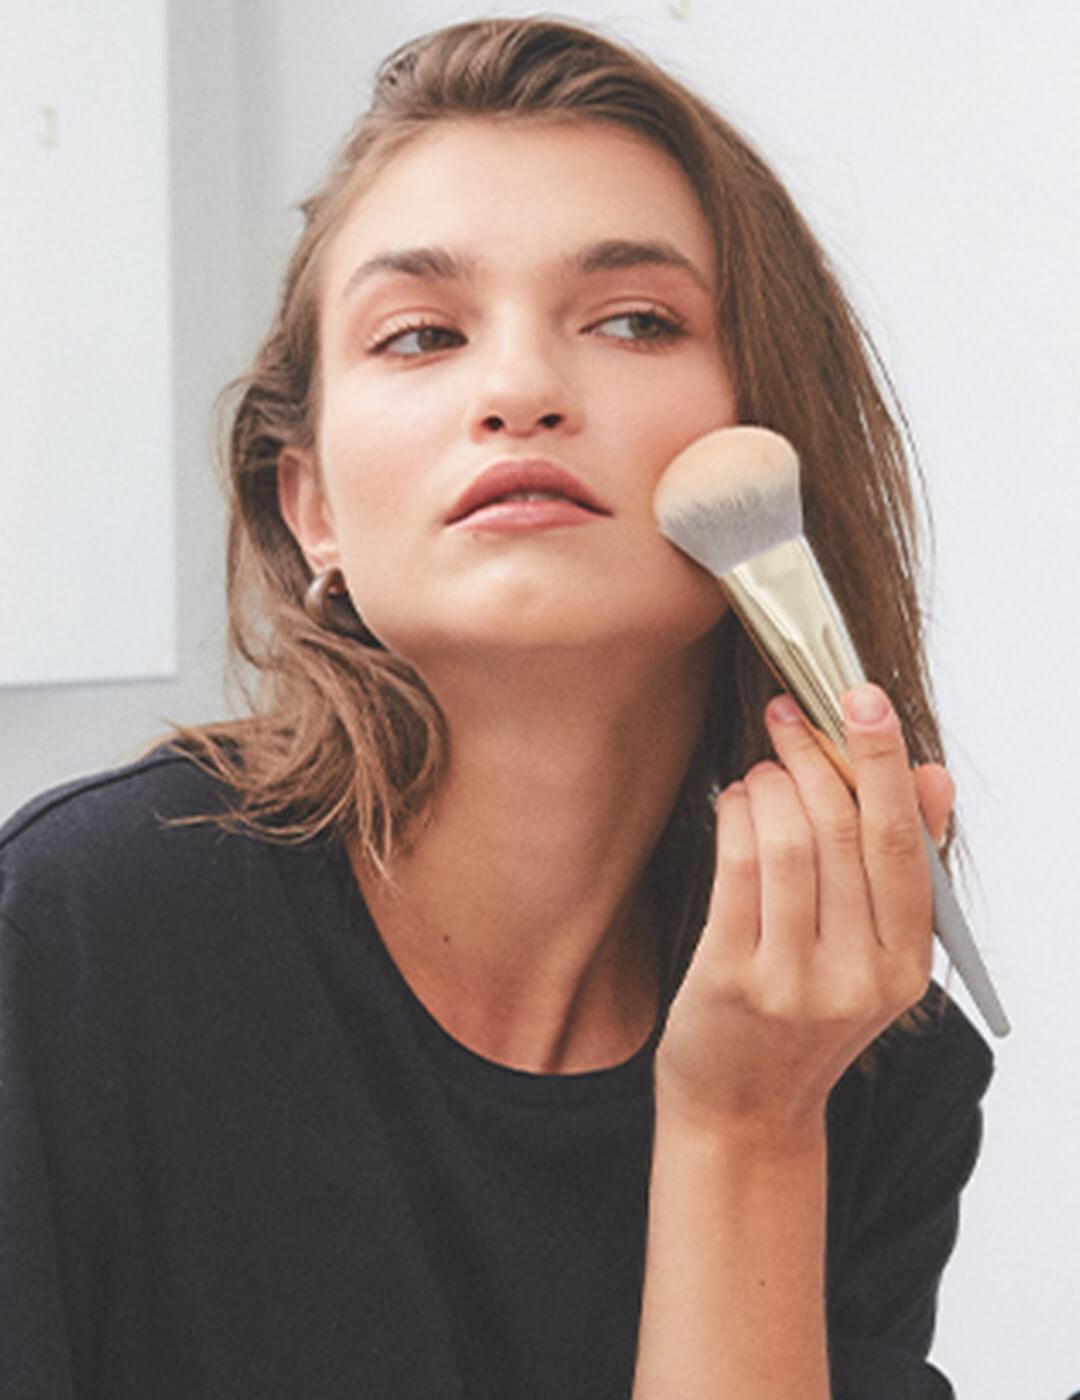
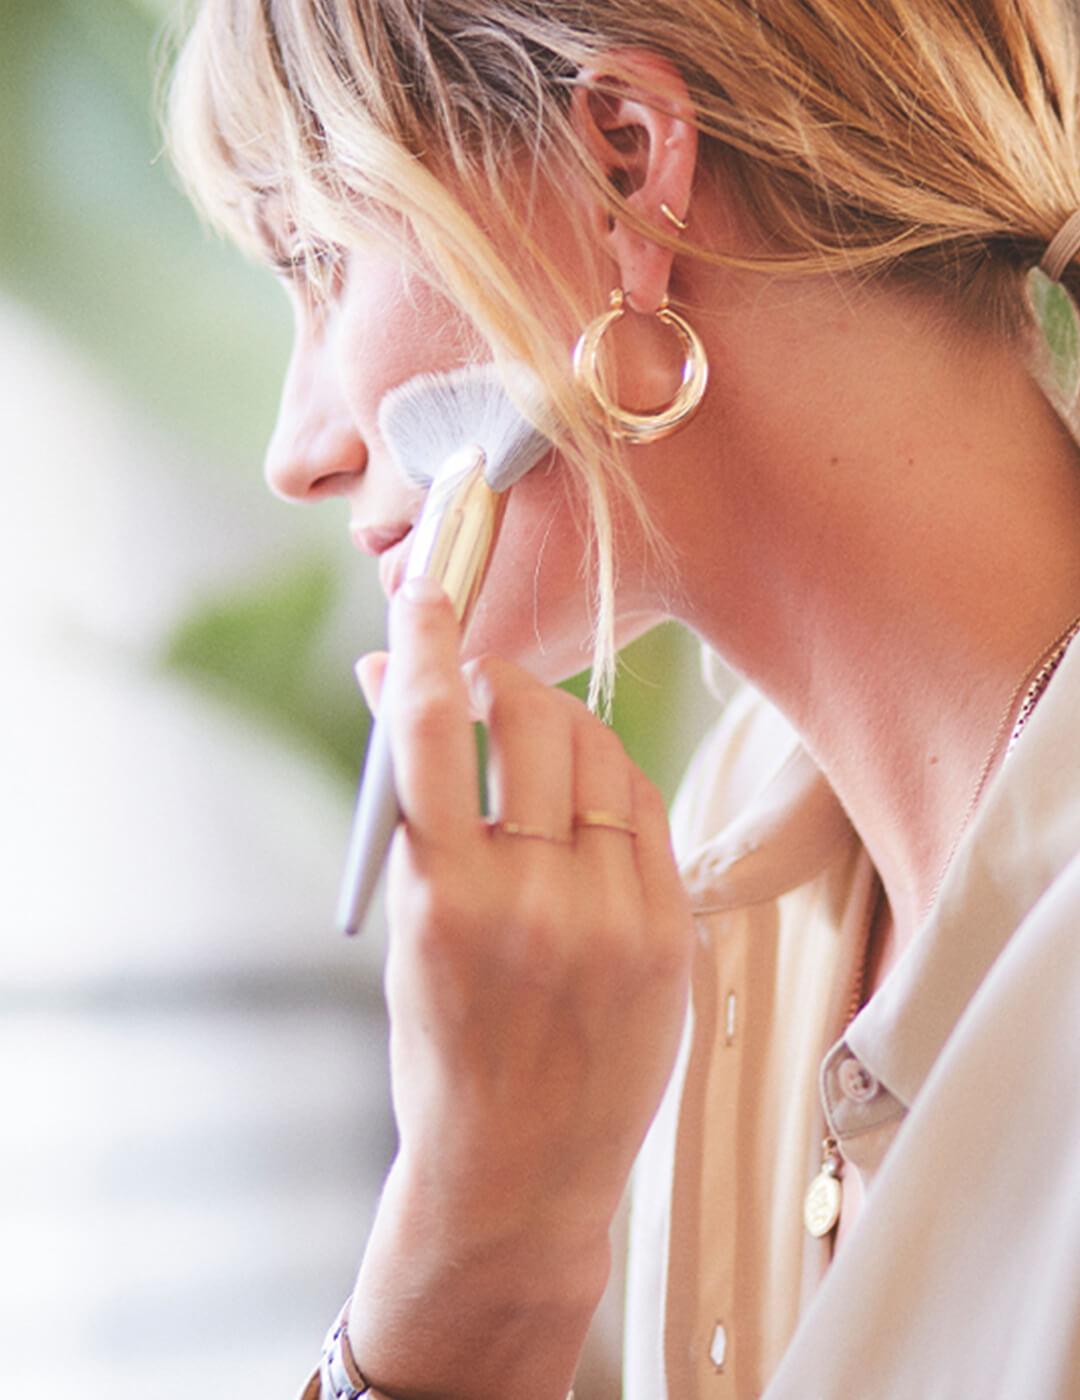
Step 6. Define and Glow
Accentuate your features with bronzer (or a light contour), blush, and highlighter. For a super-quick bronze, swipe a sunny shade of bronzer into your bronzer powder and dust the color across your nose, cheekbones, and hairline. With a fluffy brush blend a rosy blush into the apples of your cheeks. Finish by giving your skin a dewy glow via a powdered highlighter. Swirl the brush into your highlighter powder, then tap onto your brow bone (just under your eyebrow), the top of your cheekbones, the tip of your nose, and Cupid's bow for an instant natural glow.

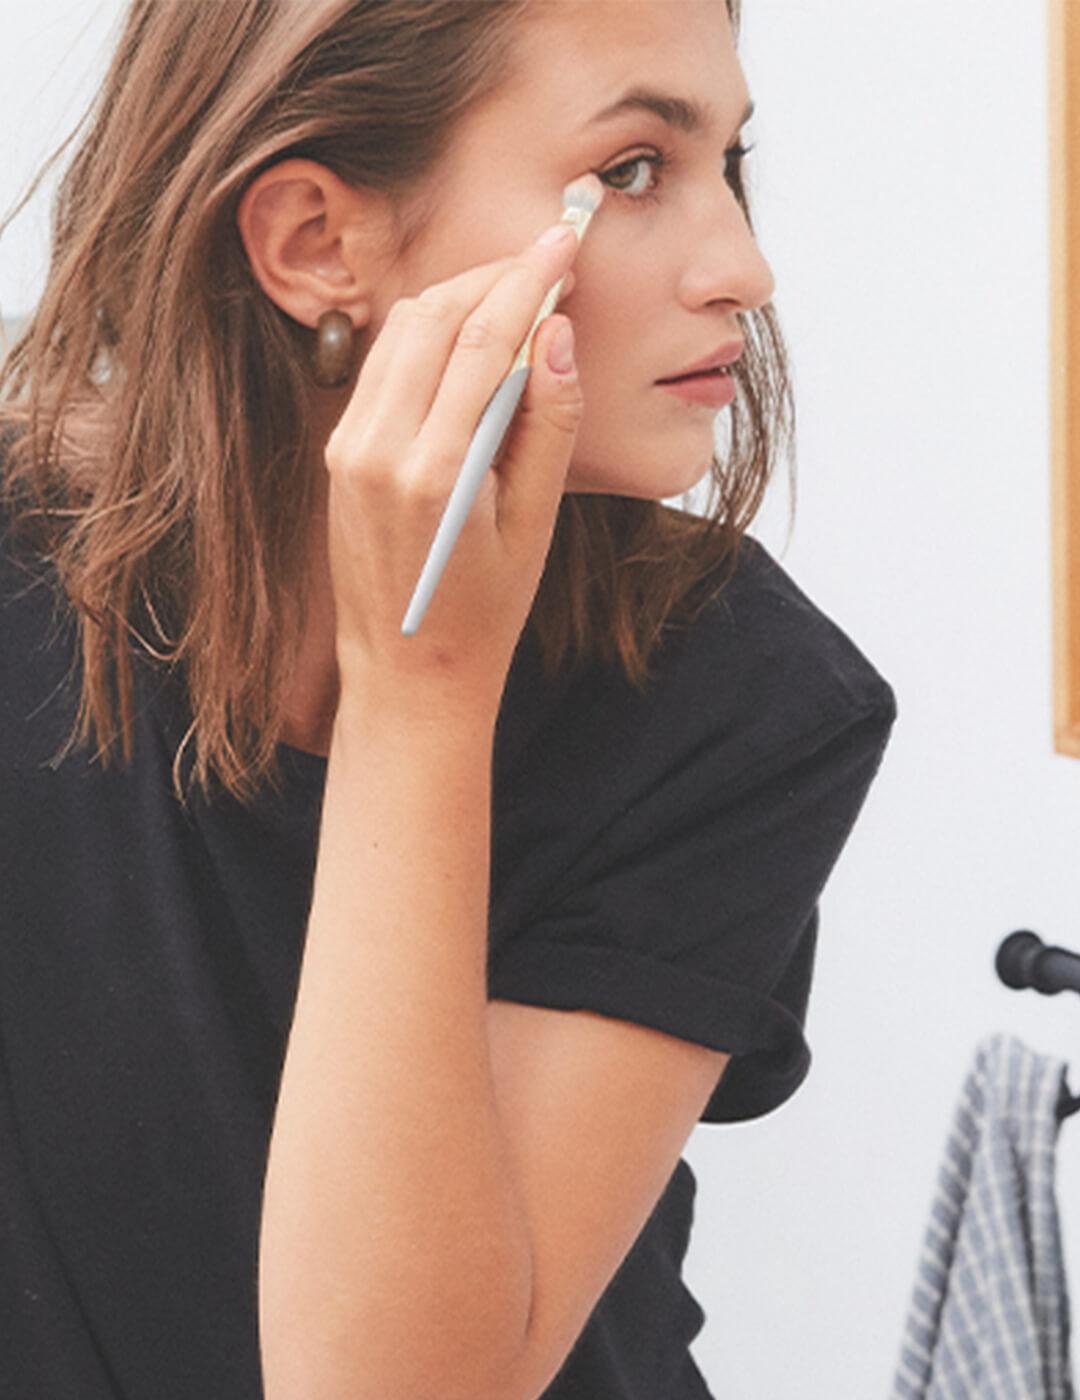
Step 7: Keep Your Eyes on the Prize
Create a natural eye makeup look with a mix of matte and shimmery neutral eyeshadows, like the shades in the LAWLESS Mini The Little One Eyeshadow Palette. Choose a base color similar to your natural skin tone and swipe the color onto your eyelids, crease, and lower lash line for the simplest look. For more definition, apply a shade of eyeshadow one to two shades darker than your natural skin tone in your crease, using windshield-wiper motions to blend as you go: this will accentuate your natural eye shape. Pick a shimmery shade for a glowy look, or stick to matte for a barely-there highlight. Apply this color to the inner corners of your eyes to make them look wide awake and refreshed.
Finish your eye makeup by applying one or two coats of lengthening mascara and brushing your eyebrows up and out with a brow gel.

Step 8: Try a Tinted Lip Balm
No barely-there makeup look is complete without a subtle wash of color across your lips. A tinted lip balm always gets the job done—it moisturizes your lips while giving you a light, buildable stain that'll last throughout the day.
When you want more impact, trace the borders of your lips (or just outside them) with a lip liner that matches your natural lip color. You can fill in your lips with the same pencil for long-lasting color, or use a coordinating nude lip color for a softer finish.
Want more makeup tips and tricks? Take our Beauty Quiz now to get in on all the IPSY Glam Bag fun. Already an Ipster? Refer your friends to earn points, which you can use toward products. Either way, don’t forget to check us out on Instagram and Twitter @IPSY.
Like this article? Share it with your friends by clicking the icons below!
Liked this post? Share!
Related Stories


Makeup
6 Beauty Brands Reinventing the Packaging Game
4 min read


Makeup
The Ultimate Makeup Mood Board for Cancer Season
4 min read


Makeup
Every Time Dua Lipa Gave Us a New Makeup Obsession
3 min read


Makeup
Hilary Duff Has Been Serving Beauty Inspiration Since 2003
3 min read


Makeup
Glossy Lids, Textured Metallics, and the Return of Maximalist Eye Makeup
5 min read


Makeup
9 New Makeup Look Ideas for the Most Glam Summer Ever
5 min read


Makeup
The Best Volumizing Mascaras for Bigger, Bolder Lashes
9 min read


Makeup
Lip Products Are Entering Their Care Era
5 min read

Beauty Picked Just for You
Get 5 products worth up to $70
Exclusive access to epic deals up to 80% off
Starting at just $15/month. Cancel anytime.