How to Dye Your Own Hair at Home According to the Pros


Elizabeth Denton

Dyeing your own hair at home can be super intimidating but often necessary. Whether you’re trying to save some time and money, or just want to DIY your gray hair coverage, you might just find yourself in front of the bathroom mirror ready to switch up your hair color. Don’t stress. You can do it, even if it’s your first time as a DIY hairstylist.
Sometimes even just choosing a hair color from all of the various options can be difficult. And that’s just the beginning. There’s also what type of hair dye to choose (such as semi-permanent dyes or permanent hair color), the amount of time to leave the dye on your head, and how to keep your whole head healthy. Phew! We’ll walk you through everything you need to know to get the hair color of your dreams from the comfort of your own bathroom, below.
It's about glam time you treated yourself.
Join IPSY

MEET THE EXPERT
Ryan Slowey is a hair colorist at Salon AKS in New York City.
But First: When Should You Dye Your Hair at Home?
While dyeing your own hair is great for subtle changes and root touch-ups, if you want a drastic change from your natural hair color (i.e. going from brunette to blonde), it’s best to leave it to the pros. Unless, of course, you’re a bit of a pro yourself.
But how do you go about choosing the right salon for a drastic change? Ryan Slowey, a hair colorist at Salon AKS in New York City, suggests doing your research before choosing a salon and colorist, as colorists tend to have different hair color specialties and techniques. You can ask friends, check their social media accounts, or call the salon first and ask who specializes in the hair color or hair coloring technique you desire.
Of course, there are other options for getting a new hair color, too. One is using a semi-permanent dye that washes out after 6-12 washes, so you don't have to worry about the long-term commitment. And if you want to try a funky shade (like pink or violet) but don’t want to shell out the cash for a colorist, try a color depositing conditioner that only lasts as long as you use it.

7 Simple Steps to Dyeing Your Hair at Home
It’s time to get coloring! Before you dive in, remember to read the box dye instructions closely, especially to see how long the processing time will be. And don’t wash your hair right before dyeing. It’s better to color your hair when it’s a little bit dirty to prevent any scalp sensitivity, says Slowey.
Step 1: Choose Your Shade
A general rule of thumb colorists swear by: when using a permanent hair color, stay within two shades of your natural hair color. And, if you're after a lighter look, Slowey recommends moving only one shade away from your natural color. (Too much bleach is never a good idea.) Home hair color also usually uses a universal developer that will work on all hair types, so this will help your color stay within the right shade family.
Also, be sure to never trust the model’s hair color on the box. That shade is pretty much impossible to achieve unless you have the exact same natural hair color as the model (which is unlikely). Instead, check the swatch at the top of the box to see the true color. Sometimes a brand even shows various shades depending on your starting color. This can be a big help!
Step 2: Ensure You Have Enough Hair Dye
You also should always buy at least two boxes of color to make sure you have enough to cover your whole head. Slowey suggests taking a picture of the box (assuming you like it), so you can stay consistent next time you color.
Step 3: Prep Your Tools, Clothing, and Area
Always apply your hair color in the bathroom, says Slowey. The surfaces are pretty resistant and any spills can be quickly cleaned up with a Clorox wipe.
You'll also want to change into an old button-down shirt or oversized tee that you don’t care about staining, and cover the floor with old towels. Gather all of your tools on the bathroom counter, including the home hair color boxes, clips to section your hair, a comb, a jar of Vaseline, and makeup remover wipes(you'll see why in a minute).
Step 4: Prep Your Hair
If you’re just doing a root touch-up, apply coconut oil or a deep conditioning mask midway down the hair shaft and on the ends to create a barrier. If any root color drips down, it’s unlikely to mess up the rest of your color.
Step 5: Do a Strand Test
Before coloring your whole head, you should test the color first to make sure you're not allergic or have any sensitivities. Pick a small section of hair at the nape of your neck and apply the product for the time listed on the box to see if your skin becomes irritated, says Slowey. It’s also a great way to see what the color will look like and make sure you are happy with the results before doing your whole head.
Step 6: Protect Your Hairline
Prevent any staining by applying Vaseline along your hairline. This creates a barrier that haircolor can’t penetrate, says Slowey. If you happen to get any hair dye on your skin, you can erase it instantly with your makeup remover towelettes. You can also use an exfoliating face wash to get rid of any color that makes its way past your Vaseline barrier, says Slowey.
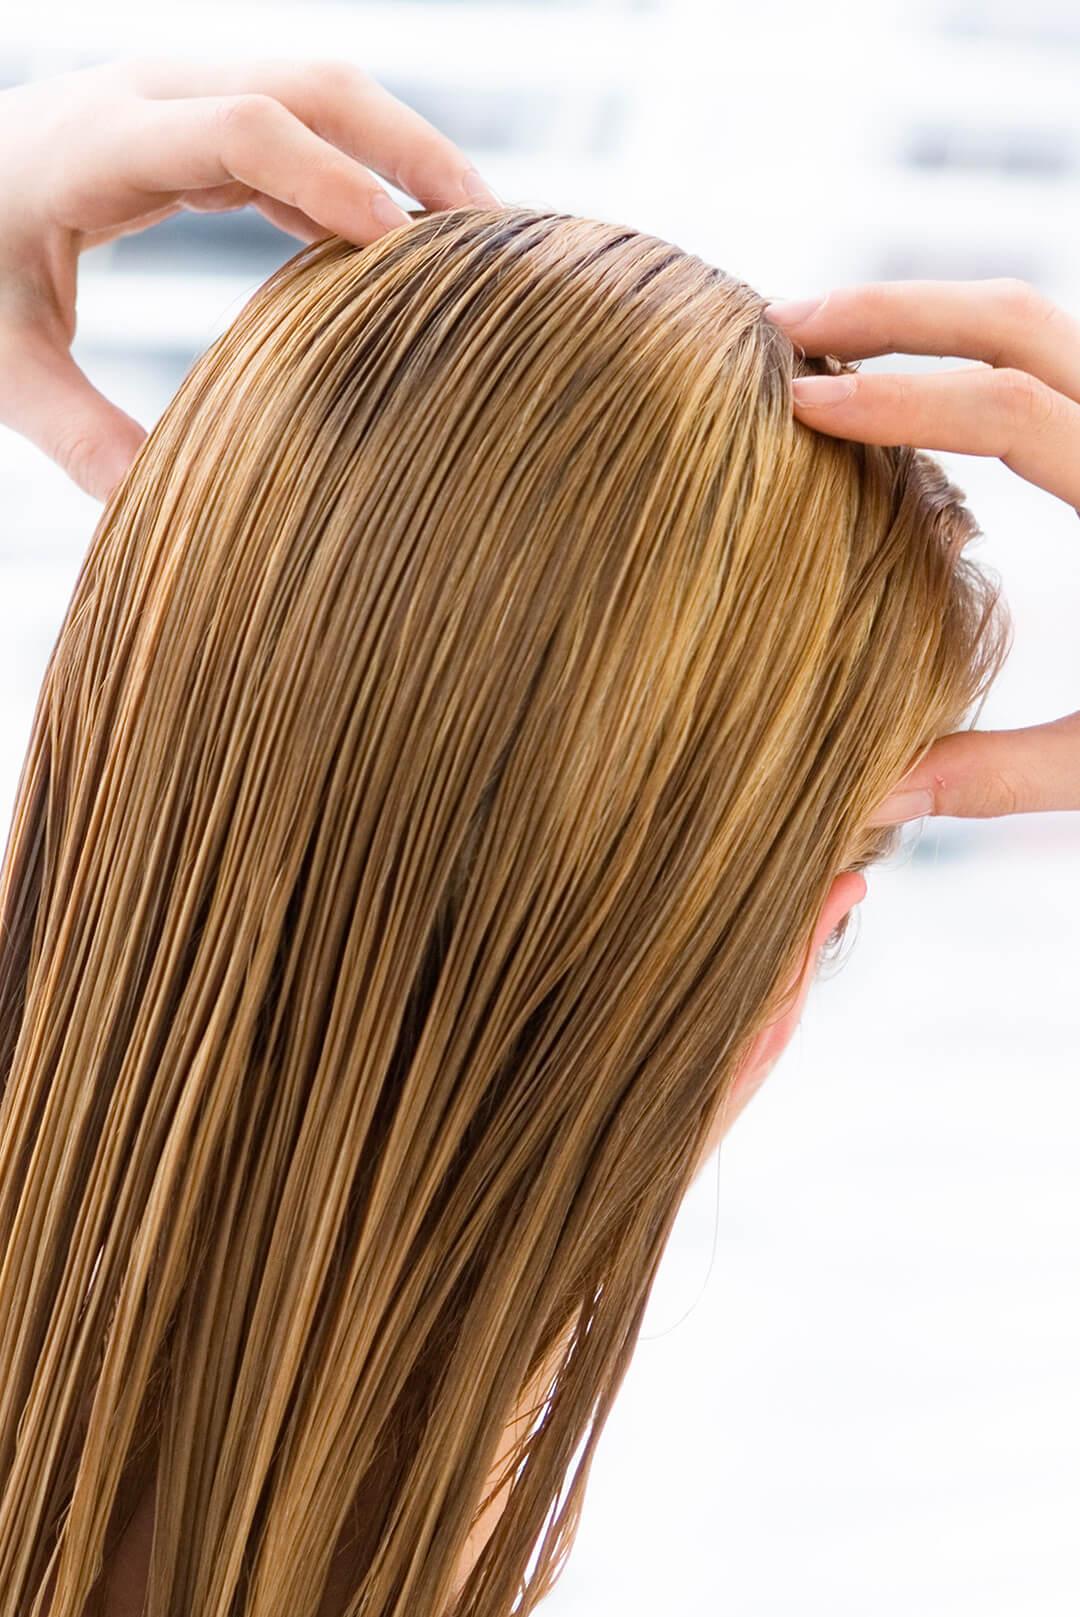
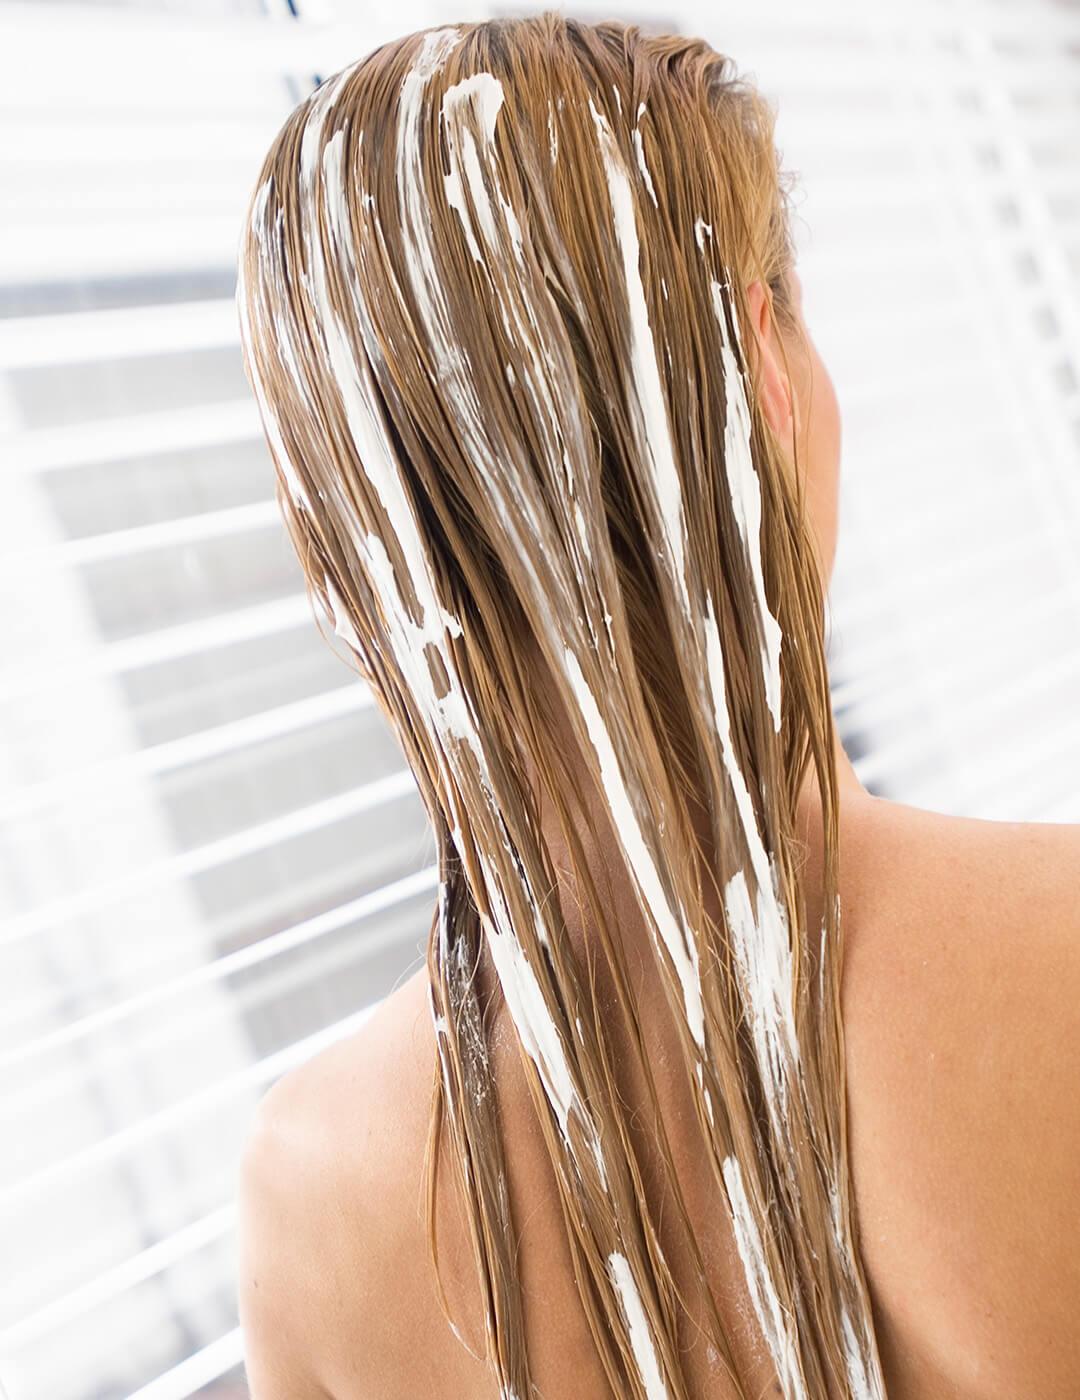
Step 7: Section Your Hair and Apply Your Color
It's time to get dyeing! To begin, part your hair down the middle, then create four sections from ear to ear and down the back. Use your sectioning clips to keep the sections apart. Taking the time to create sections will save time in the long run and give you greater accuracy when applying color, says Slowey.
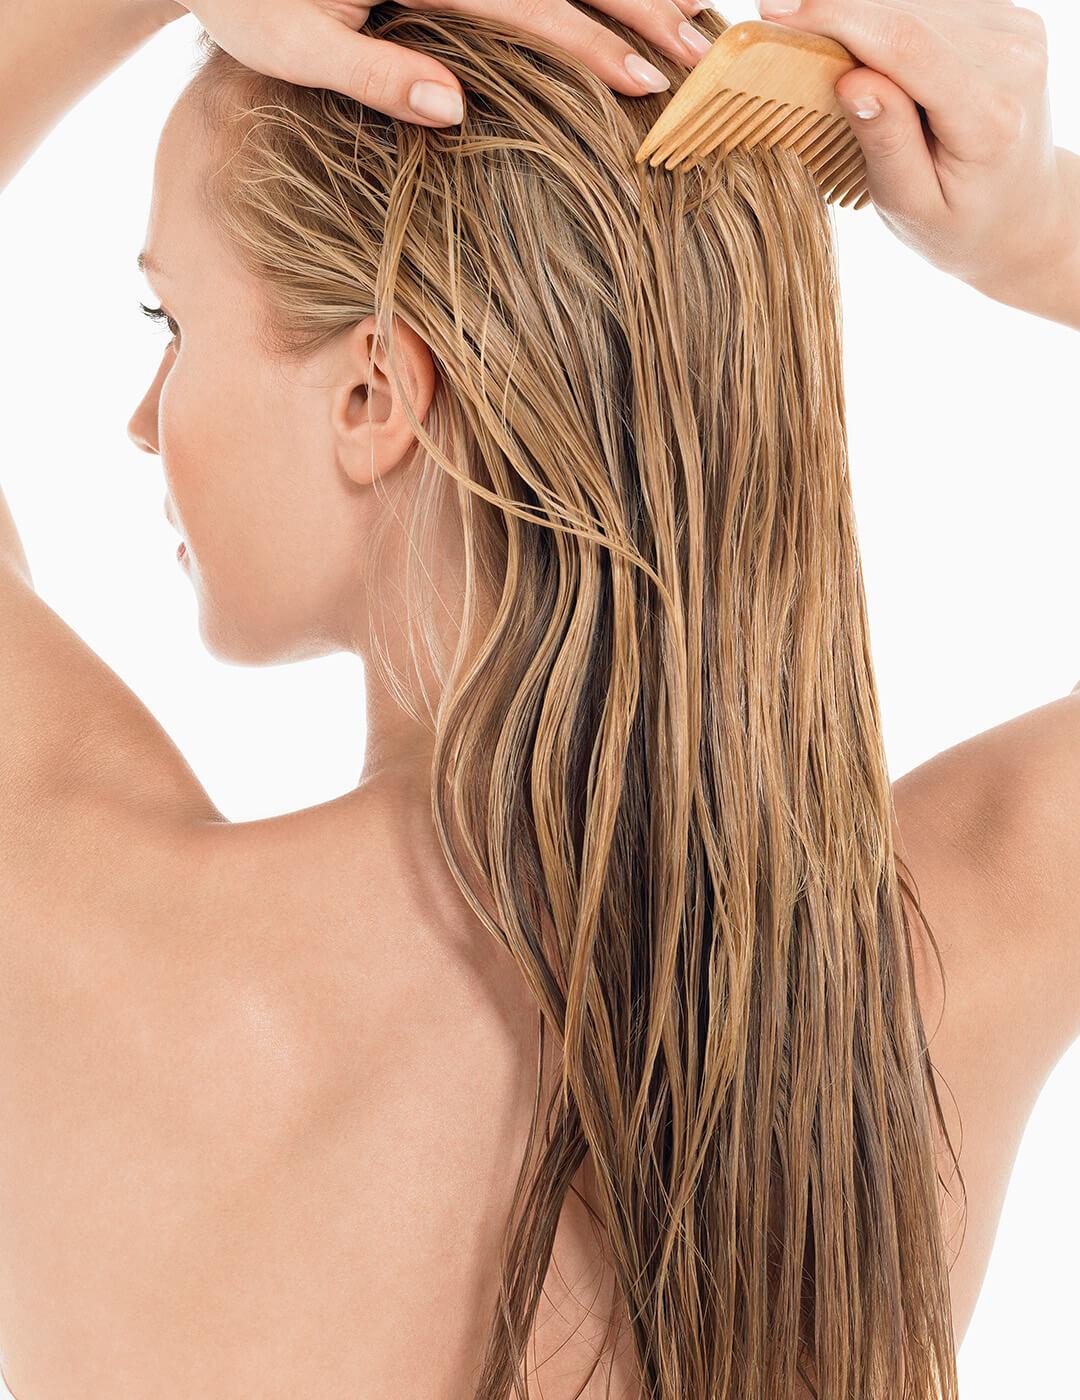
Going section by section, apply your hair dye at the roots first, and then comb it through the rest of your strands with a comb. We love REFRESHMENTS Tangles Be Tamed Comb because it makes it so easy to ensure hair is knot-free without damage.
When you get to the back of your head, separate your hair into smaller sections and flip your hair towards the front after applying, suggests Slowey. Then, all you have to do is wait as long as the box says for your color to develop!

How to Highlight Your Hair at Home
If it's your first time lightening your hair with highlights, don't worry: we've got you covered. While it's easier to visit a salon first just to see where they put the color, you can also highlight at home with just a few steps.
Step 1: Choose a Shade
When selecting a highlight shade, you'll want to stick with a hair color only one shade lighter than your own to keep it natural and avoid any orange streaks. Slowey also suggests using your eye color as a guide. If you have light eyes, try a cooler-toned highlight kit, and those with darker eyes should look for a warmer shade.
Step 2: Get Your Hair Ready
Part your hair as you normally would to help find the right placement for highlights. You'll want to make sure you have dry hair before applying your color, so avoid washing your hair the same day you apply your highlights if you can.
Step 3: Section Your Hair and Apply Color
Starting at the front of your head and working your way back, create small sections of hair about a quarter of an inch apart. They don’t need to be perfectly spaced, because you want your highlights to feel natural and asymmetrical. Use those same section clips.
Using either a toothbrush or mascara wand (both can be more precise than the included brush), paint the color onto your hair, starting at the roots. You want to mimic where the sun would naturally hit, says Slowey, so get to work lightening your hairline area (especially the sections closest to your face) and the top of your head, near your part.
Remember, less is more, so start slowly and gradually build your way up as you see fit. You can always add more later. Then, simply follow the box's directions for processing time and washing, and that's it: easy highlights in just a few simple steps.
Step 4: Condition Strands
When lightening hair, it can sometimes become more dry even with just one session. It’s so important to use a deep condition or mask when you’re finished, such as SLEEK'E Silk'e Repair Therapy Deep Conditioning Mask, to replace hydration and leave hair feeling silky smoothe.

How Often to Dye Your Hair
Permanent hair color is the longest lasting dye so it’s generally advised to re-do the color every 6-8 weeks. Semi-permanent dyes sometimes only last as long as four weeks. Ideally, just do a root touch-up and not your whole head again. This is especially true for any lightning. Try to go as long as possible in between highlights to minimize damage to the hair.
Tips for Keeping Your Hair Color Healthy
Now that you've dyed your hair like an at-home hairstylist, we've got a few extra tips to make sure you keep your color healthy and happy.
• Use a shampoo and conditioner designed for color-treated hair. Most of these are sulfate-free (so they won’t strip your color) and have ingredients that help make your color really last. Plus, they'll protect your hair from breaking and getting damaged, too.
• Try to shampoo less often (two to three times a week) to maintain your color, says Slowey. You should also keep hot tool use to a minimum and use a heat protectant product, likeOSCAR BLANDI Pronto Dry Heat Protect Spray, whenever you do use them.
• Don’t stress if your color is lighter than expected or if you left it on too long and your hair turned a little bit orange—it happens! Use a color-correcting shampoo likeAMIKA Bust Your Brass Cool Blonde Shampoo. This shampoo is great for toning down blonde hair neutralizing brassy tones.
• Daily leave-in treatments can help enhance and lock in your color.IT HAIR CARE 12-IN-ONE Amazing Leave-In Treatmentwill seal your hair’s cuticle for serious shine.
• Try adding a hair mask or a leave-in conditioner to your haircare routine, too. These will keep your hair moisturized and healthy after dyeing. Not sure how to use leave-in conditioner? We go into how to use them (and how often you should) in our complete guide to using leave-in conditioner.
• If you absolutely hate your hair color, it’s probably time to go to a salon to get it fixed. Don’t try to dye it another color—that will only make things worse. One thing you can try at home, though: dish soap. Traditional dish soap will break down and remove unwanted hair color, but make sure to do a deep conditioning treatment after to keep your hair hydrated, says Slowey.
Want in on all the IPSY fun? Take our Beauty Quiz now to get started with your own IPSY beauty subscription. Already an IPSY member? Refer your friends to earn points, which you can use toward products. Either way, don’t forget to check us out on Instagram and TikTok @IPSY.
Like this article? Share it with your friends by clicking the icons below!
Liked this post? Share!
Related Stories


Hair
Thinking About Cutting a Bob This Summer? Start Here!
5 min read


Hair
Are You Leaving Your Conditioner on Long Enough?
4 min read


Hair
E.L.F. Just Entered the Hair Chat—Here's Everything in the Collection
3 min read


Hair
Heat Wave? These 12 Summer Hairstyles Are the Move
5 min read


Hair
The Best Bob Cut Haircuts for Every Face Shape, Hair Texture, and Styling Routine
7 min read


Hair
Ultra-Long Hair Is Everywhere Right Now—Here’s Why
3 min read


Hair
13 Blonde Balayage Looks That Prove the Hair Color Trend Is Here to Stay
3 min read


Hair
Brown Hair Color Guide: How to Choose the Right Shade, Undertone, and Style for You
10 min read

Beauty Picked Just for You
Get 5 products worth up to $70
Exclusive access to epic deals up to 80% off
Starting at just $15/month. Cancel anytime.