11 Jelly Nail Manicures You’ll Want to Try ASAP


Kindra Moné

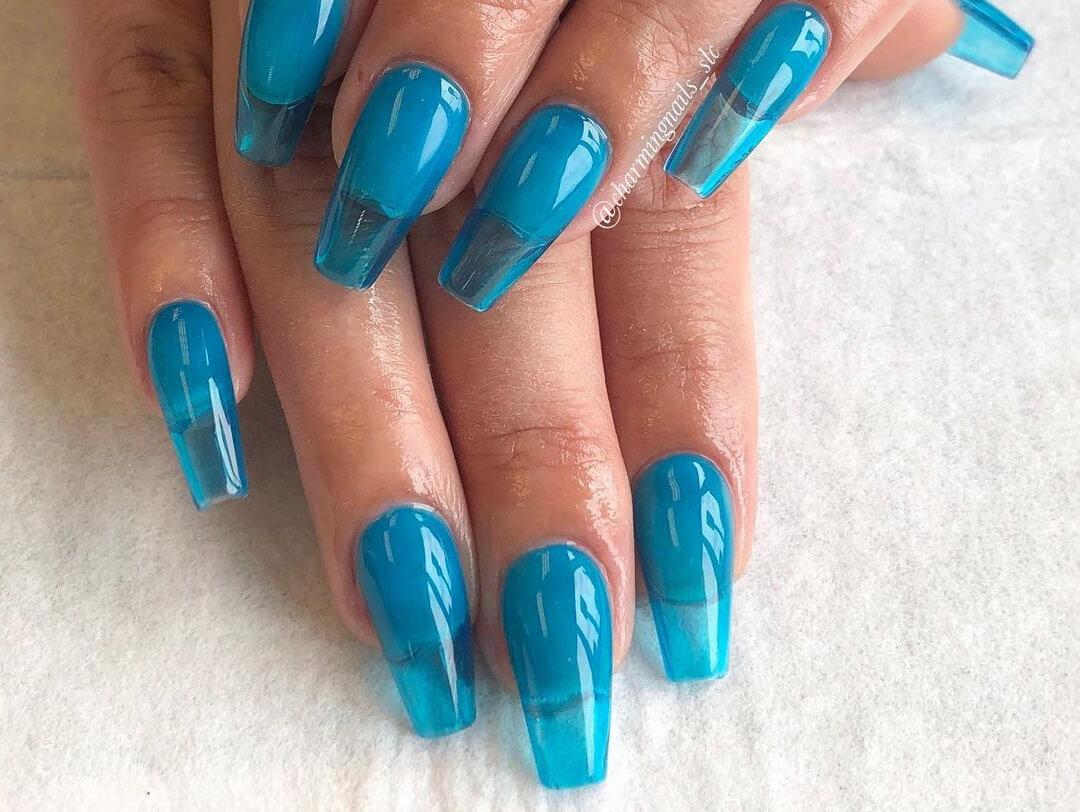
The pendulum has swung once again in the world of nail art trends. While all of our favorite retro silhouettes are making a return to our wardrobes (think 90s square necklines and boot cut jeans), our nails have also taken a note from the past with jelly nails. The translucent, sometimes sparkly, and often brightly colored nail art look puts one in mind of the jelly shoes we wore in years past—and they’re all over our social feeds for good reason. The great thing about jelly nails (also known as glass nails) is that they’re super versatile and can be as show-stopping or as simple as you’d like. Ready to discover your next jelly nail look? Keep reading for all of the inspo to take to your nail tech, plus expert tips on how to create jelly nails for yourself.
It's about glam time you treated yourself.
Join IPSY

MEET THE EXPERT
Micah is a certified nail technician based in Ontario, Canada. She specializes in nail extensions, manicures and always stays up to date with the latest nail art. She loves when her clients allow her to get creative and experiment with new designs. When she isn’t doing a manicure you can find her roller skating, playing fetch with her dog, or hanging out with friends and family.
What are jelly nails, anyway?
To get the details on jelly nails, we spoke with Ontario, Canada-based nail technician Micah. In her words, “Jelly nails are a sheer color. Almost like jello! They remind me of the retro color tinted sunglasses that are coming back in style!” This look can technically be done on natural nails, but in order to get a true jelly look with a crystalline finish, you’ll want to create them with gel extensions or clear acrylic—even if you’re keeping the length modest.
How to DIY Jelly Nails
For the DIY nail lovers and the creatively inclined, it’s possible to achieve jelly nails at home. Micah recommends making sure that you have “colored gel polish, a clear gel base coat [preferably on clear nails], and a gel top coat.” Not sure what to do next? Micah’s step-by-step guide makes it easy. But before you begin, Micah notes some basic things you’ll need, “To do jelly nails at home, first you will need everything you’d use to do a basic manicure to prepare your nails for the jelly art. You’ll need a buffer, cuticle pusher, nail file, isopropyl alcohol, dehydrator, and primer. Now, let’s get started.
Step one: Choose your color(s) and mix them with your gel base coat. (If you have a gel top coat that has a dispersion layer, you can use that instead.)
Step two: Mix the colored polish and gel until it looks sheer. You’ll then paint your nails like normal. You can continue to layer the polish to your liking!
Step three: Add any designs or charms on top of the jelly nails to your taste.
Step four: Lastly, top it off with a super shiny top coat to emphasize the jelly-ness!
11 Jelly Nail Looks You’ve Got to Try
Need some inspiration to DIY your own jelly nails? Here are some of our faves.
1. Citrus Burst Nails
These playful images of fruit, smiley faces, and other nostalgic stickers are so cute you’ll want to take a bite (but please don’t!). The bright colors and summery imagery make these nails a perfect warm-weather look.
2. Geometric Shapes
Here’s one way to make your jelly nails stand out: Create negative space with geometric shapes in an opaque polish of the same color. The subtle contrast really lets the jelly portion shine while adding some depth to the nail.
3. Shimmering Rainbow Nails
These sheer glass nails are already a fun trend, so why not go all out with a rainbow gradient? Painting each nail with two consecutive shades really highlights the rainbow effect.
4. Glitter Flames
Turn up the heat with head-turning white flames. Clear acrylic is fun, but glitter acrylic is a great option when you want a standout style.
5. Butterfly Sparkles
The transparency of jelly nails makes them perfect for playing around with foils and decals. Butterflies and sparkles are a great combo for a fun, ethereal look.
6. Aqua Blue
Jelly nails are still totally worth your while if you choose to use only one shade. These aqua blue transparent nails make a splash and could be replicated in any color.
7. 3D Jelly Nails
Kylie Jenner turned to these drip-effect 3D jelly nails inspired by her cosmetics brand, Kylie Cosmetics. Note that this look requires a pretty skillful process, so you might want to take this one to your favorite nail artist—unless you have a nail art background yourself.
8. Yellow Glitter
If you’re on the fence about glitter, the answer is always yes. Add some glitz to really channel the shimmery gel pens and jelly shoes of yesteryear.
9. Jewel Tones
Can’t decide on one color? Choose two! Complimentary jewel tones look great when you apply one to each hand.
10. Pastel Flowers
Ditch the colored polish on a few fingers (or your entire hand) and opt for floral nail art or dried mini flowers instead.
11. Color-Blocked French Tips
Playful French tips are the perfect way to add a new twist to a classic style. Add a metallic line at the break to really make them pop.
Looking for more products to make your DIY nail art dreams a reality? Discover new products with the IPSY Glam Bag. Take our Beauty Quiz now to get started. Already an Ipster? Refer your friends to earn points, which you can use toward products. Either way, don’t forget to check us out on Instagram and Twitter @IPSY.
Like this article? Share it with your friends by clicking the icons below!
Liked this post? Share!
Related Stories
Nails
50 Cute Valentine’s Day Nail Ideas We Can’t Help But Love
Published on Jan 14, 2026 • 15 min read
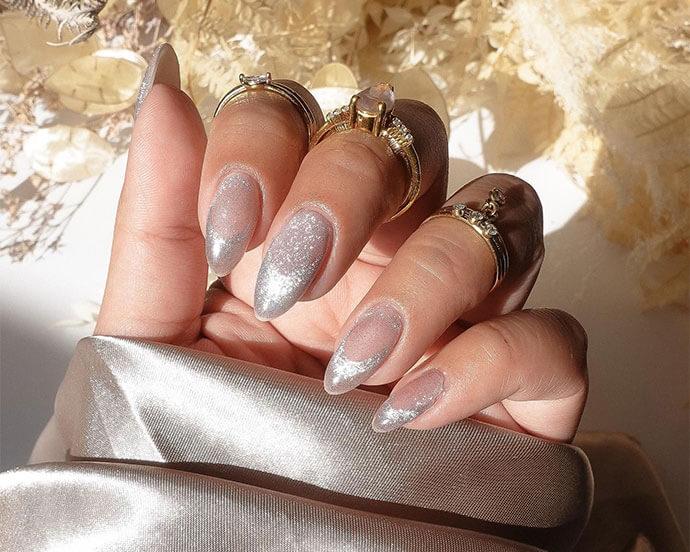
Nails
Metallic Nail Designs You’ll Want to Screenshot Immediately
Published on Jan 14, 2026 • 9 min read


Nails
How to Apply Fake Nails at Home: A Beginners Guide
Published on Dec 5, 2023


Nails
What You Need to Know About SNS Nail for Your Next Mani Appointment
Published on Oct 6, 2022


Nails
25 Holiday Nail Art Ideas That’ll Make Your Mani the Star of the Season
Published on Oct 16, 2025 • 9 min read


Nails
26 Cute Thanksgiving Nail Ideas to Complete Your Holiday Look
Published on Oct 2, 2025 • 11 min read


Nails
20 Reasons Why We’re Obsessed With Glitter Nails Year-Round
Published on Sep 27, 2025 • 9 min read


Nails
51 Halloween Nail Ideas That Are All Treats, No Tricks
Published on Sep 16, 2025 • 9 min read


Beauty Picked Just for You
Get 5 products worth up to $70
Plus exclusive access to epic deals up to 80% off
Starting at just $14/month. Cancel anytime.