Rock A DIY Fishtail Braid In 3 Easy Steps


Runa Bhattacharya

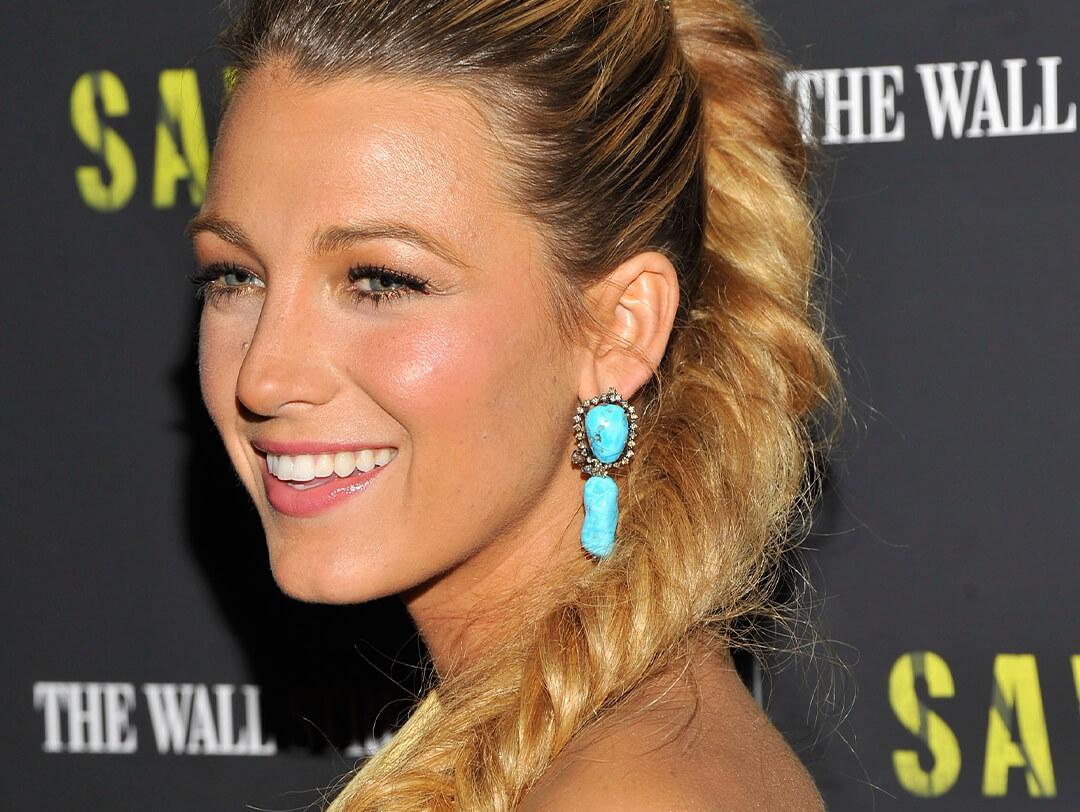
It’s no secret that here at Ipsy we’re obsessed with braided hairstyles (French braids, waterfall braids, box braids, Dutch braids–we love them all!). But there’s something so ethereal, otherworldly, and mermaid-esque about a long, ropey fishtail braid that we seriously crush hard every single time we see one. The wispy, delicate, pulled-back style is the perfect balance between done-up and undone (and totally looks like it took a team of styling pros to lay it down). And the best kept secret about a fishtail braid? With just a little practice, it’s insanely easy to recreate even if you’re a newb—we pinky swear! The only team of stylists you’ll ever need are your own two hands (and easy-to-follow advice from one of our pro’s). We talked to Julia Mannino, hair stylist and Co-Owner of Roya Hair NYC, for a foolproof how-to.
It's about glam time you treated yourself.
Join IPSY

MEET THE EXPERT
Julia Mannino is a hair stylist and Co-Owner of RoyaHairNYC.
But first, let’s prep
If you’re looking for an excuse to skip wash day, here it is. When it comes to creating a gorgeous fishtail braid, second day hair or even third day hair is better for styling. That means, squeaky clean hair isn’t your friend. “I actually prefer working with hair that’s a couple of days old. The hair is easier to hold and manipulate when it is a little dirty,” says Mannino. So, the less clean and slippery your strands are, the more hold you’ll have? Got it! Next, Maninno recommends spritzing a dry shampoo (like KLORANE Dry Shampoo with Oat Milk) on to your roots first for added texture and lift. Then, sprinkle a texture powder (such as EVA NYC Zero Gravity Volume Powder) from mid-lengths to ends. “Dry shampoo helps to add volume, give the hair some grit, and absorb any unwanted oils on your scalp. The texture powder gives hair extra piecey-ness and helps give you good grip when braiding. Also as a bonus, they can both aid in giving the hairstyle an undone, relaxed look ,” Mannino says.
Let’s Get Braiding
Step 1:
Divide the hair into two sections down the middle. Mannino suggests creating a middle part so that you’ll have an even amount of hair to work with on both sides. Section 1 will be the hair on the left side of your head (held in your left hand), and section 2 will be the hair on the right side of your head (held in your right hand).
Step 2:
Starting with Section 2 (your right hand), use your pointer finger to slice off a small section of hair from the outside of section 2, and cross it over to section 1. Grab this fine section of hair with your left hand pointer finger and allow It to join and blend into Section 1.
Step 3:
Now repeat this on the opposite side. Use your left pointer finger to sliver off a small section of hair from the outside of section 1 and cross it over to join and blend into section 2. “ Slice and cross, continuously feeding each section of hair from side to side until you reach the end. As you get farther down your head, section 1 and section 2 should slowly start to shrink. Repeat these steps and when you reach the tail end, secure it with a small clear elastic hair tie,” says Mannino. That’s it, you’re done!
For a fatter, fluffed up fishtail braid: “Pull each side of the braid away from each other at the same time so it expands and gets a little messy,” Mannino recommends.
For a more intricate look: “Work with smaller sections of hair at a time. The smaller the sections you separate and cross over to the opposite side, the more interesting and detailed your braid will look. It takes a minute to start to see the final product, so don’t give up!,” Mannino says.
Want more how-to’s on the latest hair trends? Take our Beauty Quiz now to get started. Already an Ipster? Refer your friends to earn points, which you can use toward products. Either way, don’t forget to check us out on Instagram and Twitter @IPSY.
Like this article? Share it with your friends by clicking the icons below!
Liked this post? Share!
Related Stories


Hair
Thinking About Cutting a Bob This Summer? Start Here!
5 min read


Hair
Are You Leaving Your Conditioner on Long Enough?
4 min read


Hair
E.L.F. Just Entered the Hair Chat—Here's Everything in the Collection
3 min read


Hair
Heat Wave? These 12 Summer Hairstyles Are the Move
5 min read


Hair
The Best Bob Cut Haircuts for Every Face Shape, Hair Texture, and Styling Routine
7 min read


Hair
Ultra-Long Hair Is Everywhere Right Now—Here’s Why
3 min read


Hair
13 Blonde Balayage Looks That Prove the Hair Color Trend Is Here to Stay
3 min read


Hair
Brown Hair Color Guide: How to Choose the Right Shade, Undertone, and Style for You
10 min read

Beauty Picked Just for You
Get 5 products worth up to $70
Exclusive access to epic deals up to 80% off
Starting at just $15/month. Cancel anytime.