The Super-Easy Trick for Nailing a Glitter Mani
IPSY Editors


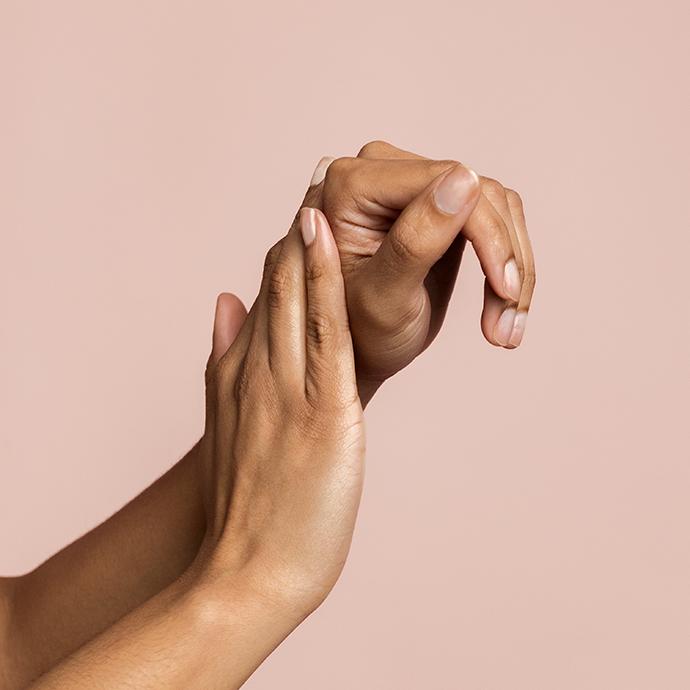
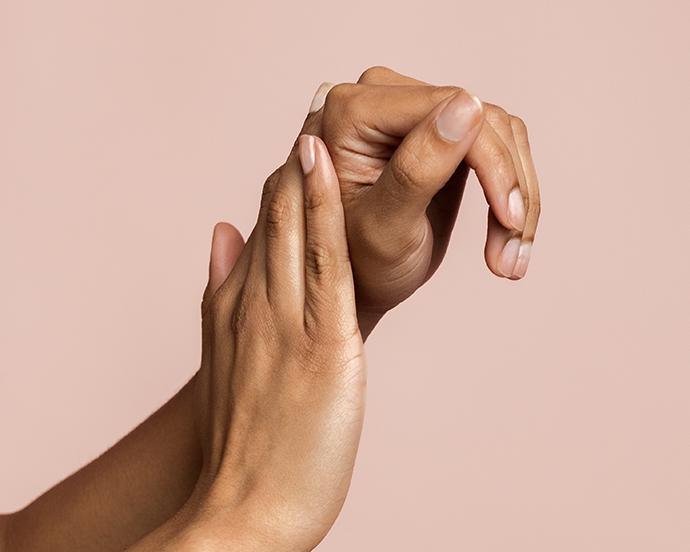
Glitter nail polish can be cute and fun or sophisticated and daring, all depending on how you wear it.
But let’s be real–applying glitter polish can be a little tricky. While you could go old-school and apply glitter polish like any other old nail polish, seasoned at-home nail painters (and even nail newbies) know that this method can lead to a less-opaque finished product. And when you’re going after that full-bodied sparkle and shine a bottle of glitter nail polish promises, it’s easy to be frustrated when all your hard work results in little more than clumping glitter particles and scattered shimmer.
Don’t worry: a less-than-glam glitter is not a testament to your nail art abilities. Turns out, the reason glitter polish is so difficult to apply compared to other polish formulas is because...well, it’s not meant to be applied like those other polish formulas! And while you can totally play around with your glitter nail polish application until you find a way that works for you, there is a now-not-so-secret method professional nail artists use to nailing the perfect sparkly glitter manicure.
Read on for the applying glitter nail polish hack that’ll make your life (well, at least your manicure) so much easier, and get ready to get glittering.
It's about glam time you treated yourself.
Join IPSY

What You’ll Need
To master applying glitter nail polish, you’ll want to make sure you have a few basic tools of the trade at the ready:
A base coat polish. Think of a clear base coat as a canvas for your nail art, but with the potential for added nail-strengthening benefits, too. Using a product like Dermelect Cosmeceuticals' MAKEOVER Ridge Filler Base Coat smooths, strengthens, and protects your nails against staining and breakage, while also ensuring your nail polish has a sturdy foundation to cling onto.
A regular nail polish (optional). If you want your glitter mani to have even more of a “wow!” effect, apply a colored nail polish on top of your base coat. For a bold fuchsia base, swipe Pretty Woman’s Pouty across the nail, or opt for a subtle nude, like Trust Fund Beauty’s I Look Good Nude, for a barely-there color that won’t distract from the glitter.
Glitter nail polish, of course! There are so many great glitter polishes out there, but for a fun, iridescent lavender shimmer, we recommend Kokie Cosmetics’ Northern Lights. If you absolutely can’t decide, check out our picks for the top 3 universally-flattering glitter nail polishes at the end of this article.
Polish barriers or liquid latex (optional). These are optional, but highly recommended for easy glitter application. Of course, if you choose not to use them, you can always clean up any stray glitter with a Q-tip and some strong nail polish remover, like Trust Fund Beauty’s Nail Polish Remover in Mint.
A makeup sponge. For best results we recommend a pyramid-shaped makeup sponge, like Royal and Langnickel’s Chique Makeup Wedges.
A top coat. Add a top coat to amplify your glitter polish’s shine and to prevent chips and scratches. Pretty Woman’s Top Coat will not only ensure your nails remain chip-free, but cruelty-free as well: this product is both vegan and free from parabens and sulfates, so you can swipe away without worry.


How to Apply Glitter Polish, Step-by-Step
Step 1. Apply polish barriers
If you’re using polish barriers, begin by applying them around your nails. Do this before applying your base coat so you don’t have to worry about accidentally chipping any polish while you apply them.
Step 2. Apply a clear base coat
Use smooth, fluid strokes, so that when it dries you have a clean and level base to build your manicure.
Step 3. Apply liquid latex
If you’re using liquid latex, apply it around the nail after your base coat has dried. Make sure to get as close to your nail edge as you possibly can–the closer you can get the liquid latex, the less likely you’ll have to do any touch-ups after you’re done painting. Wait for the liquid latex to dry, then apply a solid nail polish color if you’d like.
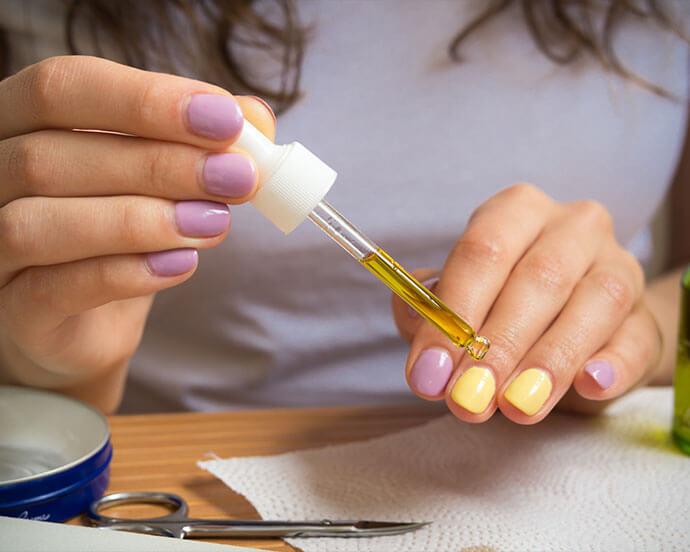
Step 4. Paint your makeup sponge
Now it’s time to grab your glitter nail polish and your makeup sponge. Using the nail polish brush, brush a thick layer of the glitter polish to one corner of the sponge. You’ll want to fully saturate this corner with just enough polish to cover your nail, but not too much that you can’t get a precise application. If it helps, brush on the polish until it roughly covers an area the size of your natural nail, or start off by painting less of an area than you think you might need–you can always add more.
Step 5. Dab polish onto your nails
Dab the now-sparkly corner of the makeup sponge over your nail in gentle, light strokes, making sure not to swipe like you would with a regular polish. Continue until you’ve covered your whole nail area. Don’t worry about being neat–get as much nail polish on the polish barriers or liquid latex as you need to fully cover each nail. That’s what they’re for, after all!
Step 6. Add another coat of polish
Wait for your glitter polish to dry on your nail. If you think you need more, apply another coat of polish to your makeup sponge and repeat the process. Keep going until your nails are as sparkly and glittery as you want.
Step 7. Remove polish barriers & apply top coat
When you’ve reached the effect you want and the glitter has dried, peel off your liquid latex and your polish barriers. Apply your top coat with the same smooth, swift strokes you used for your base coat, making sure to let the top coat completely dry before you touch anything that could smudge or lift your nail polish. Then, all that’s left to do is admire your finished manicure–glittery, opaque nails with no mess, smudging, or frustration.


The 3 Best Glitter Nail Polishes Ever
Now that you know how to apply any glitter nail polish under the sun, which should you reach for next? We’ve rounded up our three favorite picks for the most universally-flattering glitter polishes, ever. Use these polishes on their own, on top of a similarly-beautiful color, or to create stunningly beautiful nail art (need some inspo? These geometric nail art looks are simple, striking, and wearable for any occasion). However you decide to use them, these glitter polishes are sure to offer up some swoon-worthy shine.
1. Trust Fund Beauty – Boy Tears
Trust Fund Beauty’s Boy Tears is one of our top picks for its multidimensional shine, non-sticky consistency, and a gorgeous shimmery color that will bring not just boys to tears. Flecked with purple, teal, and even gold glitter particles, this silvery-based glitter polish is so sparkly it puts a disco ball to shame. Pair it with a dark base color, like Pretty Woman’s Don’t Be Jelly, for a unique twist on a classic manicure, or use it as the tip color in a French manicure for a blink-and-you’ll-miss-it glimmer.
2. FLUIDE 7-Free Polish – House of Yes
This polish is like the grown-up version of the glitter nail polish you used as a kid. The classic clear base allows the glitter particles to take center stage here, with shades of gold, silver, pink, blue, and green lighting up your fingertips. Not only is it a party on your hands, it’s also cruelty-free and vegan, not to mention nontoxic and free from formaldehyde and other chemicals. Wear this glitter polish alone for a nostalgic-yet-modern manicure, or pair it with a fun color, like FLUIDE’s 7-Free Polish in Secret Garden, for a look you can wear both to the office and out on the town.
3. Kokie Cosmetics – Celestial
Kokie Cosmetics’ Celestial will have you feeling like a true goddess. This rosy-hued glitter looks pure pink in the bottle, but dries to a golden glow that flatters any number of skin tones and shades. Pair it with a pretty pink, like Color Club’s Keep It Reel, for a blushingly beautiful manicure, or use it as an accent color against a cooler tone like Helios’ We All Need A Mr. Grey for a contrasting sparkly nail that’s sure to spark conversation.
Bonus Pick: The Not-Quite-Glitter Glitter Nail Polish – Trust Fund Beauty Mermaid Vibes
For a subtle in-between glitter, opt for a shimmery holographic polish like Trust Fund Beauty’s Mermaid Vibes. This long-lasting color alternates between grey and violet hues, and is a great pick for anyone who wants to hop on the glitter nail polish train but isn’t quite ready to go full glitter glam just yet.
Tried this hack and ready to show off your new glitter manicure? Post a picture of your glittery nails on Insta and tag us @IPSY, or submit a review beneath your favorite product. We can’t wait to see what you create!
Want in on all the Glam Bag fun? Take the beauty quiz now to get started. And don’t forget to check us out on Instagram and Twitter @IPSY.
Liked this post? Share!
Related Stories


Nails
Why Natural-Length Nails Are the Biggest Manicure Trend Right Now
5 min read


Nails
FIFA World Cup 2026 Nail Art Designs You’ll Get a Kick Out Of
2 min read


Nails
Spurs or Knicks? Show Support for Your NBA Team With These Nail Art Ideas
2 min read
Nails
Why Everyone’s Suddenly Asking for Soap Nails
3 min read

Nails
The Easiest Way to Moisturize Your Nails All Year Long
3 min read

Nails
Strawberry Milk Isn’t Just a Tasty Treat—Here’s How to Ace the Nail Trend!
6 min read


Nails
10 Cute and Colorful Korean Jelly Nail Designs to Try This Summer
5 min read

Nails
The Ultimate Aura Nail Guide: DIY Tips & 10 Dreamy Designs to Try
5 min read

Beauty Picked Just for You
Get 5 products worth up to $70
Exclusive access to epic deals up to 80% off
Starting at just $15/month. Cancel anytime.