Want to Wax Your Eyebrows At Home? Read This First!


Pia Bhattacharya

Eyebrows come in all shapes and sizes—thin, fluffy, straight, arched—and depending on how you style them, they can completely transform your face. (If your brows survived the 90s, you know what we mean.) No matter where your brow journey has taken you, we’re sure you’ve indulged in some DIY brow grooming to maintain them. While tweezers are our go-to for plucking the occasional stray brow hair, tweezing to shape them can take forever, and it can be risky if you’re not experienced—we learned that one the hard way. So when we’re looking for lasting results to keep our brows clean, shaped, and gorgeous, our go-to hair removal method is at-home eyebrow waxing.
While we always suggest seeing your go-to brow pro, appointments can get pricey, and sometimes life just doesn’t allow for salon visits. With a little practice, waxing your brows at home with a waxing kit is surprisingly easy to learn. We chatted with brow waxing and shaping expert Lydia Montez for step-by-step brow waxing tips for salon-worthy results.
Continue reading and you’ll have the brows of your dreams in no time.
It's about glam time you treated yourself.
Join IPSY

MEET THE EXPERT
Lydia Montez is a brow waxing and shaping expert, and owner of OC Beautified Brows & Wax Studio in California.
Style your newly waxed brows like celebrity makeup artist Patrick Ta:
The Pros and Cons of Waxing at Home
The Pros: Want fast results that last? Waxing will do the trick. “Waxing your brows is quicker than tweezing, and oftentimes less painful,” says Montez. “It's the quickest, while still efficiently removing all of the hair from the root. Yes, tweezing or threading will also remove from the root, but they’re unnecessarily slower and more painful.”
The Cons: You’ll have to deal with some growth. “All hair is on a growth cycle and needs a certain amount of time to cycle through, so if you’re waxing too soon you’re never going to be able to remove every single hair and get a clean wax. Montez recommends waxing every 4-6 weeks. You have to let everything grow in and then you’ll get at least 2 weeks with perfectly clean brows,” says Montez.
What Kind of Wax Should You Use?
Cream wax, hard wax—you’ve got options, and what you choose depends on your skin type and personal preference. Montez suggests using hard wax if you’re DIY’ing it: “For at-home waxing, I would always recommend using hard wax. Hard wax is as gentle as it gets. It doesn’t stick to the skin, and therefore is much less likely to cause irritation. Hard wax removes hair by hardening itself around the hair shaft and pulling it out when you remove it, as opposed to strip wax which removes whatever it sticks to.”
Next, make sure your at-home wax kit has all the essentials. Our favorite kits always include a cleanser, warmer, applicators, wax strips, a remover, and aftercare lotion to calm skin. Montez adds: “I think a good at-home kit should include the right size waxing sticks. It’s so important not to use something too big, especially because the area around and under your brows is so small. It’s very easy to get too much wax and have it drip into your eyelids or eyelashes, so you want to be so careful—less is more!”
Prep Your Brows (Note: Do Not Skip This Step!)
Like makeup, showering, shaving, and most steps in your skincare routine, it’s important to properly prep your brows and the skin around them before waxing. “Right before waxing, always cleanse your skin with a gentle skin cleanser, a micellar water is perfect,” says Montez. “After cleansing, use a tiny bit of pre-wax oil to act as a barrier between your skin and the wax just to be extra safe.”
Montez adds that it’s not all about immediate prep—good skincare habits are important, too. “Healthy skin is moisturized, hydrated, and properly exfoliated of dead skin,” she says. “That’s why it’s really important to be consistent about all of these things in order to get the best results. You can’t just moisturize, drink water, and exfoliate the day before (which you shouldn’t do in any case), and expect to get amazing wax results. Doing these things moderately and consistently will get your skin healthy and in the best shape for waxing.”

Photo by Andreas Kuehn / Getty Images
Here’s How to Wax at Home
Brush up your brows with a brow brush and trim any stray hairs that you won’t catch with wax.
Heat up your wax, and test a small patch of wax on the inside of your wrist to make sure the temperature is safe.
Decide where you’re going to wax, and visualize it before you start applying wax.
Grab a small amount of wax with your wax stick, and apply to the desired area in the direction of hair growth.
Apply a strip, and rub your hand over it firmly to make sure it sticks to the hairs.
Pull skin taut and remove the strip in one fluid motion in the opposite direction of the hair growth. “Only go over each area one time to prevent skin lifting,” says Montez. “If you’re using hard wax, just because it doesn’t stick to the skin, the heat of it can lift the skin, so you don’t want to keep reapplying that heat over and over.”
Clean up excess wax with remover or face oil.
If you see any stray hairs, take a pair of tweezers and pluck only them. Our Pick: BILLION DOLLAR BROWS Best Brow Tool Kit Ever, which includes stainless steel scissors for trimming, professional-grade tweezers for plucking hairs, and an angled brush to brush eyebrows up and into place.
The Aftercare Is Easy
Montez has a few simple rules for post-wax care: “Once you’re finished waxing, calm your skin with aloe vera. I store it in your fridge so it’s extra cooling and soothing. Make sure you keep the area as clean as possible for 48 hours. You can mostly do your regular skin routine, however, do not exfoliate for 48 hours. Make sure to wear a non-comedogenic sunscreen that won’t give you breakouts. Don’t touch the area, don’t go out in the sun for an extended amount of time, and try to avoid sweating if you can for 24 hours.”
Our Pick: HANALEI COMPANY Aloe Soothing Gel is cooling, refreshing, and calming on skin—plus it helps balance out redness.
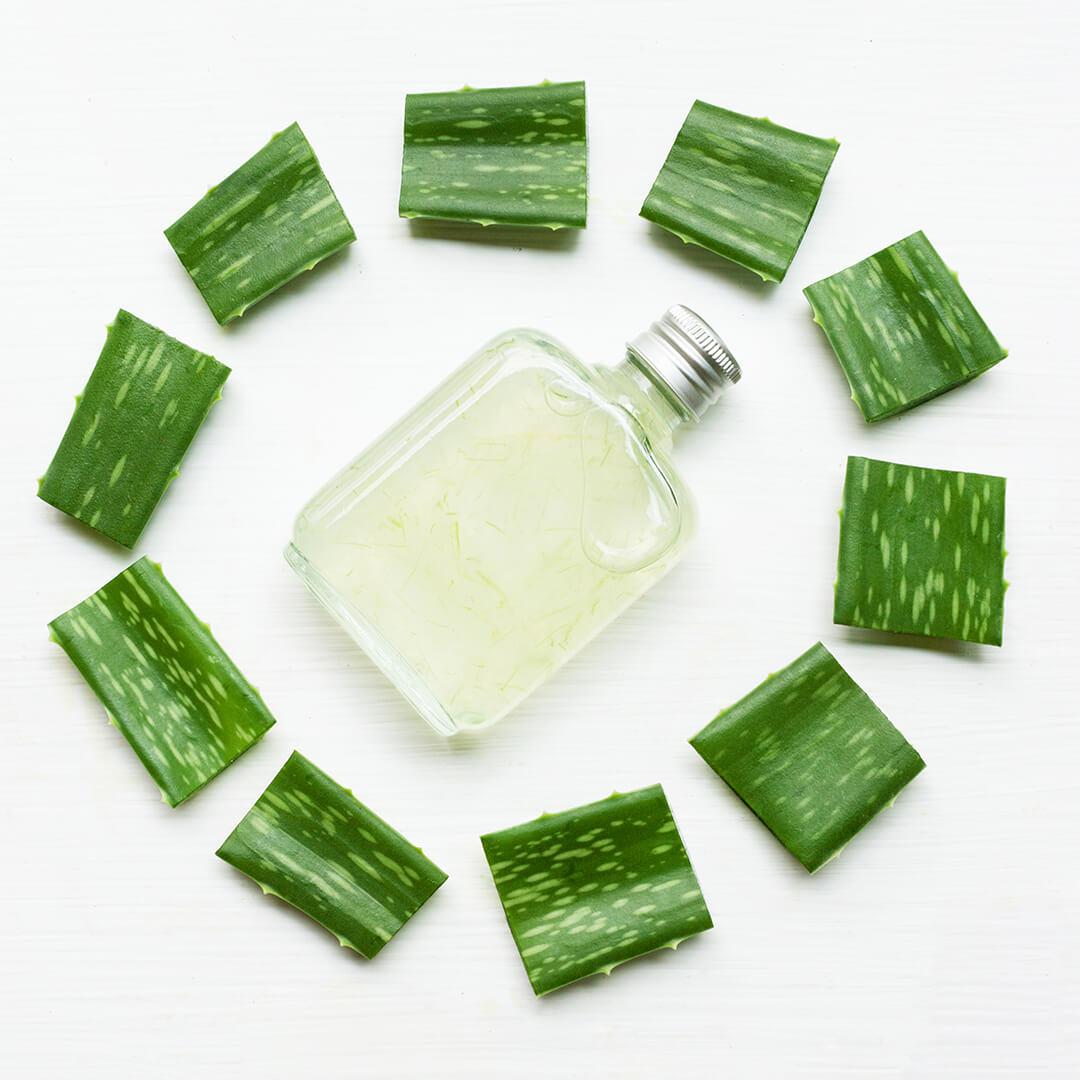
Photo by Bowonpat Sakaew / EyeEm / Getty Images
When You Shouldn’t Wax Your Brows
Montez says you should avoid waxing or consult with your dermatologist if any of the below apply to you:
If you are on any sort of acne treatment, whether it be a topical treatment or an oral pill, talk to your dermatologist before waxing to make sure waxing is safe for your skin.
If you are using retinol, Retin-A, or tretinoin, do not wax your skin as these products make your skin highly sensitized.
If you have been in the sun for an extended period of time—even if you are not sunburned—do not wax your skin for at least 5 days. The sun also makes your skin highly sensitized.
If you have recently had a chemical peel or any sort of strong exfoliation, do not wax and ask your aesthetician or dermatologist how long you need to wait before waxing.
Want more brow products and pro tips? Take our Beauty Quiz now to get started. Already an Ipster? Refer your friends to earn points, which you can use toward products. Either way, don’t forget to check us out on Instagram and Twitter @IPSY.
Like this article? Share it with your friends by clicking the icons below!
Liked this post? Share!
Related Stories


Makeup
The Best Hybrid Beauty Products for Low-Effort Routines
5 min read


Makeup
How to Recreate Zendaya's Glowing Makeup From “The Odyssey” Premiere
3 min read


Makeup
We're in Our Eyeshadow Era—These 10 Looks Make It Easy
6 min read


Makeup
CLINIQUE Just Turned Black Honey Into a Full Collection
3 min read


Makeup
MARC JACOBS BEAUTY Is Back—Here's What I Really Think
4 min read


Makeup
A Bombshell Has Entered: Inside Kayda’s ‘90s “Love Island USA” Makeup
4 min read


Makeup
Olivia Rodrigo Is the Blueprint for Modern Pop-Punk Glam
5 min read


Makeup
6 Beauty Brands Reinventing the Packaging Game
4 min read

Beauty Picked Just for You
Get 5 products worth up to $70
Exclusive access to epic deals up to 80% off
Starting at just $15/month. Cancel anytime.