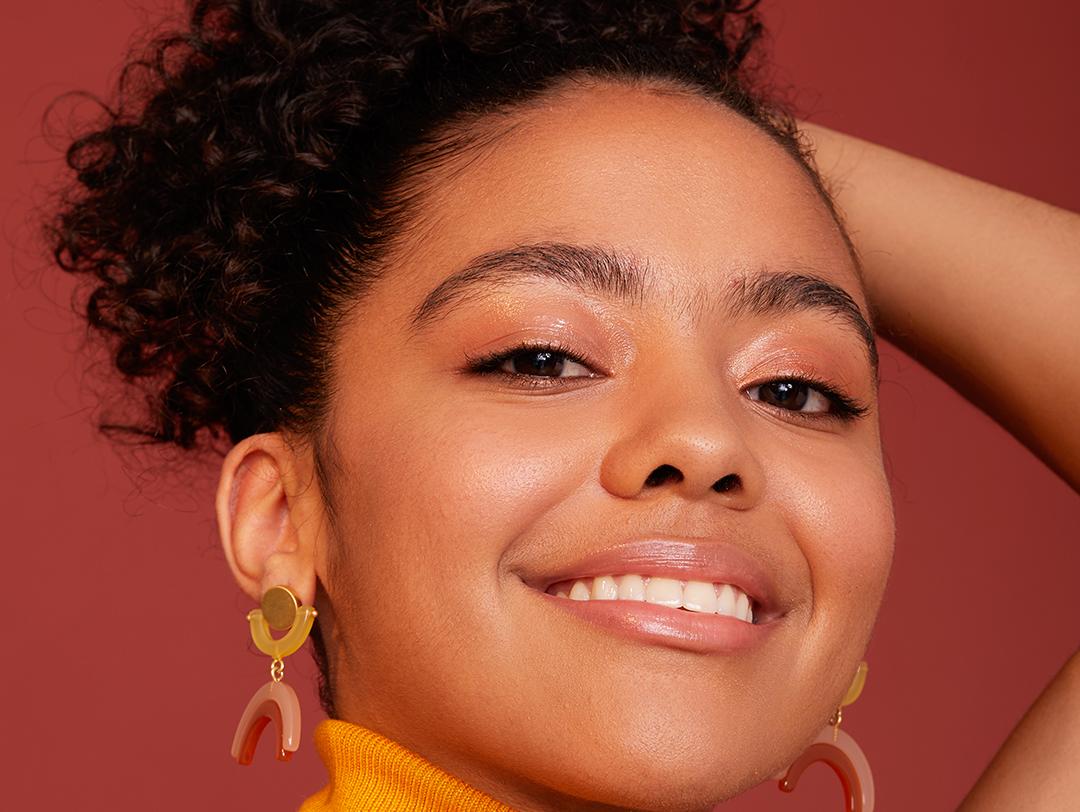
8 Easy Makeup Tips to Look Amazing in All Your Photos


Runa Bhattacharya

In a world where filters are becoming more and more realistic by the minute, it can be pretty tricky to tell the difference between what’s real and what isn’t. So if you’re snapping selfies on repeat, comparing your pics to the flawless skin, chiseled jawlines, and perfect brows you’ve seen all over TikTok and Instagram, it might be time for a scrolling hiatus. Why? Because news flash babe, they’re not all real.
It’s not that we don’t have love for filters, we absolutely do. They can be all kinds of fun and inspire tons of creativity—but the trick to snapping flawless photos doesn’t lie in finding the perfect filter. It’s about taking it back to basics and making your makeup work with your (already!) beautiful face and for the camera. We talked to makeup artist Lori Taylor Davis for eight easy ways to make your makeup look amazing in all your photos.
It's about glam time you treated yourself.
Join IPSY

MEET THE EXPERT
Lori Taylor Davis is the Global Pro Lead Artist for SMASHBOX COSMETICS.
First, Why Doesn’t My Makeup Look the Same in Photos?
Whether you’re snapping selfies, taking pics with your brunch gang, or posing for professional photos, there are a few reasons why your makeup may look like goals IRL and not translate the same levels of fabulous in your photos. For starters, it’s lighting. Flash washes out features. Also, without a professional photographer on standby at all times (how awesome would that be?), there’s no one to bounce light off your face the right way and shoot with the right lenses. Your eyes also process your reflection in a mirror differently than a camera lens so the makeup you applied may look amazing in your bathroom mirror, but barely show up in your pictures. “On shoots, the lighting is sometimes harsh or harder (brighter) than natural daylight so makeup needs to be adjusted to bring out features (eyes, brows, lips, cheeks) of the face,” Davis tells us.
8 Makeup for Photo Tips You Need to Try:
Ready for your close-up? Here are eight of the easiest photo-ready makeup tips and tricks.
1. Prep Your Skin
For skin that looks smooth, dewy and gorgeous under the flashing lights, skincare is everything. “Cleanse and exfoliate your skin and apply a lightweight, hydrating moisturizer,” says Davis. HERBIVORE Pink Cloud Soft Moisture Cream helps target treat dry, dehydrated skin without leaving behind a greasy feel and exacerbating shine.
2. Pick a Primer
While a dab of concealer may be all you need to camouflage flaws in everyday life, the key to looking flawless in your photos is to start with a good primer. “Because the camera tends to pick up flaws and texture in the skin, it’s very important to prep the skin prior to applying makeup, Davis tells us. Davis recommends looking for a primer that addresses your skin’s specific needs. “Primers that cancel redness are great to even out skin and make it easier for you to choose a foundation that is your perfect match. Primers that give the skin a subtle glow are perfect for skin that sometimes can look dull in photos. Primers that add hydration are amazing to rid skin of flaky texture and ensure that the skin is smooth and able to receive makeup,” according to Davis. One of her go to’s? SMASHBOX Photo Finish Primerizer + Hydrating Primer that helps create a smooth, silky base for your foundation.
3. Find Your Foundation
Think you need a heavy-duty, full coverage base for photo-ready makeup? Nope. As it turns out, less still is more. “Natural foundations that are not overly matte, give the skin natural luminosity, and are undetected in photos are best,” says Davis. Need something with SPF? Just make sure it’s flash-approved (sometimes labeled “HD”) or the sunscreen in it can alter the way your skin tone looks.“Applying a foundation that has a high SPF that is not photo friendly is the most common mistake people make,” according to Davis.
4. Ace Your Base
When it comes to applying foundation for photos, there are a few common mistakes that a lot of us make. “Apply foundation in natural light, don't overdo it by packing on more than you need. The camera has a way of picking up layers on your face giving a mask-like look to the complexion. Use your fingertips to dab some foundation on your cheeks, chin, the bridge of your nose, and forehead. Start off with a light application and add only where you need more coverage,” Davis says.
5. Sculpt Your Cheeks
Next, it’s time to wake up those cheekbones. Davis suggests using a contour palette to give your face some depth and dimension. And for blush and bronzer? “Choose naturally warm tones. Think sunkissed, nothing overly bold or muddy,” says Davis. You want to focus on warming up your complexion to look glowy in your photos.
6. Sweep Eyeshadow
An important tip from Davis: “ Choose one feature to accentuate. Try not to use bright colors on the eyes, cheeks, and lips all at the same time.” One way to make those already gorgeous eyes stand out? Make your eyes pop by playing up their shape and size with your eye makeup. “Apply eyeshadow, making sure to shape out your natural crease, and line your eyes with a soft brown or warm grey shadow to create dimension. Then, apply mascara to top and bottom lashes,” Davis recommends. Focus your eyeliner on your upper lids, avoid going heavy on your lower ones (this can actually make your eyes look smaller), and accentuate dark circles. Opt for matte finish eyeshadows over glittery and shimmery ones. And always say yes to a fluttery set of false lashes. Focus your lashes on the outer corners of your eyes, to elongate and lengthen your eyes.
7. Groom Your Brows
Repeat after us: “Brows are your besties.” Whether you’re a fan of the fluffy boy brow, elongated arches, laminated brows, or the perfectly sculpted look, giving your brows some pre-photo shoot TLC is something you won’t ever regret. “Fill in brows naturally and use your natural shape as your guide, but be careful to not go too heavy or too dark,” says Davis. Brows looking a little sparse? Here’s an easy guide to help you fill them in.
8. Show Lip Love
Give your lips something to smile about. “Create the look of full lips by using a lip pencil that is a shade deeper than your natural lip color, being sure to apply it along your natural lip line. Apply lipstick in a natural shade two shades darker than your own lip color. Finish with lip gloss for a full pout,” Davis adds. We love IL MAKIAGE Waterproof Lip Liner because it comes in a ton of flattering shades and lasts through a day-long photo sesh.
Want more tips on how to look fab in all your photos—#nofilterneeded?Take our Beauty Quiz now to get started. Already an Ipster? Refer your friends to earn points, which you can use toward products. Either way, don’t forget to check us out on Instagram and Twitter @IPSY.
Like this article? Share it with your friends by clicking the icons below!
Liked this post? Share!
Related Stories


Makeup
The Best Hybrid Beauty Products for Low-Effort Routines
5 min read


Makeup
How to Recreate Zendaya's Glowing Makeup From “The Odyssey” Premiere
3 min read


Makeup
We're in Our Eyeshadow Era—These 10 Looks Make It Easy
6 min read


Makeup
CLINIQUE Just Turned Black Honey Into a Full Collection
3 min read


Makeup
MARC JACOBS BEAUTY Is Back—Here's What I Really Think
4 min read


Makeup
A Bombshell Has Entered: Inside Kayda’s ‘90s “Love Island USA” Makeup
4 min read


Makeup
Olivia Rodrigo Is the Blueprint for Modern Pop-Punk Glam
5 min read


Makeup
6 Beauty Brands Reinventing the Packaging Game
4 min read

Beauty Picked Just for You
Get 5 products worth up to $70
Exclusive access to epic deals up to 80% off
Starting at just $15/month. Cancel anytime.