Here’s How To Bake Your Makeup Like A Pro


Runa Bhattacharya

Want to flex your makeup skills like a pro? Makeup baking is where it's at (and nope, none of it involves tossing your beloved beauty products into a hot oven). A quick scroll through your social media feed is all it takes to see a slew of celebs and influencers alike baking their makeup for a flawless, long-lasting, matte finish. And while its popularity has spread, it's important to know that makeup baking certainly isn’t a new makeup skill. The layered makeup technique has actually been around for years and gained popularity within the drag community before it was adopted by celeb makeup artists and beauty YouTubers alike. “Baking is a favorite technique for use on performers (like dancers, singers, and drag queens) that need their makeup to last for hours on stage, under bright lights or in a dark club environment,” says makeup artist Nick Lujan.
Even though makeup baking has become widely popular for creating a face that looks flawless AF, even the most skilled beauty aficionados, and TikTok beauty hack devotees might not know what exactly baking makeup entails, are hesitant to try it, or just haven’t seen how makeup baking can seriously level up any look. So, what’s cooking with the latest makeup trend? It all comes down to the powder. Makeup baking involves setting your concealer with loose powder for a poreless, crease-free, matte look. The good news? You don’t need to brush up on your skills in the kitchen to master this popular technique. Here’s what you need if you’re planning on putting your best baked self(ie) forward.
Need a visual? This makeup baking tutorial is everything:
It's about glam time you treated yourself.
Join IPSY

MEET THE EXPERT
Nick Lujan is a makeup artist and Director of Education & Artistry at KEVYN AUCOIN BEAUTY.
Okay, So What Exactly is Baking?
“Baking is a technique that was developed in the earlier years of makeup by artists that used heavier grease and oil-based makeup,” says Lujan. “It was a necessity to set makeup and prepare the canvas for other powder products like blush, sculpt powders, and bronzers.” Lujan also adds that “Baking is a method of using a shine and oil-absorbing loose powder to set the makeup, but also layered on thick to adjust color and highlight.”
The actual "baking" occurs when you let the powder sit for five to 10 minutes after you’ve put on the rest of your makeup. During this time the heat from your face will allow your makeup to oxidize and it will set your foundation and concealer, while the excess powder absorbs any oil. Once you’re all cooked, all you have to do is brush away the excess powder and bask in your baked beauty. The result? A polished, non-cakey finish that will avoid creasing and look airbrushed to perfection. Trust us: there’s nothing that compares to a perfectly baked face.
Who is Baking Useful For?
Anyone and everyone with any skin type can bake. That’s the beauty of it. But, the technique does work best if you’re going for a full-face, “Go big or go home,” glam effect. If you’re opting for minimal makeup, or an au naturale look, you might want to skip out on the baking. Baking is best for those who want to lock down a full face of foundation for the long haul and keep it from transferring, sweating off, or settling into creases. “Although it is best suited for full glam looks, a modified version of the technique can be used daily,” says Lujan.

What You’ll Need to Get Baking
Here’s a list of seven ingredients that you’ll need to bake your makeup
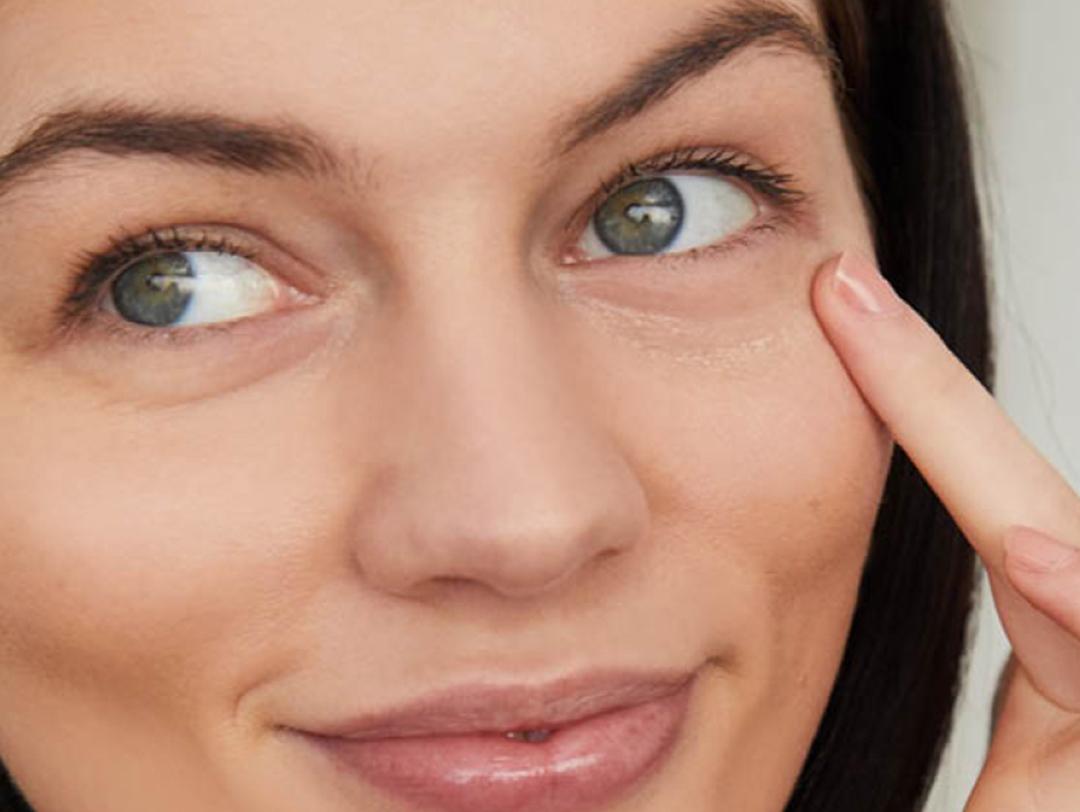
1. Eye Cream: Moisture is key. Before you begin applying makeup you’ll want to ensure the skin around your eyes is smooth and moisturized, especially because you’re going to apply a lot of powder to that area in the baking process. Apply a hydrating eye cream, like Ipster favorite GOLDFADEN MD Bright Eyes, to plump up the area beneath your eyes and help minimize fine lines.
2. Foundation: Since baking is all about layering one product on top of another to achieve a flawless finish, the first layer of makeup that touches your skin is just as important as the last – and a full-coverage base is essential to the process because it evens out your complexion. “In the makeup application, baking takes place after you have finished applying all your liquid and cream complexion products (foundations, concealers, cream or liquid blushers, sculpts & highlights), “ says Lujan, Baking is only effective in setting liquid products, so you’ll want to opt for a liquid foundation. If you’re unsure of how to apply foundation, here’s a quick refresher.
3. Concealer: Concealer is one of the most important ingredients on our list. A liquid concealer will not only minimize dark circles and imperfections, but it’ll set the stage for baking. If the translucent powder is the head of the kitchen, think of your concealer as the sous chef. Opt for a full-coverage liquid option, like Ipster fave SMASHBOX COSMETICS Studio Skin Flawless 24 Hour Concealer.
4. A Makeup Sponge: Makeup sponges, like SLMISSGLAM Sparkle Everyday Glam Beauty Sponge, allow you to apply your foundation, concealer, and powder evenly. A makeup sponge is also the main tool you’re going to reach for when it comes time to begin the baking process.
5. A Fluffy Makeup Brush: A powder brush is key to sweeping away the excess powder after you're done baking. For a full list of our favorite powder brushes, check out our complete guide: or, try Ipster favorite COMPLEX CULTURE Press & Set • Bronzer Brush.
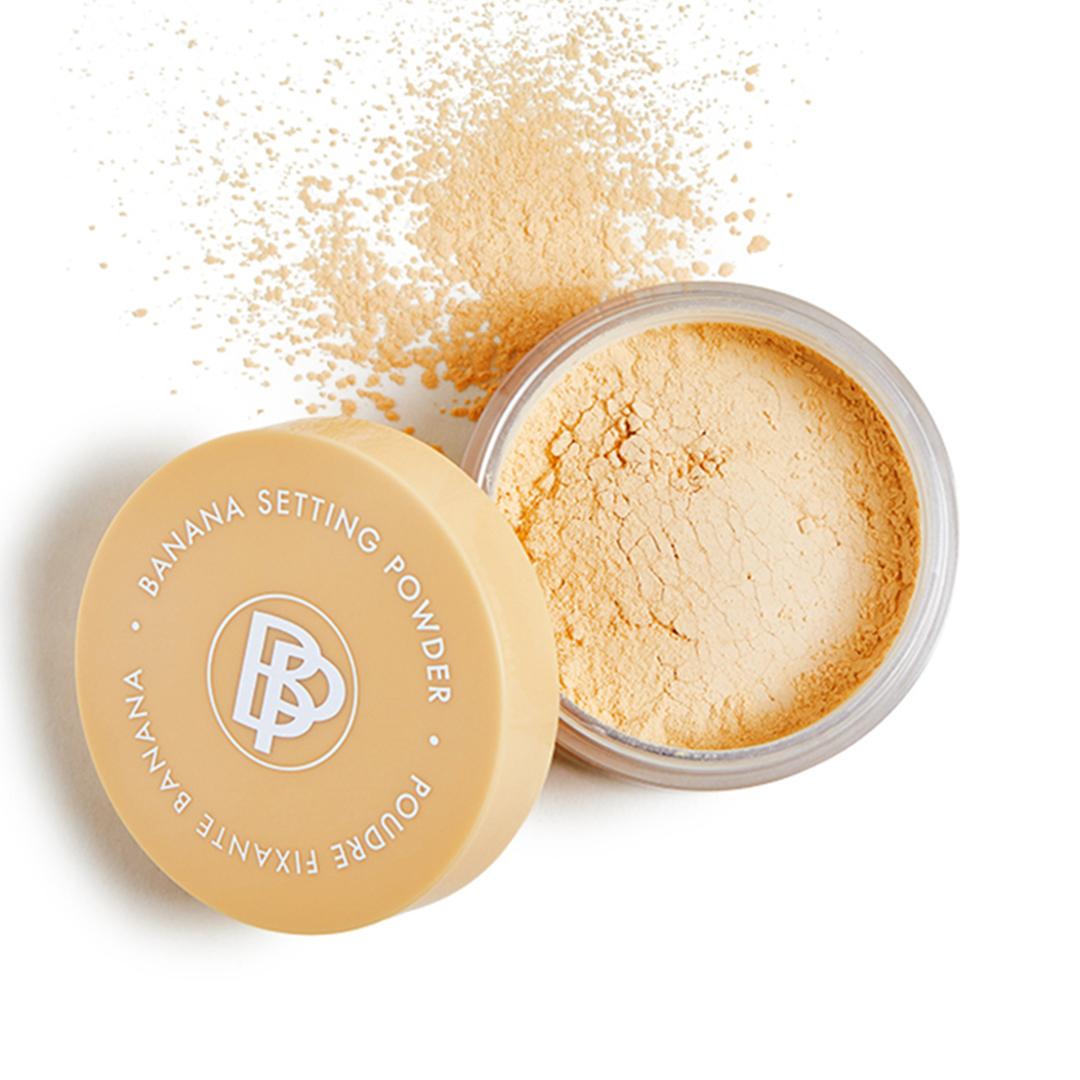
6. Setting Powder: It’s impossible to bake makeup without a setting powder to set your glam. A finely milled powder will allow your makeup to melt seamlessly while giving you that major matte finish you’re after. “Avoid powders that are shimmering. You want to bake with a matte finish powder,” according to Lujan. Pro tip: “Avoid powders that are too light, yellow or peach in color. Try to find a powder closest to your skin tone or maybe one shade lighter,” Lujan recommends. Try KEVYN AUCOIN BEAUTY Loose Setting Powder.
7. Setting Spray: In order to ensure your makeup stays put without creasing or caking you’ll want to reach for a setting spray (like TARTE Double duty beauty™ Shape Tape™ Stay Spray Vegan Setting Spray). “Finish with a setting spray to bring some life and glow back to the skin,” says Lujan. “ To add glow at the end, use a setting spray first, let it set. Then apply your favorite powder or gel highlighter,” Lujan adds

How to Bake Your Makeup
Step 1: Apply your eye cream.
Hydration is key to a successful baking session, so start by applying an eye cream beneath your eyes. Use your ring finger to gently dab in your cream, concentrating on the area beneath your eyes (which is commonly prone to dryness).
Step 2: Apply your foundation.
Use a damp makeup sponge to evenly dab and blend your foundation. Not sure how? We walk you through how to use a makeup sponge for flawless foundation in our complete guide to using a makeup sponge.
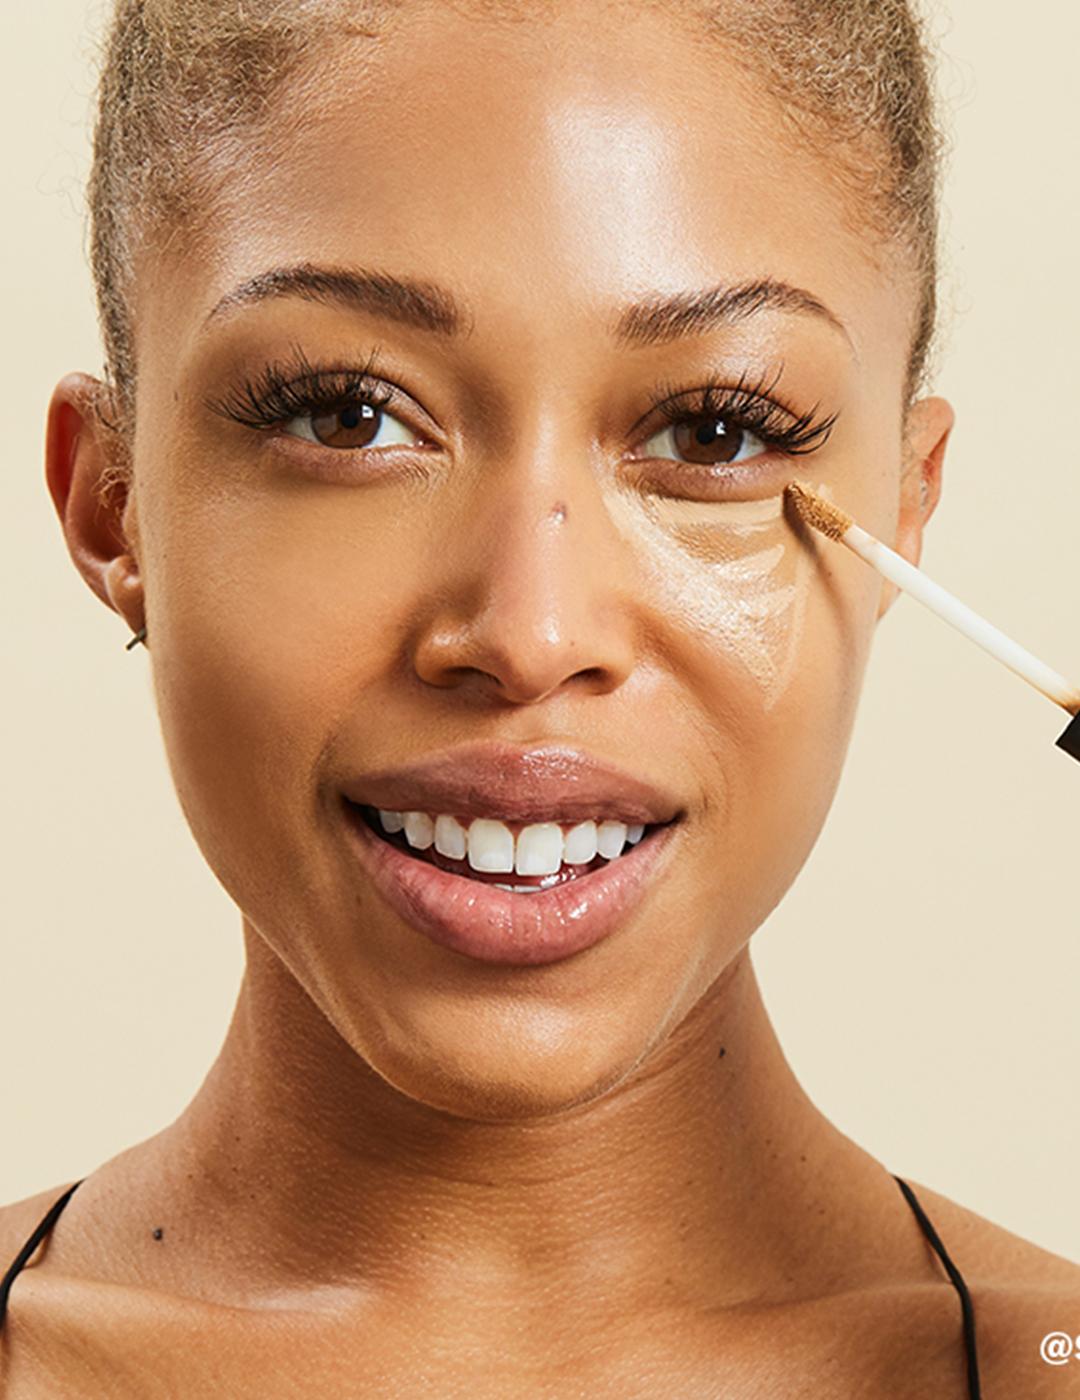
Step 3: Conceal under your eyes.
Apply a thick layer of concealer in the under-eye area in the shape of an inverted triangle, and use the damp tip of your makeup sponge to gently blend it in. Blend the concealer upward, extending past the edge of your eye towards your temples as you would a highlighter if you want to create a more lifted look with your eyes. While one thick layer of concealer should suffice, if you’re going for full-on glam or want to emphasize any of your contouring, your best bet is to apply a second layer of concealer over the first and blend.
Step 4: Apply loose powder.
Pour your powder into the powder lid so you can control how much you tap onto your sponge. “Start the baking process with a thin veil of loose powder over your entire complexion. Apply with a large powder brush and very light pressure, so as not to move or lift your makeup,” says Lujan. Then, move on to your eyes. “Load a sponge or puff with an excess of loose powder. Gently press the powder starting under the eyes and moving towards the temples,” Lujan recommends. Don’t rub it in, simply let it sit on top of your makeup. You’re going o need a generous amount. “Repeat the process under the cheek sculpt and anywhere else you would like to highlight (like your forehead, bridge of the nose, corners of the mouth),” Lujan says. We know– you look like you have flour all over your face (but it's about to be so worth it!).
Step 5: Bake.
“Allow the powder to sit and “bake” for a bit. This is the perfect moment to apply more powder sculpt, blush, or work on a different feature (like your eye makeup and lips),” says Lujan. Leave the powder on your face for 5-10 minutes. Your body heat will allow the makeup to “bake” or oxidize, while the powder soaks up excess oil and ensures the makeup underneath doesn’t crease or budge.
Step 6: Brush off excess powder.
After you’re fully cooked, it’s time to remove the excess powder. “Use a fluffy powder brush to dust off the baking powder and soften edges of any other powder products applied,” Lujan recommends. Take your powder brush ( a nice, soft fluffy brush) and dust away the translucent powder on your face in a gentle flicking motion, then blend in circular motions to avoid any harsh edges.
Want to learn how to create flawless makeup like the pros? Take our Beauty Quiz now to get started. Already an Ipster? Refer your friends to earn points, which you can use toward products. Either way, don’t forget to check us out on Instagram and Twitter @IPSY.
Liked this post? Share!
Related Stories


Makeup
The Best Hybrid Beauty Products for Low-Effort Routines
5 min read


Makeup
How to Recreate Zendaya's Glowing Makeup From “The Odyssey” Premiere
3 min read


Makeup
We're in Our Eyeshadow Era—These 10 Looks Make It Easy
6 min read


Makeup
CLINIQUE Just Turned Black Honey Into a Full Collection
3 min read


Makeup
MARC JACOBS BEAUTY Is Back—Here's What I Really Think
4 min read


Makeup
A Bombshell Has Entered: Inside Kayda’s ‘90s “Love Island USA” Makeup
4 min read


Makeup
Olivia Rodrigo Is the Blueprint for Modern Pop-Punk Glam
5 min read


Makeup
6 Beauty Brands Reinventing the Packaging Game
4 min read

Beauty Picked Just for You
Get 5 products worth up to $70
Exclusive access to epic deals up to 80% off
Starting at just $15/month. Cancel anytime.