The Must-Have Types of Makeup Brushes & How to Use Them


Elizabeth Denton


As you dive into the world of makeup, it can be easy to feel a bit lost amidst the array of makeup brushes. There are so many! And understanding makeup brushes and their applications is important because it can elevate your beauty game to the next level. But fear not. We’ve got you covered, from blending foundation and concealer to applying highlighter and eyeshadow—even for beginners.
The best makeup brushes are ones you will actually use. So, don’t worry if you use different ones from your fave makeup artist. To wit, foundation brushes, like flat or buffing brushes, are perfect for achieving that flawless base, but some prefer to dab the product on with a sponge like a Beautyblender. It’s all about preference. That’s why we’re giving you all the details you need to sift through all the types of makeup brushes and find out what works best for your routine.
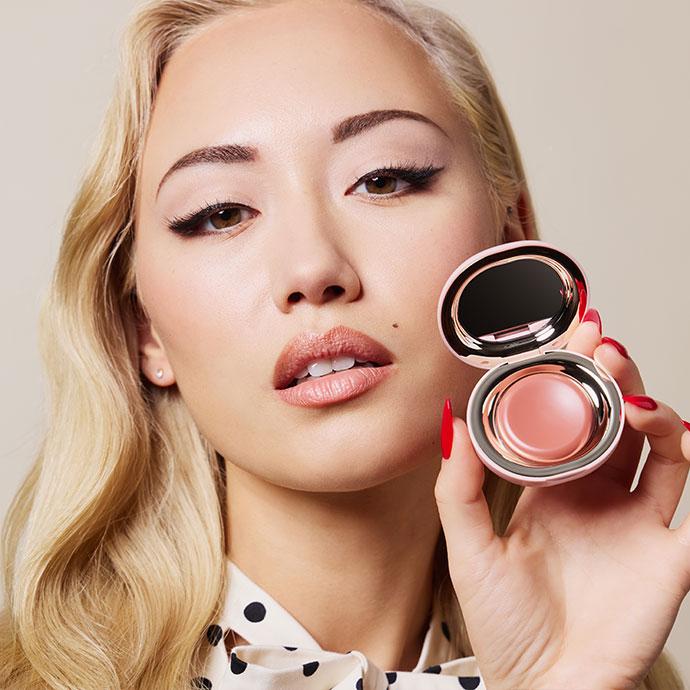
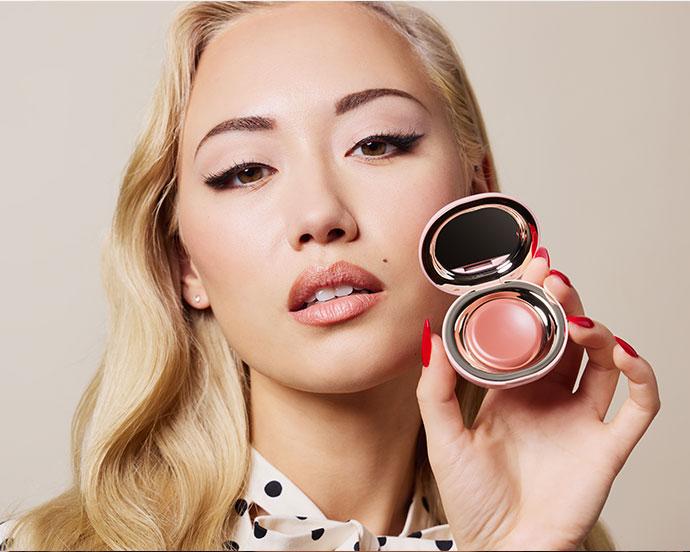
It's about glam time you treated yourself.
Join IPSY

Face Brushes
Foundation Brush
A foundation brush is meant to apply your base face makeup, usually your foundation or CC/BB cream. A good foundation brush makes your makeup look seamless, with minimal effort required on your part. There's a different type of foundation brush for each foundation formula: powder foundation brushes, for example, have a wider brush head and fluffy bristles, while liquid foundation brushes typically have dense bristles and a narrower brush head for a full-coverage finish.
The F.A.R.A.H Flat Foundation Brush 615F, for example, has densely-packed bristles that are perfectly designed for applying cream foundation and liquid foundation with ease. It’s our go-to for that flawless finish that looks like you don’t have any makeup on at all.
How to Use It
There are two different ways to use a foundation brush to apply liquid or cream foundation. For the first method, simply dab the foundation onto your forehead, cheeks, chin, and onto the bridge of your nose with your fingers. Then, blend the product in using your foundation brush, moving in circular motions for a seamless finish.
For the second method, dip the bristles into the foundation directly, and then apply the product onto your forehead, cheeks, chin, and nose, blending as you go. Alternate between sweeping motions (to spread the product across your face) and circular motions for precise application and blending. Remember, less is more—start with a small amount of foundation, and you can always add more if you need it.
For more tips on how to apply foundation with a foundation brush, check out our guide to applying foundation like a pro makeup artist using the COMPLEX CULTURE Angled Foundation Brush, our favorite for getting into the areas around our hairline and jawline.
Bronzer Brush + Blush Brush
Good news! You can use the same brush for bronzer as you do for blush (just make sure to wipe it off in between). A bronzer brush and blush brush looks quite different from your liquid foundation brush—the bristles are a little fluffier, and it typically has a more rounded or oval brush head. This brush is designed to add some color to your skin, whether you choose to apply blush, bronzer, or both. Look for one with super soft and fluffy bristles, like ROYAL & LANGNICKEL CHIQUE™ RoseGold Blush Brush, to distribute your blush and bronzer evenly.
How to Use It
Swipe the brush into your blush or bronzer and tap gently to release any excess product. If you're applying blush, sweep the brush across the apples of your cheeks, blending in circular motions to spread the product evenly. For bronzer, you'll want to apply your product in the shape of the number three: start at your forehead, swoop down to your cheekbones, and then down to your jawline. Repeat on the other side. Then, swipe some bronzer on the apples of your cheeks and the bridge of your nose, too. This will mimic where the sun naturally would hit your face.
Powder Brush
A powder brush has light, fluffy bristles that aren't densely packed like a foundation brush. It's designed to be used with pressed or loose powder products, like setting powder, finishing powder, powder foundation, and powder highlighter. The size of your powder brush will depend on where you want to apply your product—a big, fluffy brush is great for the forehead and cheeks, whereas a smaller one with denser bristles can set tinier, harder-to-reach spots, like under your eyes or on the tops of your cheekbones.
THE BEAUTY CROP Fineapple Powder Brush F203 is an IPSY member fave because it’s a super versatile (and cruelty-free!) brush with soft synthetic bristles that can be used to apply all your powder makeup products with ease.
How to Use It
The beauty of a powder brush is you can use it with almost anything, as long as it's a powder product. Just dip it in or swirl across the powder, gently tap off the excess product, and swipe the brush across your face wherever you want to apply the pigment. You can also use it to touch up shiny spots on your T-zone throughout the day.
Contour Brush
Bronzer and contour are different. One is meant to warm up the face (like to fake time in the sun), and the other is to sculpt the face. Because of the differences in makeup application, you’ll want to use a different type of brush for contouring. A contour brush is thinner than a typical powder brush and is used to define your cheekbones, jawline, and nose.
They typically feature angled or tapered bristles, like the HIPDOT Contour Brush. Our go-to has soft, sheared bristles to provide a natural-looking contour application and can be used with powder, cream, and liquid makeup products.
How to Use It
Dip the brush head into your bronzer or contouring powder or cream and sweep it right underneath your cheekbones (in the hollow of your cheeks) or underneath your jawline. Blend lightly, in small, circular motions, to buff away any harsh edges and to make the color look more like a shadow instead of a line. For more tips on contouring and how to get a makeup artist-worthy sculpt, check out our guide to contouring like a pro.
Concealer Brush
You don’t need a concealer brush (you have fingers) but we like it for applying full-coverage concealer all around the eye area to cover dark circles and other hyperpigmentation. It generally has a small brush head with densely packed bristles and a tapered shape at the end for getting into smaller areas. That also makes it great for quickly covering blemishes.
How to Use it
Instead of applying concealer right to your face, which can lead to a cakey finish, apply a little to your hand and use the concealer brush to pick up a small amount. Dab it onto your face and blend, applying more as needed.
Eyeshadow Brushes
Angled Brush
An angled brow or eyeliner brush is our go-to for everything from grooming our brows to nailing our winged liner look. An angled brush like the BILLION DOLLAR BROWS Eyebrow Brush does double duty; use the angled brush end to apply brow or eyeliner product, and the spoolie end to smooth and blend afterwards. Bonus: you can even use the spoolie end to brush through your eyelashes after applying mascara for clump-free eye makeup.
How to Use It
To use an angled eyebrow brush, simply dip it into any cream or gel product and make tiny strokes along your brows to fill in sparse spots and shape your arches. For eyeliner, dip your brush into cream or gel eyeliner or eyeshadow and line your upper lash line, flicking it out to a wing once you reach the outer edge of your eye (see our complete guide to winged eyeliner for more info!).
Flat Eyeshadow Brush
A good flat eyeshadow brush is a must for any eye makeup look. The flat dense bristles help pick up shadow pigment and give a stronger color payoff (meaning more intense color!). We love the ELIZABETH MOTT All Over Shadow Brush—it helps us grab the pigment to deposit it exactly where we want it.
How to Use It
Dip the flat side of your brush into your eyeshadow and dab the bristles on your eyelid, starting at the inner corner and moving outwards. Add another layer if you want a darker look. For more info on how to apply eyeshadow in a few easy steps, check out our guide to applying eyeshadow.
Blending Brush
The blending brush is the opposite of the flat shadow brush. Instead of applying the pigment, you want to blend it out so there are no harsh lines. The dome-shaped bristles of a blending shadow brush helps disperse eyeshadow. It’s sometimes called a crease brush since it can be used to blend shadow into the crease of your eyelid.
How to Use It
Use a windshield wiper motion to blend eyeshadow, starting with the lightest shade and adding darker hues to deepen the look. Be sure all the edges are soft and diffused for a seamless finish. We love the RUBY Eyeshadow Blending Brush as a beginner-friendly way to apply and blend color in the inner corner of your eye, eye crease, and lower lashline.
Want in on all the IPSY fun? Take our Beauty Quiz now to get started with your own IPSY beauty subscription. Already an IPSY member? Refer your friends to earn points, which you can use toward products. Either way, don’t forget to check us out on Instagram and TikTok @IPSY.
Like this article? Share it with your friends by clicking the icons below!
Liked this post? Share!
Related Stories


How-To
Skin Barrier 101: How to Repair Summer-Stressed Skin
4 min read
How-To
How to Apply Cream Blush Without Overthinking It
5 min read
How-To
The Secret to Better-Looking Makeup Isn’t What You Think
6 min read
How-To
Got a Cut on Your Face? Here’s How to Help It Heal Without Scarring
4 min read
How-To
Why Everyone’s Scent Stacking Right Now
4 min read


How-To
How to Treat Yourself: 39 Simple Self-Care Ideas
15 min read

How-To
Here’s How to Build Your Perfect Skincare Routine for Both Morning and Night

How-To
10 DIY Face Masks That Are Expert-Approved & Actually Work

Beauty Picked Just for You
Get 5 products worth up to $70
Exclusive access to epic deals up to 80% off
Starting at just $15/month. Cancel anytime.