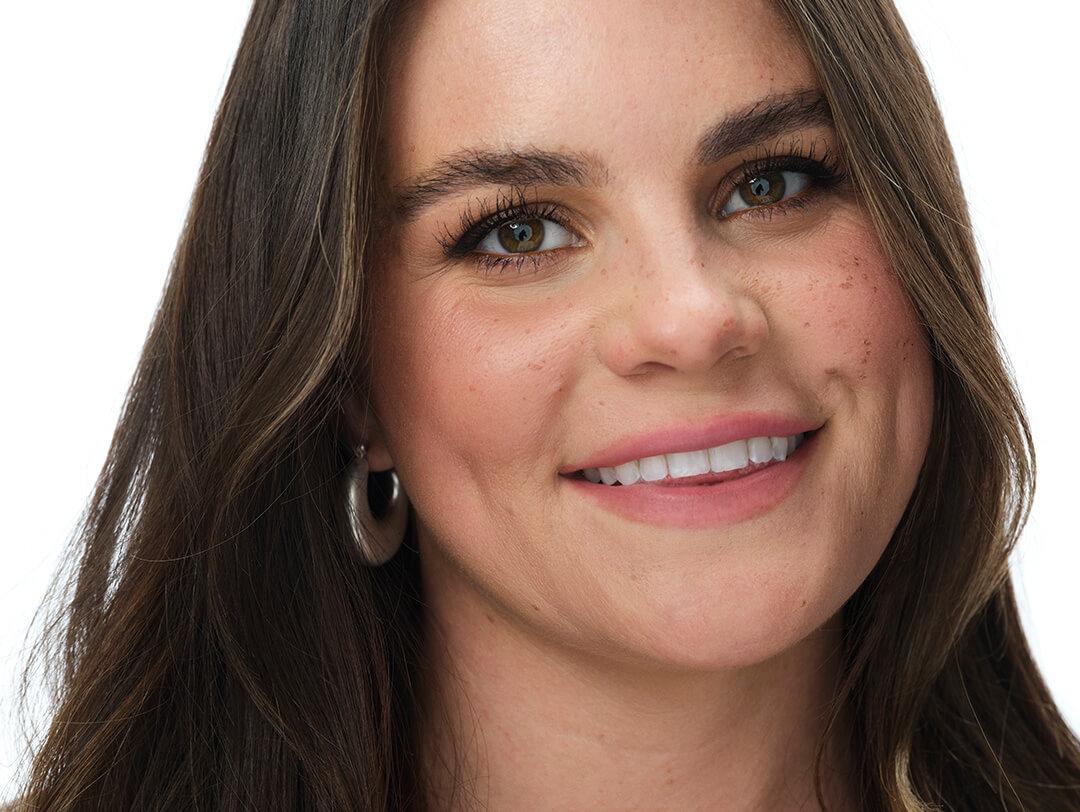
The Correct Order to Apply Your Makeup for Photo-Ready Perfection


Dahvi Shira

You’ve bought the best-selling makeup products, you’ve nailed all the TikTok hacks and tutorials—now, one problem remains: What’s the correct makeup application order? It can change depending on what makeup look you’re going for, but for the sake of this article, we’ll stick to a full face of everyday makeup. “Applying products in a strategic order will maximize the benefit of each product, creating an overall polished makeup application,” explains makeup artist T'ai Rising-Moore. “This especially refers to applying creams or liquids before powders to avoid muddying the application.”
Keep reading for a detailed, step-by-step breakdown of the best makeup application order for everyday makeup.
It's about glam time you treated yourself.
Join IPSY

MEET THE EXPERT
Lucy Gargiulo is a freelance makeup artist with more than 14 years of experience in the film and television industry.
T'ai Rising-Moore is an LA-based makeup artist who specializes in ads and editorial.
The Easy-to-Follow Makeup Application Order From Experts
Step 1: Prep Your Skin
While skincare isn’t technically part of your makeup application process, any expert or enthusiast will tell you it’s key to ensuring your makeup goes on and stays on, smoothly.
“This sets the base for healthy skin and long-lasting makeup application,” says makeup artist Lucy Gargiulo. “Layer your products from lightest to heaviest: serums, moisturizer, sunscreen/SPF. Make sure you allow time for each product to absorb fully into your skin for the best results.”
Echoes Rising-Moore, “Prioritizing your skincare will lead to a naturally radiant complexion. Without proper skin prep, the makeup looks less natural on the skin.”
If you’re not a big skincare girlie, even just a little from one of our favorite moisturizers will go a long way.
Step 2: Prime Your Eyelids
Much like the rest of your face, you’ll want to prime your lids to secure your makeup in place. This can be done with a brush or finger.
If you want a separate eye primer, we recommend our highly reviewed LOVE+CRAFT+BEAUTY Eyeshadow Primer. And Gargiulo says if you’re in a rush and need a two-in-one item, she always opts for tinted eyeshadow primers, which work like a cream shadow and primer in one and come in a variety of shades. “They are an amazing base or a shortcut if you’re looking to cut down steps,” she raves.
Whether you opt for the primer or a two-in-one cream shadow, the pro says cream products can be applied with your finger or a soft flat or fluffy makeup brush.
Step 3: Apply Shadow

Regardless of which creamy base you choose to apply, you can now apply any powder-based eyeshadow products over your eyes.
“Layering powder over cream can amp up the colors of your eye and make sure the eye look lasts all day,” Gargiulo says. If you’re new to eyeshadow palettes, we recommend starting with a neutral palette that includes enough bold and transition shades to create a seamless look. We’re huge fans of R.E.M. BEAUTY Midnight Shadows Eyeshadow Palette in Babydoll, thanks to its wide range of shades and ultra-blendable formulas that feel as light as a feather but pack a punch of color.
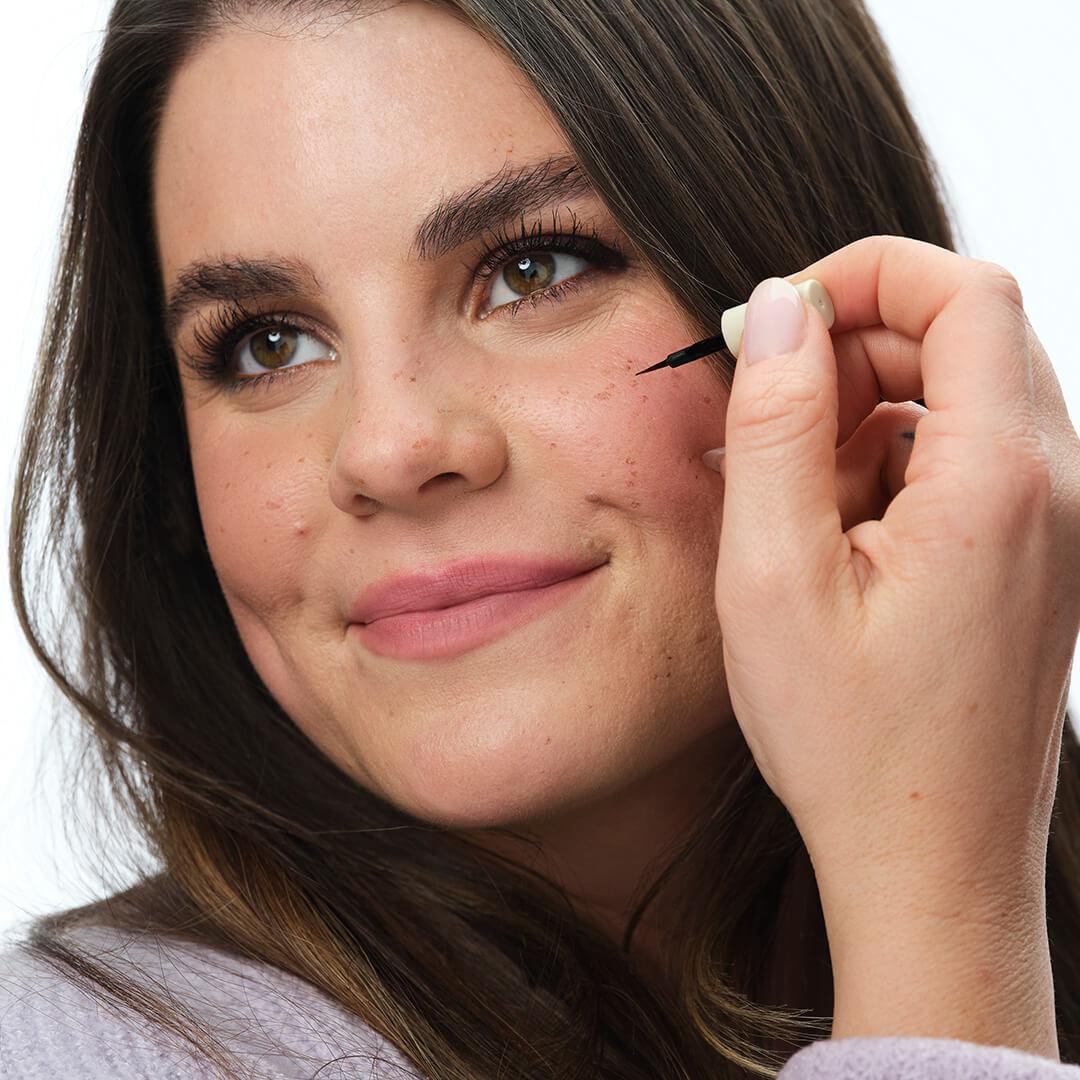
Step 4: Swipe on Eyeliner
Your choice in eyeliner is totally up to you. You can opt for a liquid eyeliner to create sharp shape and cat eyes, you can opt for a pencil liner that gives you a little more flexibility to smudge and blend out the pigments. You can also just use a deeper eyeshadow and a precision brush to swipe on some definition near your lashes. Whatever you decide, Gargiulo has a great tip to make sure it stays put.
If you want your liner to last, Gargiulo says you’ll once again want to layer—on both the lash line and waterline. “Layering eyeliner with a powder over the base can create a really nice depth, or a sparkly pop of color over your normal liner to mix things up for a special occasion,” Gargiulo says.
Step 5: Curl Lashes and Add Mascara
Lash curlers are optional in our opinion, but if your lashes don’t easily curl with mascara, we recommend them for an extra flare. We love the ARACELI BEAUTY Lash Curler.
Next, you’ll apply mascara. “Work the mascara from root to tip of lashes in a wiggling motion for best results,” says Gargiulo. “You can use a lash primer for extra thickness and volume before you add the mascara if desired.” While primer is optional, you can’t go wrong with the legendary BENEFIT COSMETICS They’re Real! Tinted Lash Primer.
Step 6: Fill in Your Brows
No matter the shape or thickness of your brows, filling them in gently with powder or brow pencil, and setting them with a brow gel makes them look defined and polished. “The brows really frame your face, so you’ll see your look coming together now,” says Gargiulo. “Once you’ve done this step you can go back and pump up any of the eyeshadow if you think it’s needed.”
We’re fans of the BENEFIT COSMETICS Precisely, My Brow Eyebrow Pencil. The thin size allows for the application of hair-like strokes. As for gel? WINGME COSMETICS Brow Gel keeps brow hairs in check and delivers a soft, flexible hold that never feels stiff or crunchy. “Brush brow hairs up and to the side with the gel spoolie,” Rising-Moore instructs. “While the brow gel sets, focus on the skin.” Once the gel has set, you can reshape it into place with a dry spoolie.
Step 7: Apply Makeup Primer to Your Face

This is when you can grab a makeup wipe or dab some remover onto a pad and swipe off any fallout from your eye makeup. Then it’s time to prime the face similarly to how you did your lids.
“Depending on your desired look, you can choose the best primer for glowing skin, color correcting, a matte finish, and so forth,” Gargiulo says. “Primer lays the base for lasting, polished skin. The reason I recommend doing eyes before foundation is so you can wipe away any fallout from the eyeshadow and have a clean, smooth base.” A primer of choice? You can’t go wrong with a tried-and-true! The TOO FACED COSMETICS Hangover Replenishing Face Primer has been a years-long mainstay, and we’re still fans.
Step 8: Apply Foundation and/or Concealer
Now that your skin is prepped, Gargiulo suggests working your foundation into a big duo-fiber brush or your fingers, and applying it onto your face starting in the center and working outwards.
“If you don’t want to use foundation, you can skip that step and go in with only concealer for a more natural look or to cover blemishes or dark circles. Apply your concealer where needed and let it sit for a second. Then, buff it into your skin with your favorite concealer brush or by tapping it in with your fingers. Under-eye color-correcting products can be used before foundation or with the concealer step, depending on what feels best for you.”
If you are applying foundation, Gargiulo says using fingers or hands will offer the most natural, sheer finish, while a sponge will provide the most full coverage.
“My favorite thing is completing my foundation and concealer, then going in with a clean, damp BEAUTYBLENDER sponge to give a final pat down and make sure the skin is looking flawless. You can then use this same sponge to blend out your creams in the next step.”
Step 9: Apply Bronzer and Blush
If you’re going for everyday makeup, a full contour routine isn’t necessary. You can lightly swipe the apples of the cheeks with blush, while grazing the hollows of your cheeks with a medium bronzer. Our personal everyday picks are the PIXI BEAUTY Fresh Face Blush for a soft, sunkissed glow, and the iconic BENEFIT COSMETICS Hoola Matte Bronzer for a touch of the tropics.
Step 10: Lock It in With Setting Powder
Regardless of skin type or skin tone, Gargiulo is a huge proponent of the BYTERRY Hyaluronic Hydra-Powder, which comes in both pressed and loose powder. While some powders can give off the appearance of cakey or dry skin, this product keeps skin looking hydrated. She instructs to tap the powder in with either a big fluffy bush or a powder puff.
Step 11: Apply Your Lip Products

Ahh, we’ve reached our favorite part of the process—lip application. This deep into your makeup routine, you’re bound to have some crusty dusties on your puckers, so take a makeup wipe or washcloth and satisfyingly swipe them clean. Gargiulo says you can use lip liner before or after any lip color to define the edges. Honestly, if we had to pick one lip liner, it would be none other than a classic: the mauve-toned M·A·C COSMETICS Lip Pencil. It’s a beautiful, versatile, year-round neutral we keep with us at all times.
As for lipstick? Since we’re talking everyday makeup here, you can’t go wrong with the BOBBI BROWN COSMETICS Crushed Lip Color, thanks to its pinky-beige shade and soft, silky formula. “Lip oils, tints, and lip balms are also amazing for a more low-maintenance style,” says Gargiulo.
Step 12: Add Any Extras
Nowadays there are no limits to our everyday self-expression. Gargiulo says this is the part in your routine when you can add your bells and whistles. “Add any adornments and jewels, freckles, or added extras now to add some sparkle or extra flare to your look,” she says. “Remember that makeup should be fun, so play around to see what works best for you.”
Oh, and last but certainly not least, don’t forget to lock in the final look with setting spray!
Want in on all the IPSY makeup fun and more? Take our Beauty Quiz now to get started with your own IPSY beauty subscription. Already an IPSY member? Refer your friends to earn points, which you can use toward products. Either way, don’t forget to check us out on Instagram and TikTok @IPSY.
Like this article? Share it with your friends by clicking the icons below!
Liked this post? Share!
Related Stories


Makeup
The Best Hybrid Beauty Products for Low-Effort Routines
5 min read


Makeup
How to Recreate Zendaya's Glowing Makeup From “The Odyssey” Premiere
3 min read


Makeup
We're in Our Eyeshadow Era—These 10 Looks Make It Easy
6 min read


Makeup
CLINIQUE Just Turned Black Honey Into a Full Collection
3 min read


Makeup
MARC JACOBS BEAUTY Is Back—Here's What I Really Think
4 min read


Makeup
A Bombshell Has Entered: Inside Kayda’s ‘90s “Love Island USA” Makeup
4 min read


Makeup
Olivia Rodrigo Is the Blueprint for Modern Pop-Punk Glam
5 min read


Makeup
6 Beauty Brands Reinventing the Packaging Game
4 min read

Beauty Picked Just for You
Get 5 products worth up to $70
Exclusive access to epic deals up to 80% off
Starting at just $15/month. Cancel anytime.