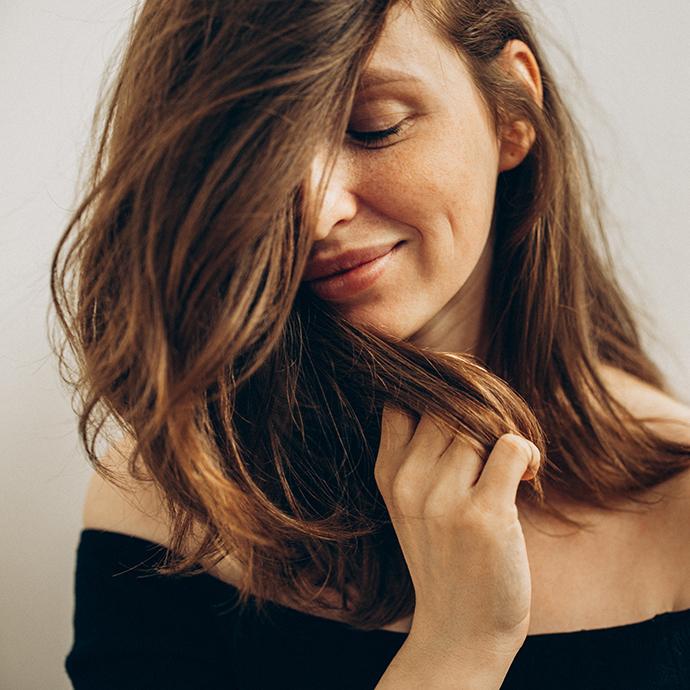
How to Crochet Braid, Step-by-Step
IPSY Editors


Crochet braiding is an easy, fun, and stylish technique that not only looks great, but gives your natural hair time to heal.
Because there’s no heat or chemical styling involved, you won’t have to worry about regular touch-ups or a visit to the salon often. It’s a low-maintenance, protective style that will last you a good one to two months.
The best part? It’s a technique that’s totally doable from the comfort of your own home. All you’ll need are a few simple products, a chunk of free time, and maybe a friend or two to lend a helping hand.
Read on for our DIY tips for getting salon-worthy crochet braids at home!
It's about glam time you treated yourself.
Join IPSY

What Are Crochet Braids?
While some may use the term “crochet braids” to refer to a specific style, crochet braids are actually a method for attaching synthetic hair to your own. The technique gets its name from–you guessed it–the crochet needle used to add hair extensions.
This means that unlike a weave, crochet braids are loose, meaning the hair extensions are not sewn in. They’re simple looped underneath your cornrows using the aforementioned crochet needle (or latch hook) and tied to your natural hair with a knot.


The Benefits of Crochet Braids
Much like box braids, faux locs, and Senegalese twists, crochet braiding is a heat- and chemical-free method of protective styling. This means it’s a great technique to choose if you’re worried about damaging your natural hair or simply want to give your hair a break.
However, crochet braiding is significantly faster than many of these other traditional protective styles, and relatively simple to master. As long as you know how to cornrow, you can crochet braid (and because the extensions cover up your cornrows, they don’t even have to be that neat!).
Beyond the hair benefits, crochet braids are a super versatile way to wear your hair. They can be worn short, long, or even multi-colored, depending on the hair extensions you choose. And because there’s no visit to a hair salon or stylist involved, you can change up your look frequently and affordably, whenever you want.


What Do I Need for Crochet Braids?
To easily crochet hair at home, all you’ll need are a few simple products:
A boar brush – boar bristle hair brushes add volume where desired and prevent hair frizz. The CURLISTO Medium Boar Bristles Brush is our pick for a fantastic brush to curl and style all hair types and lengths.
Hair clips – use these fun pink clips by CAKE BEAUTY for a pop of color–and, of course, a firm hold–during the cornrow part of the crochet braiding process
A comb – we recommend the CURLISTO Finger Comb for a hair styling tool that you won’t drop or lose track of during the braiding process. It’s also specially designed for curly hair, so won’t break or damage your curls.
A crochet hook – the hooks the whole look is named after, these hooks help braid real or synthetic hair into your own. They’re of course an essential tool when it comes to braiding your hair extensions.
Synthetic hair pieces – there are many different synthetic hairstyles to choose from for your crochet braids. Depending on your preference, you can get short or long pre-curled hair, water wave hair, tight or loose curls, and small or large curls. You can also play around with colors, both natural-looking and bright. No matter what look you’re going for, we recommend going for two different shades to add dimension and highlights.
A Step-by-Step Guide to Crochet Braids
Creating your own crochet braids might seem like a massive undertaking at first, but don’t worry–we’ve broken down every step of the process into three sections so you can create the crochet braids of your dreams.


Step 1: Create Your Cornrows
Begin by parting your natural hair at the back of your head, so that your hair is split into two sections. Brush out your hair using a boar brush, then clip up the top section of hair with as many hair clips as you need.
Start a cornrow braid at the nape of your neck. Continue braiding until you’ve braided all your hair in the bottom section to a tight zig-zag against your scalp.
Begin another cornrow braid at the side of your head, gathering hair from the front to the back of your hair. Continue the cornrow braid until you can connect both the front and the back sections of cornrows, and connect them by tying them together.
Continue the process by creating cornrows in small sections on the side and top of your head in a zig-zag pattern, using hair clips as needed. Repeat this process as many times as needed until you’ve finished braiding your whole head, connecting adjacent braids by tying them together.


Step 2: Crochet Your Hair
Take your crochet hook in one hand and place it under your cornrow, with the needle part of the hook pointing down.
Grab the synthetic curls or hair you’ve chosen and split it in half.
Hook one half of the synthetic curl into the crochet hook. When the curl is attached, pull the whole crochet hook up and out from under the cornrow so that you create a loop.
Then, take a half piece of the curl and pull it through the loop you’ve just created until it forms a tight knot. When it’s tight against your head, tie both ends of the synthetic curl together so they form a unified bouncy coil.
Repeat the process along the entire length of the cornrow until the cornrow and that section of your scalp are covered with the synthetic hair extensions.
Continue this step on all your cornrows, alternating hair colors as you see fit to add dimension, highlights and lowlights, or a pop of a fun color. As a general guideline, for natural highlights, add a different color between every other curl, and then every other two curls as you go up your head.


Step 3: Cut and Style
Feel free to style your finished crochet braids how you wish! For a simple, stylish everyday look, we recommend trimming out any parts of your crochet-braided hair that are not uniform or that stick out unevenly.
For the finishing touch, squirt a dollop of EVA NYC’s Mane Magic 10-in-1 Mousse into your hand. This foaming mousse is infused with argan oil and baobab to add shine, curl, and volume to your crochet braids, so spread wherever you want to add some extra oomph to your locks. Muss with your fingers and palms until the foam is thoroughly blended into your curls, and you’re all set.


Crochet braids are a fun, and relatively easy-yet-stylish look to achieve. What’s more, not only are they affordable, but they can completely transform your look while protecting your hair and scalp.
While it may take a bit of practice to feel like you’ve mastered the crochet braid, have fun with your style and keep experimenting with different colors, products, and styles. You’ll be a crochet braid expert in no time!
Want in on all the Glam Bag fun? Take the beauty quiz now to get started. And don’t forget to check us out on Instagram and Twitter @IPSY.
Liked this post? Share!
Related Stories


Hair
E.L.F. Just Entered the Hair Chat—Here's Everything in the Collection
3 min read


Hair
Heat Wave? These 12 Summer Hairstyles Are the Move
5 min read


Hair
The Best Bob Cut Haircuts for Every Face Shape, Hair Texture, and Styling Routine
7 min read


Hair
Ultra-Long Hair Is Everywhere Right Now—Here’s Why
3 min read


Hair
13 Blonde Balayage Looks That Prove the Hair Color Trend Is Here to Stay
3 min read
Hair
Brown Hair Color Guide: How to Choose the Right Shade, Undertone, and Style for You
10 min read


Hair
How to Get Slayyyter’s Viral “WOR$T GIRL IN AMERICA” Waves
3 min read


Hair
The Dramatic Wedding Hairstyles We Can’t Stop Thinking About
6 min read

Beauty Picked Just for You
Get 5 products worth up to $70
Exclusive access to epic deals up to 80% off
Starting at just $15/month. Cancel anytime.