Yes, You Need To Clean Your Hair Brushes. Here’s How


Cortney Clift

When was the last time you cleaned your hair brush? Last year? Last decade? A week before the first of never? Pulling caught hair from the bristles of the brush is a great first step, but it shouldn’t be the extent of your cleaning routine.
“It's important to clean your brushes on a regular basis, so they last longer and work to their full potential,” says Tiffany Shibazaki, a master stylist at The Hive in L.A. “You run this grooming tool through your clean hair, so having a clean brush is essential.”
Shibazaki adds: “Cleaning your brush regularly will help get rid of hair, dirt, lint, scalp flakes, and oil that builds up over time.” If you’re shampooing your hair regularly and it still feels dirty and greasy quickly after you brush it, a dirty brush could certainly be the culprit.
Here we’ll be going over how to clean a hair brush step-by-step and providing some expert-approved tips along the way!
It's about glam time you treated yourself.
Join IPSY

How to clean a hair brush, step-by-step
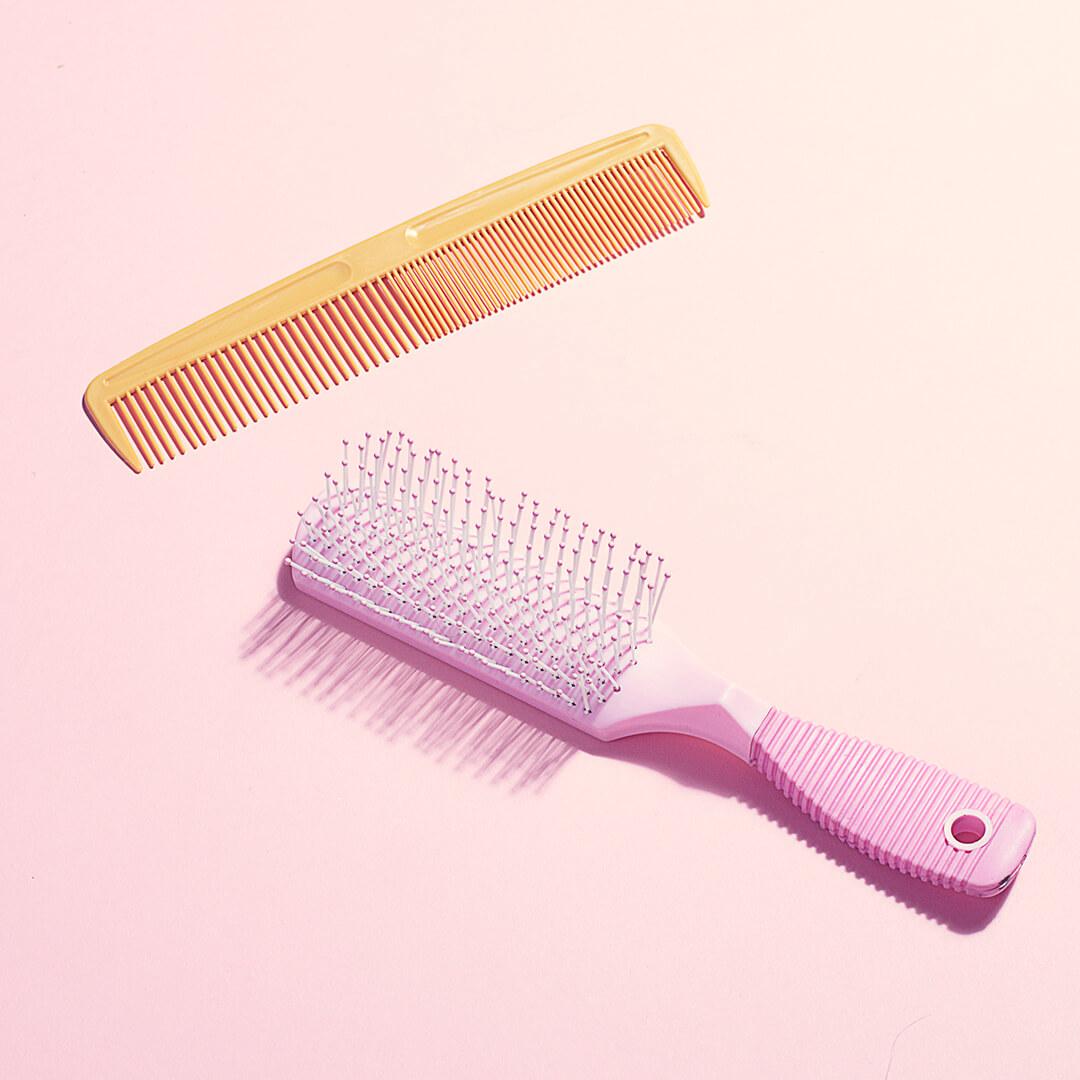
1. Remove the hair.
Whether you’re cleaning a round brush or a paddle brush, the first thing you’ll want to do is remove any hair that’s trapped in the bristles. You can do this by using the end of a rat tail comb, like the PINK PEWTER "Never Let Go" Carbon Fibre Color and Styling Comb. Start by taking the pointed end of the comb, which doubles as the handle, and glide it underneath the trapped hair. Next, lift up so that you can easily pull the hair off and throw it out. Repeat until all the hair is removed.
If the brush has natural bristles, you can also try using the teeth of the comb for swift and efficient hair removal. However, if your brush has ball-tipped bristles, it’s best not to use the teeth as the bristles will likely get caught in the teeth and rip out when you pull.
A few additional tips: To make this step a little easier, try wetting the hairbrush. Water will soften the loose hair and allow it to stick together, making it easier to remove. Also, if there is a lot of hair trapped in the hair brush, you might also consider first using scissors to loosen the hair mass. To do this, snip along the bed of the brush pad, going from the base of the brush to the top. This should help detangle the hair and make it easier to remove with a comb.
2. Create your cleaning formula.
After all the hair strands have been removed from the brush, Shibazaki recommends filling a bowl with warm water and adding a few drops of clarifying shampoo. Clarifying shampoo is particularly great for cleaning brushes because it's specifically formulated to be extra potent and tough on dirt, grime, and product buildup–all things you’re trying to remove from your brush.
If you don't have clarifying shampoo, you can also combine any shampoo with one to two teaspoons of baking soda. You might also try adding a few drops of tea tree oil, which has antibacterial and antifungal properties. Swish the cleaning agents around in the water until soap suds form.
3. Clean your hair brush.
What you do next will vary based on the type of brush you're cleaning. If you have a metal or plastic brush without a padded base, you can submerge it in the soapy water for three to five minutes. If your brush has a padded base or is made from wood, carefully dip the brush bristles in the cleaning formula rather than submerging it fully. You will want to dip, shake, and repeat a few times.
Natural brush bristles (like boars' hair), can handle soaking or a repeated dip-and-shake. To decide which method to go for, defer to the material the brush is made from (plastic, wood, metal, etc.). And remember, if you use a comb to remove hair from your brush, clean that as well as it now also has dirt and grime on it.
4. Scrub with a toothbrush.
As an optional step, you can use a clean toothbrush to scrub the bristles of your brush. To do this, dip your brush's bristles and a toothbrush in the soapy water, then use the toothbrush to scrub the bristles thoroughly. This technique can be used on plastic or natural bristles.
If you’re washing more than one brush, Shibazaki has another insider tip for a thorough cleaning: “Rubbing two brushes together gently will loosen up any extra build-up,” she says. “However, this won't be necessary if you clean your brushes on a normal basis.”
5. Rinse and dry your brush.
Rinse the bristles of your brush to remove any cleaning agents using a clean bowl of water or running water from a sink. Shake excess water from the brush over the sink, and set the brush bristle side down on a clean cotton towel and allow it to air-dry overnight.
If you live in a particularly humid climate, it might be harder for brushes to fully dry. You can ensure that your brush dries by assisting drying with a hairdryer. It's particularly important that wooden brushes and brushes with natural bristles dry fully and in a timely manner, so it could be a good idea to use a hairdryer for these types of brushes. It might also be a good idea to use a hairdryer to dry brushes with a padded base as water can sometimes get trapped underneath and cause mildew and mold.
“It’s good to pull the hair out of the bristles of your hairbrushes at least once a week,” says Shibazaki. Doing this quick practice frequently will keep dirt and grime to a minimum and will allow you to only do a deep brush cleaning about once a month.
Want in on all the Glam Bag fun? Take our Beauty Quiz now to get started. And don’t forget to check us out on Instagram and Twitter @IPSY.
Liked this post? Share!
Related Stories


How-To
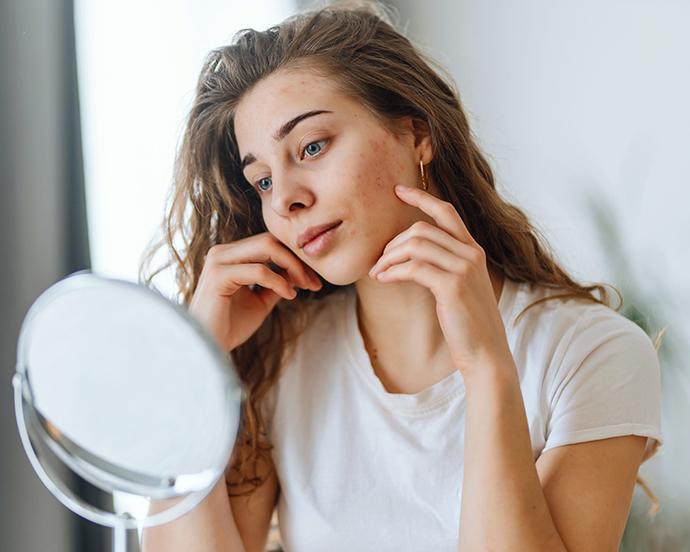
Skin Barrier 101: How to Repair Summer-Stressed Skin
4 min read
How-To
How to Apply Cream Blush Without Overthinking It
5 min read


How-To
The Secret to Better-Looking Makeup Isn’t What You Think
6 min read
How-To
Got a Cut on Your Face? Here’s How to Help It Heal Without Scarring
4 min read
How-To
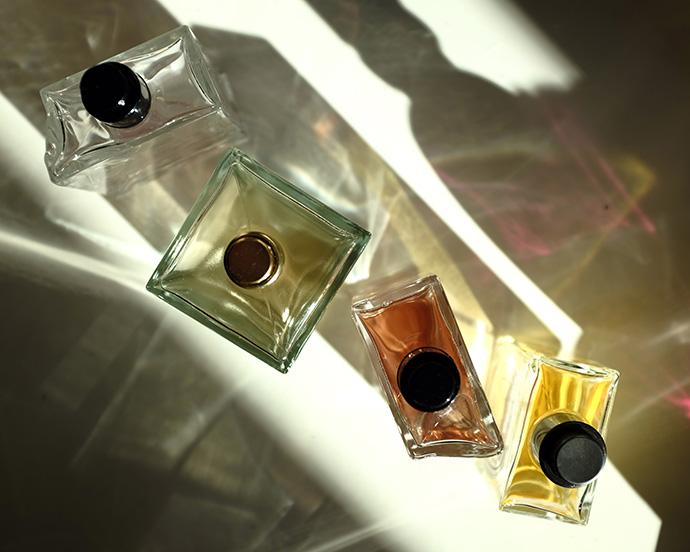
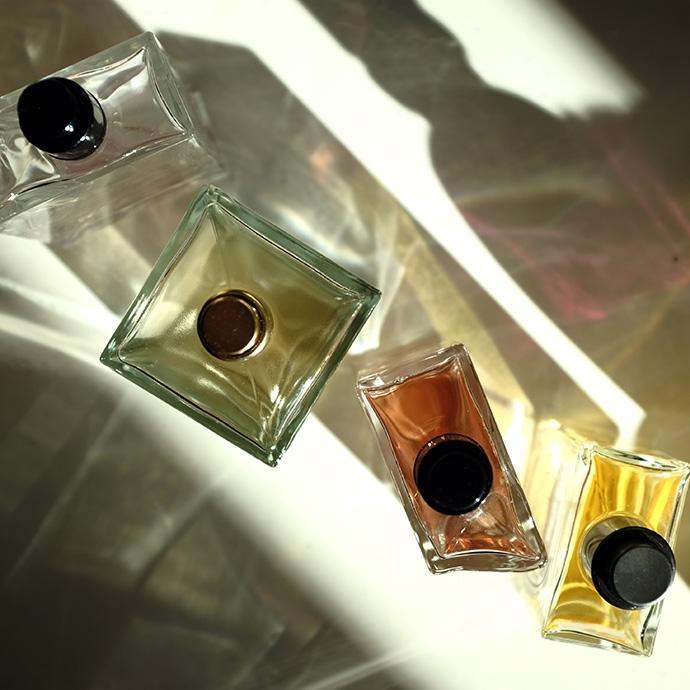
Why Everyone’s Scent Stacking Right Now
4 min read


How-To
How to Treat Yourself: 39 Simple Self-Care Ideas
15 min read

How-To
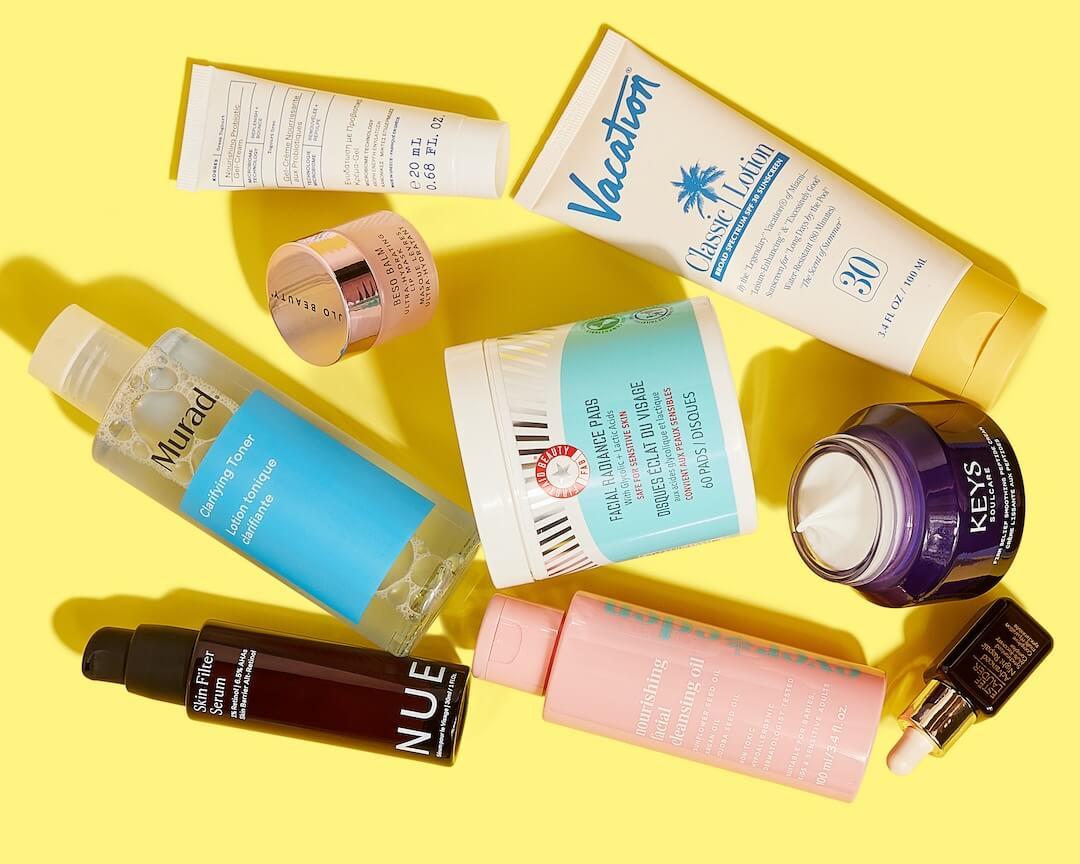
Here’s How to Build Your Perfect Skincare Routine for Both Morning and Night

How-To
10 DIY Face Masks That Are Expert-Approved & Actually Work

Beauty Picked Just for You
Get 5 products worth up to $70
Exclusive access to epic deals up to 80% off
Starting at just $15/month. Cancel anytime.