How to Do a Waterfall Braid with a Floral Twist
IPSY Editors
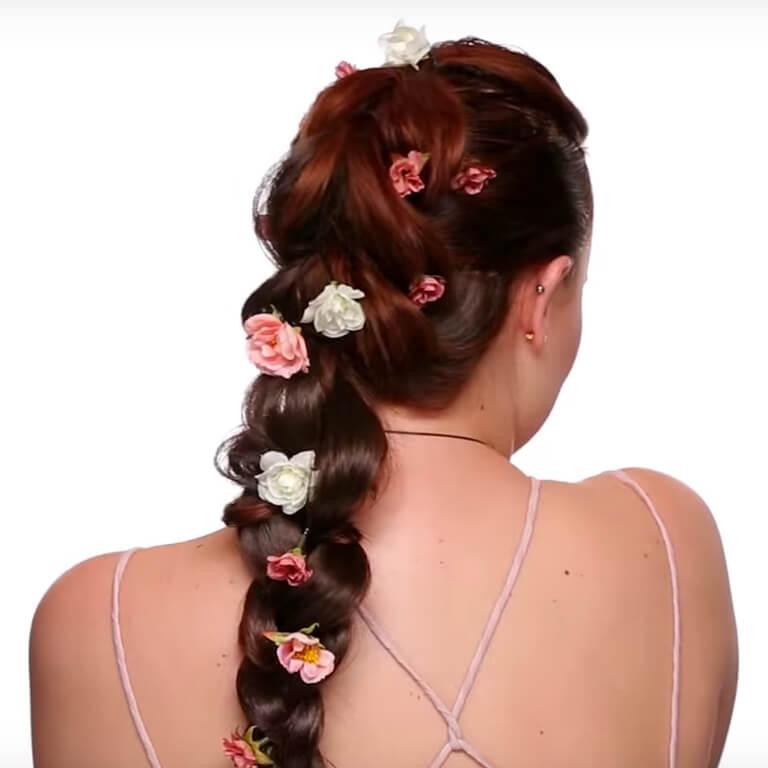

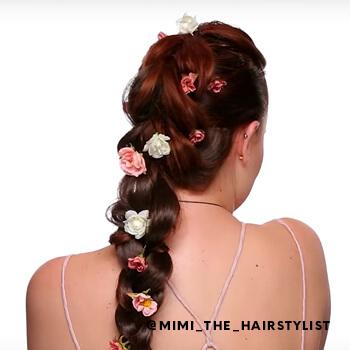
Is there any hairstyle more romantic and photo-worthy than a side-swept waterfall braid? The answer, dear Ipsters, is yes. Because we’ve created a hairstyle so pretty, it’d make your hair stylist swoon.
Our creators love combining different braiding techniques and jazzing them up with accessories for totally unique looks, and this fabulous floral hairstyle is no exception. What we're about to show you borrows bits from fishtail braids, French braids, and of course, traditional braids, for a waterfall effect with flower power like you've never seen before.
Check out this waterfall braid tutorial below for a quick preview, then keep scrolling for step-by-step instructions on how to DIY this sweet and pretty braided hairstyle.
It's about glam time you treated yourself.
Join IPSY

What You’ll Need
Hairspray: First thing's first, grab a multitasking hair spray that'll add body and secure your style. We love the way AVEDA Pure Abundance™ Volumizing Hair Spray feels, with naturally derived bulking agents like acacia gum.
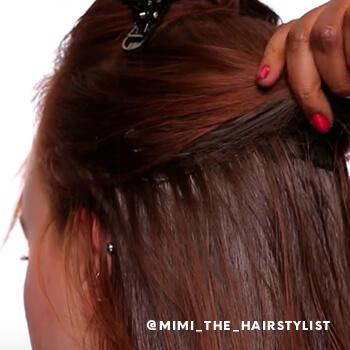
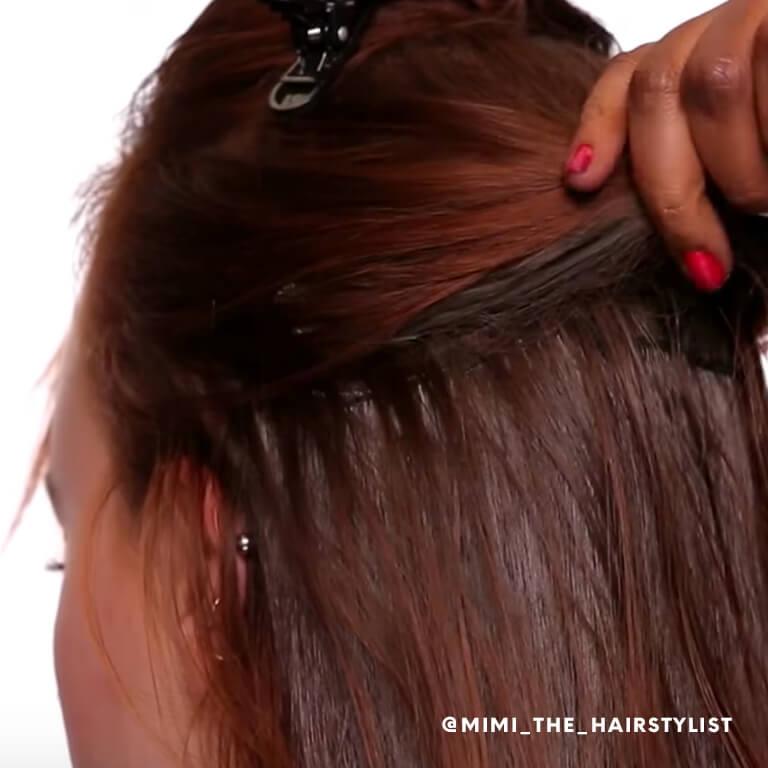
Clip-in hair extensions: You can skip extensions if your hair is already long and thick. But if you have fine or short hair, these SLEEK'E Hair CLIP + GO Remy Hair Extensions — 22" / 120g work like a charm. The set comes with seven pieces, which are more than enough for this look, and they come in TONS of shades so you can find your hair color's perfect match.
Hair ties: For best results, grab a pack of clear elastics. They're more gentle than mini rubber bands, and won't show at all in the finished look.
Comb: Your comb can have wide or fine teeth—the important part is that it has a long tail for styling and parting your own hair and, of course, making it easy to hold. Curlisto's Finger Comb is perfect for detangling and then sectioning your hair.
Hairpins: One can never have too many bobby pins! This textured set from Briogeo Hair Care comes in a container, so they're easier to keep track of.
Floral accents: This is the fun part. You can use fresh blooms if you have them, silk flowers from the craft store, or even just cute pins like this set from Pink Pewter.
Create the Look
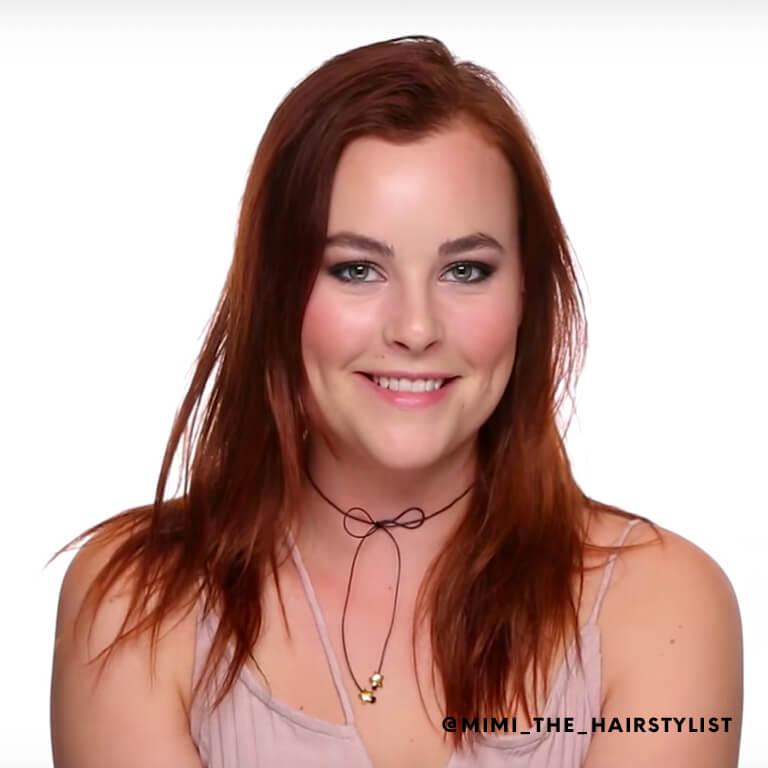
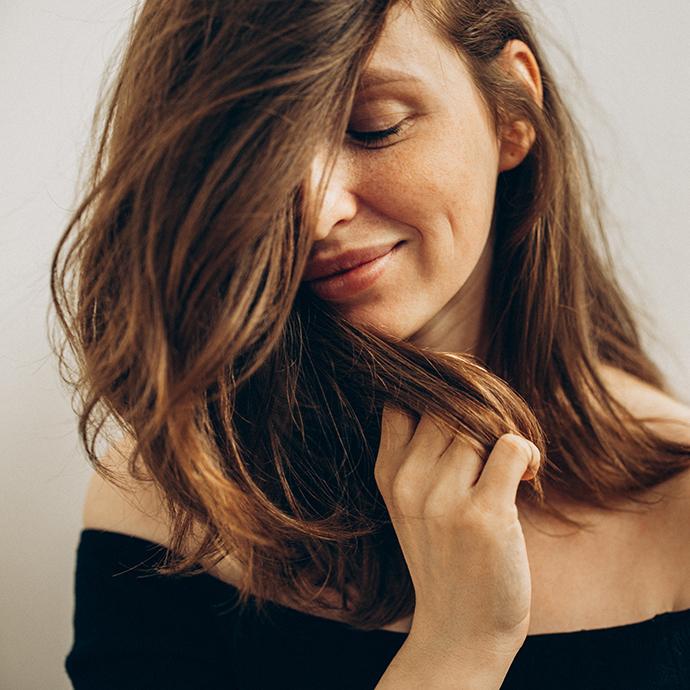
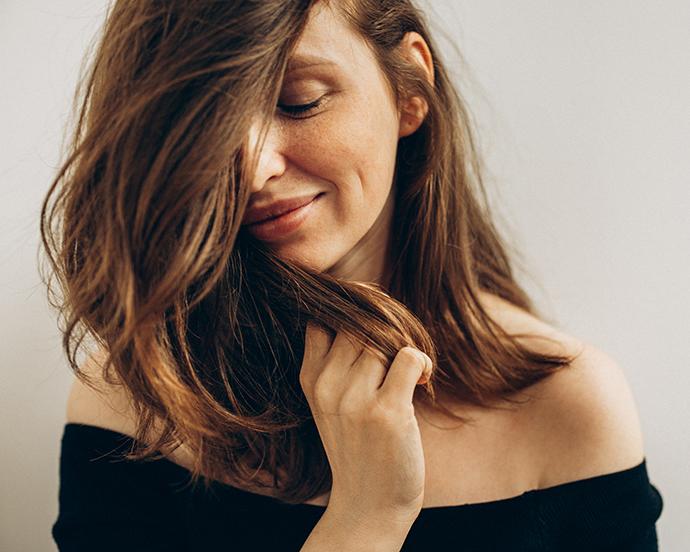
Step 1: Prep your hair. Untangle your strands by hand to keep your natural texture intact, or by brush it out for a smoother look. Have a lot of tangles? Try a detangling spray after showering to make combing–and styling–a breeze.

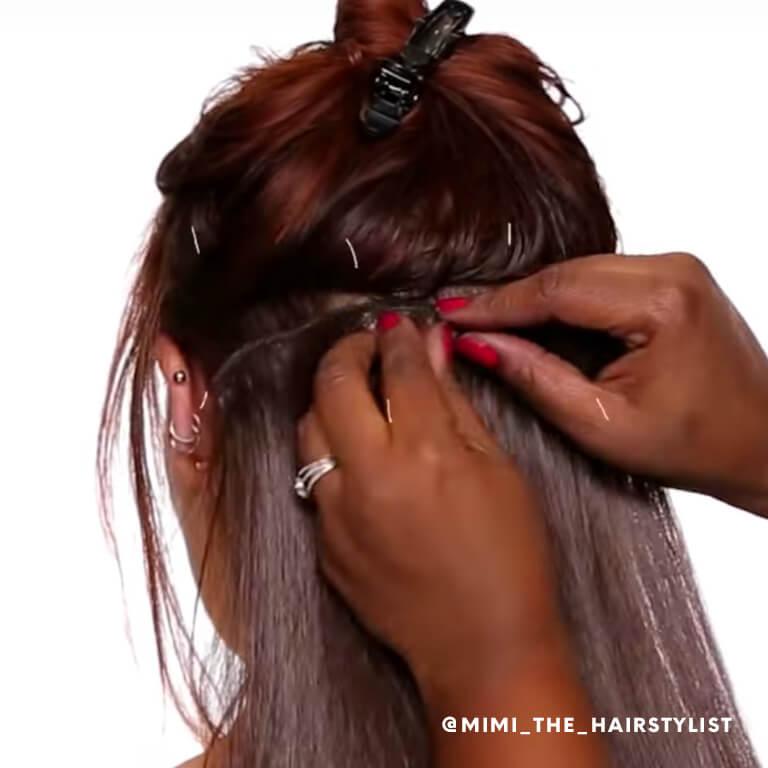
Step 2: Add extensions. Again, this step is optional, but it's always fun having more hair to play with! Using the pointed end of your comb, part your hair horizontally from ear to ear so you have a top section and a bottom section. Secure the top section with a hair tie or sectioning clip, then place the first set of extensions, centering them on the back of your head. Next, use the tail of your comb to take down a small section of hair from the top. Clip in the next set of extensions. Repeat, going up section by section to the highest point at the back of your head.
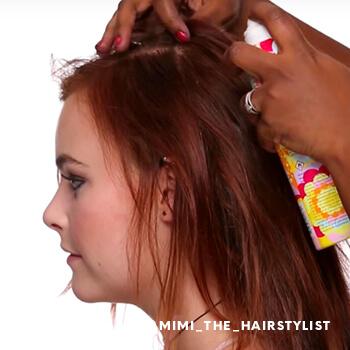
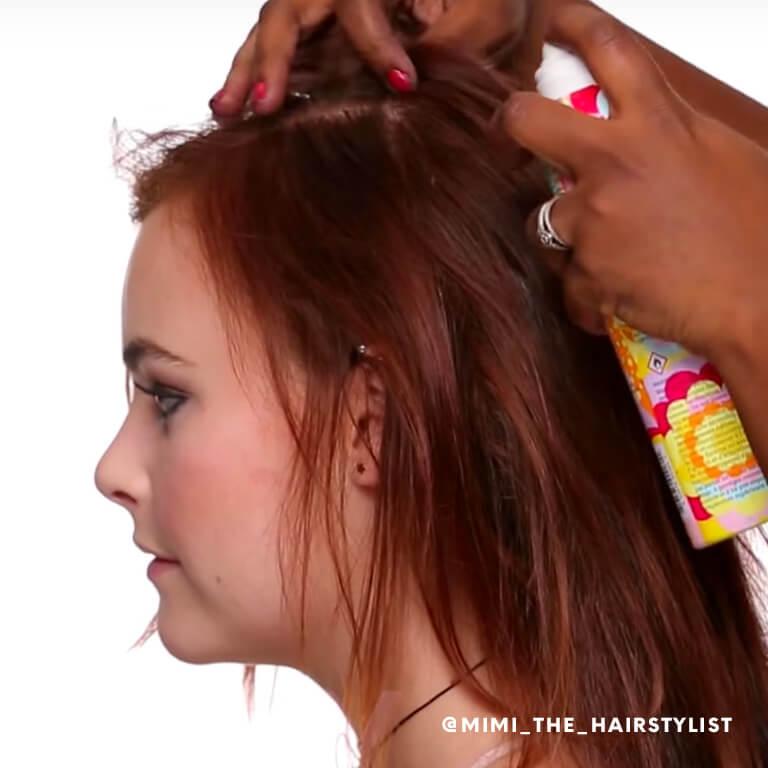
Step 3: Add volume. Undo the rest of the top section and spritz some hairspray all over your crown. Then, take the toothy end of the comb and tease the hair around your face for extra volume. You can tease just the hair on top of your head for a polished look, or tease the sides, too, for a more undone vibe.
Step 4: Separate into ponytails. Next, take a small section of hair from your crown and pull it back with a clear elastic hair tie, toward the back of the top of your head. Once it's secure, pull the free end of your ponytail forward toward your face and clip it down so it's out of your way. Then, section the hair just below that ponytail and secure it with another hair tie. You should now have two ponytails, one above the other.

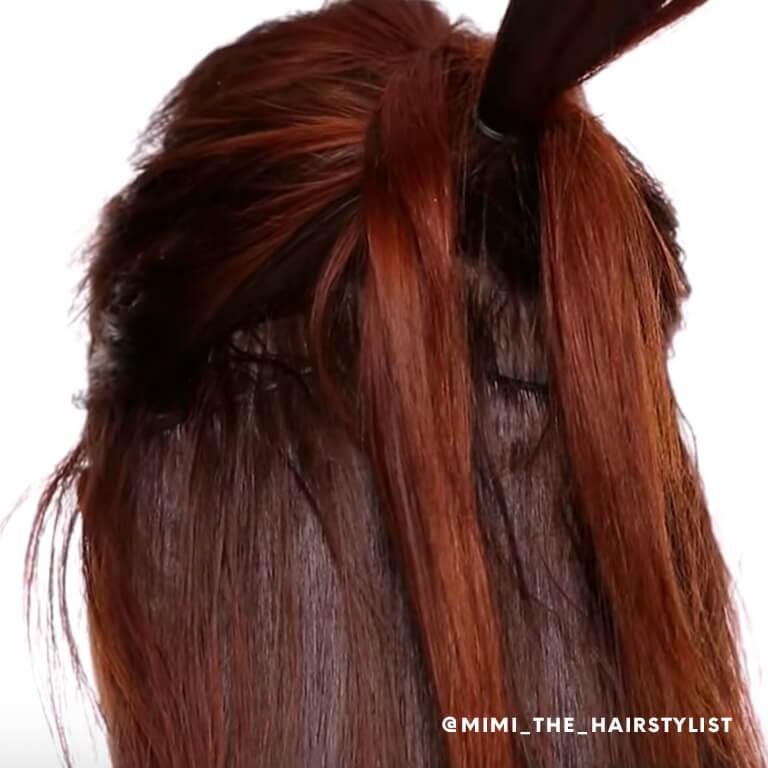
Step 5: Separate, again. Unclip the free end of the top ponytail and split it into two parts, one on the left and one on the right. Then, bring the free end of the bottom ponytail up through the middle of the two parts and clip it to the top of your head so it's out of the way.
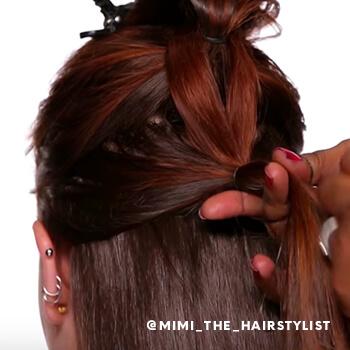
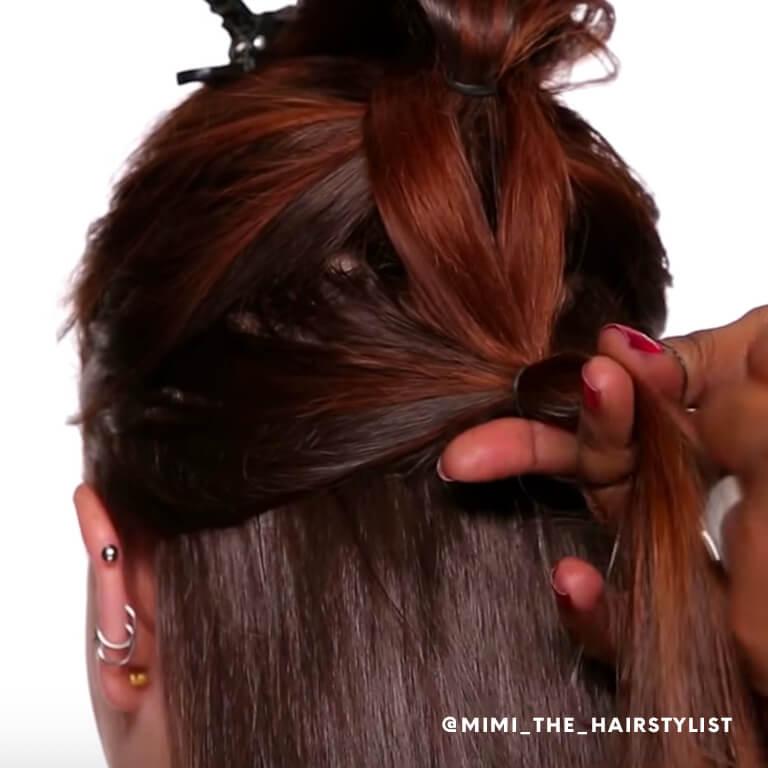
Step 6: Begin building your waterfall. Now you're going to take the two sides of the top pony, pick up small sections of hair just below them, and tie them together in a third ponytail right under the second one. So now, the free end of the second ponytail should be clipped to the top of your head, with the first ponytail split down the middle (with the second going through it) and secured to the third.

Step 7: Repeat. We're going to repeat the previous step: unclip the second ponytail and split it into two parts, then lift the free end of the third ponytail up through the middle and clip it to the top of your head. Holding the two sides of the second ponytail, gather more hair from just below either side and then tie them together under the base of the third ponytail. This is your fourth.
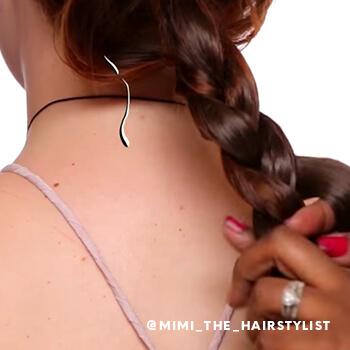
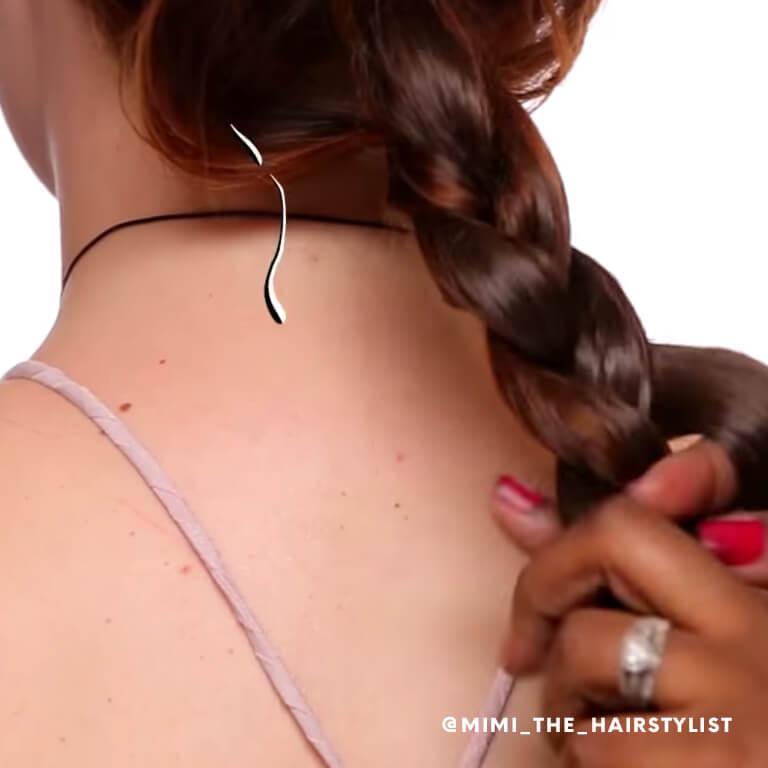
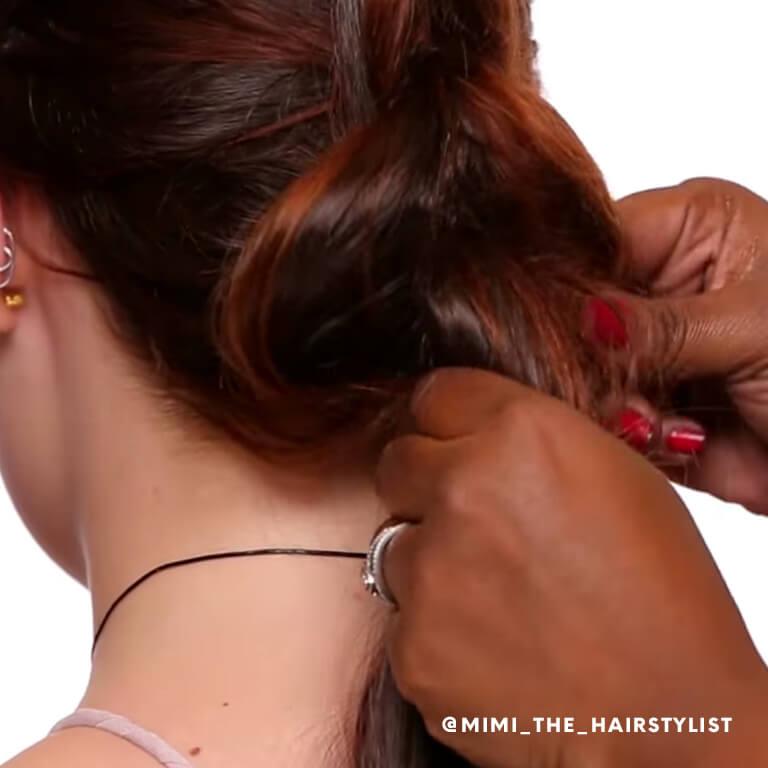
Step 8: Continue waterfalling. Continue building the waterfall until you reach the bottom of the back of your head, then do a traditional overhand braid with the free end. Take it as far down as possible and secure the end with another hair tie.
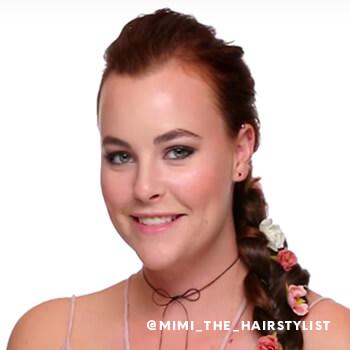

Step 9: Frame your face. Once all your hair is braided back, use your fingers or the comb to gently tug at the sides of the waterfall around your head and the braid, undoing it just so. You can also pull out some face-framing pieces around your temples.
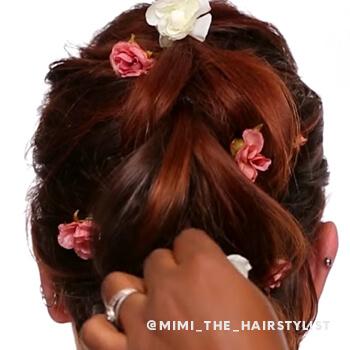
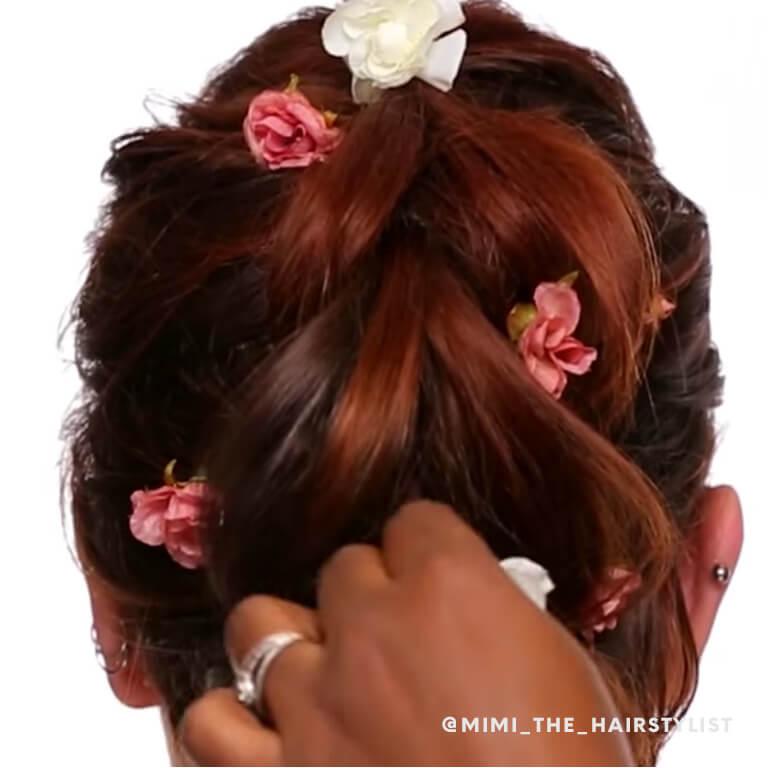
Step 10: Spray & decorate. To finish it off, lightly spritz the whole braid with hairspray, then grab your bobby pins and flowers. Push a stem into your hair, then open the bobby pin with your fingertip and hold it against your scalp, catching the stem and surrounding hair with it. Release your fingertip and push the closed bobby pin down and parallel to your scalp, twisting it slightly for a secure hold. Repeat all over until your flower-child dreams come true!

Want in on all the Glam Bag fun? Take the beauty quiz now to get started. And don’t forget to check us out on Instagram and Twitter @IPSY.
Liked this post? Share!
Related Stories


Hair
Thinking About Cutting a Bob This Summer? Start Here!
5 min read


Hair
Are You Leaving Your Conditioner on Long Enough?
4 min read


Hair
E.L.F. Just Entered the Hair Chat—Here's Everything in the Collection
3 min read


Hair
Heat Wave? These 12 Summer Hairstyles Are the Move
5 min read


Hair
The Best Bob Cut Haircuts for Every Face Shape, Hair Texture, and Styling Routine
7 min read


Hair
Ultra-Long Hair Is Everywhere Right Now—Here’s Why
3 min read


Hair
13 Blonde Balayage Looks That Prove the Hair Color Trend Is Here to Stay
3 min read
Hair
Brown Hair Color Guide: How to Choose the Right Shade, Undertone, and Style for You
10 min read

Beauty Picked Just for You
Get 5 products worth up to $70
Exclusive access to epic deals up to 80% off
Starting at just $15/month. Cancel anytime.